The official LINE channel of the company is connected to Deskie. Customers can add your channel to their contacts so they can contact you whenever they have questions.
Connection
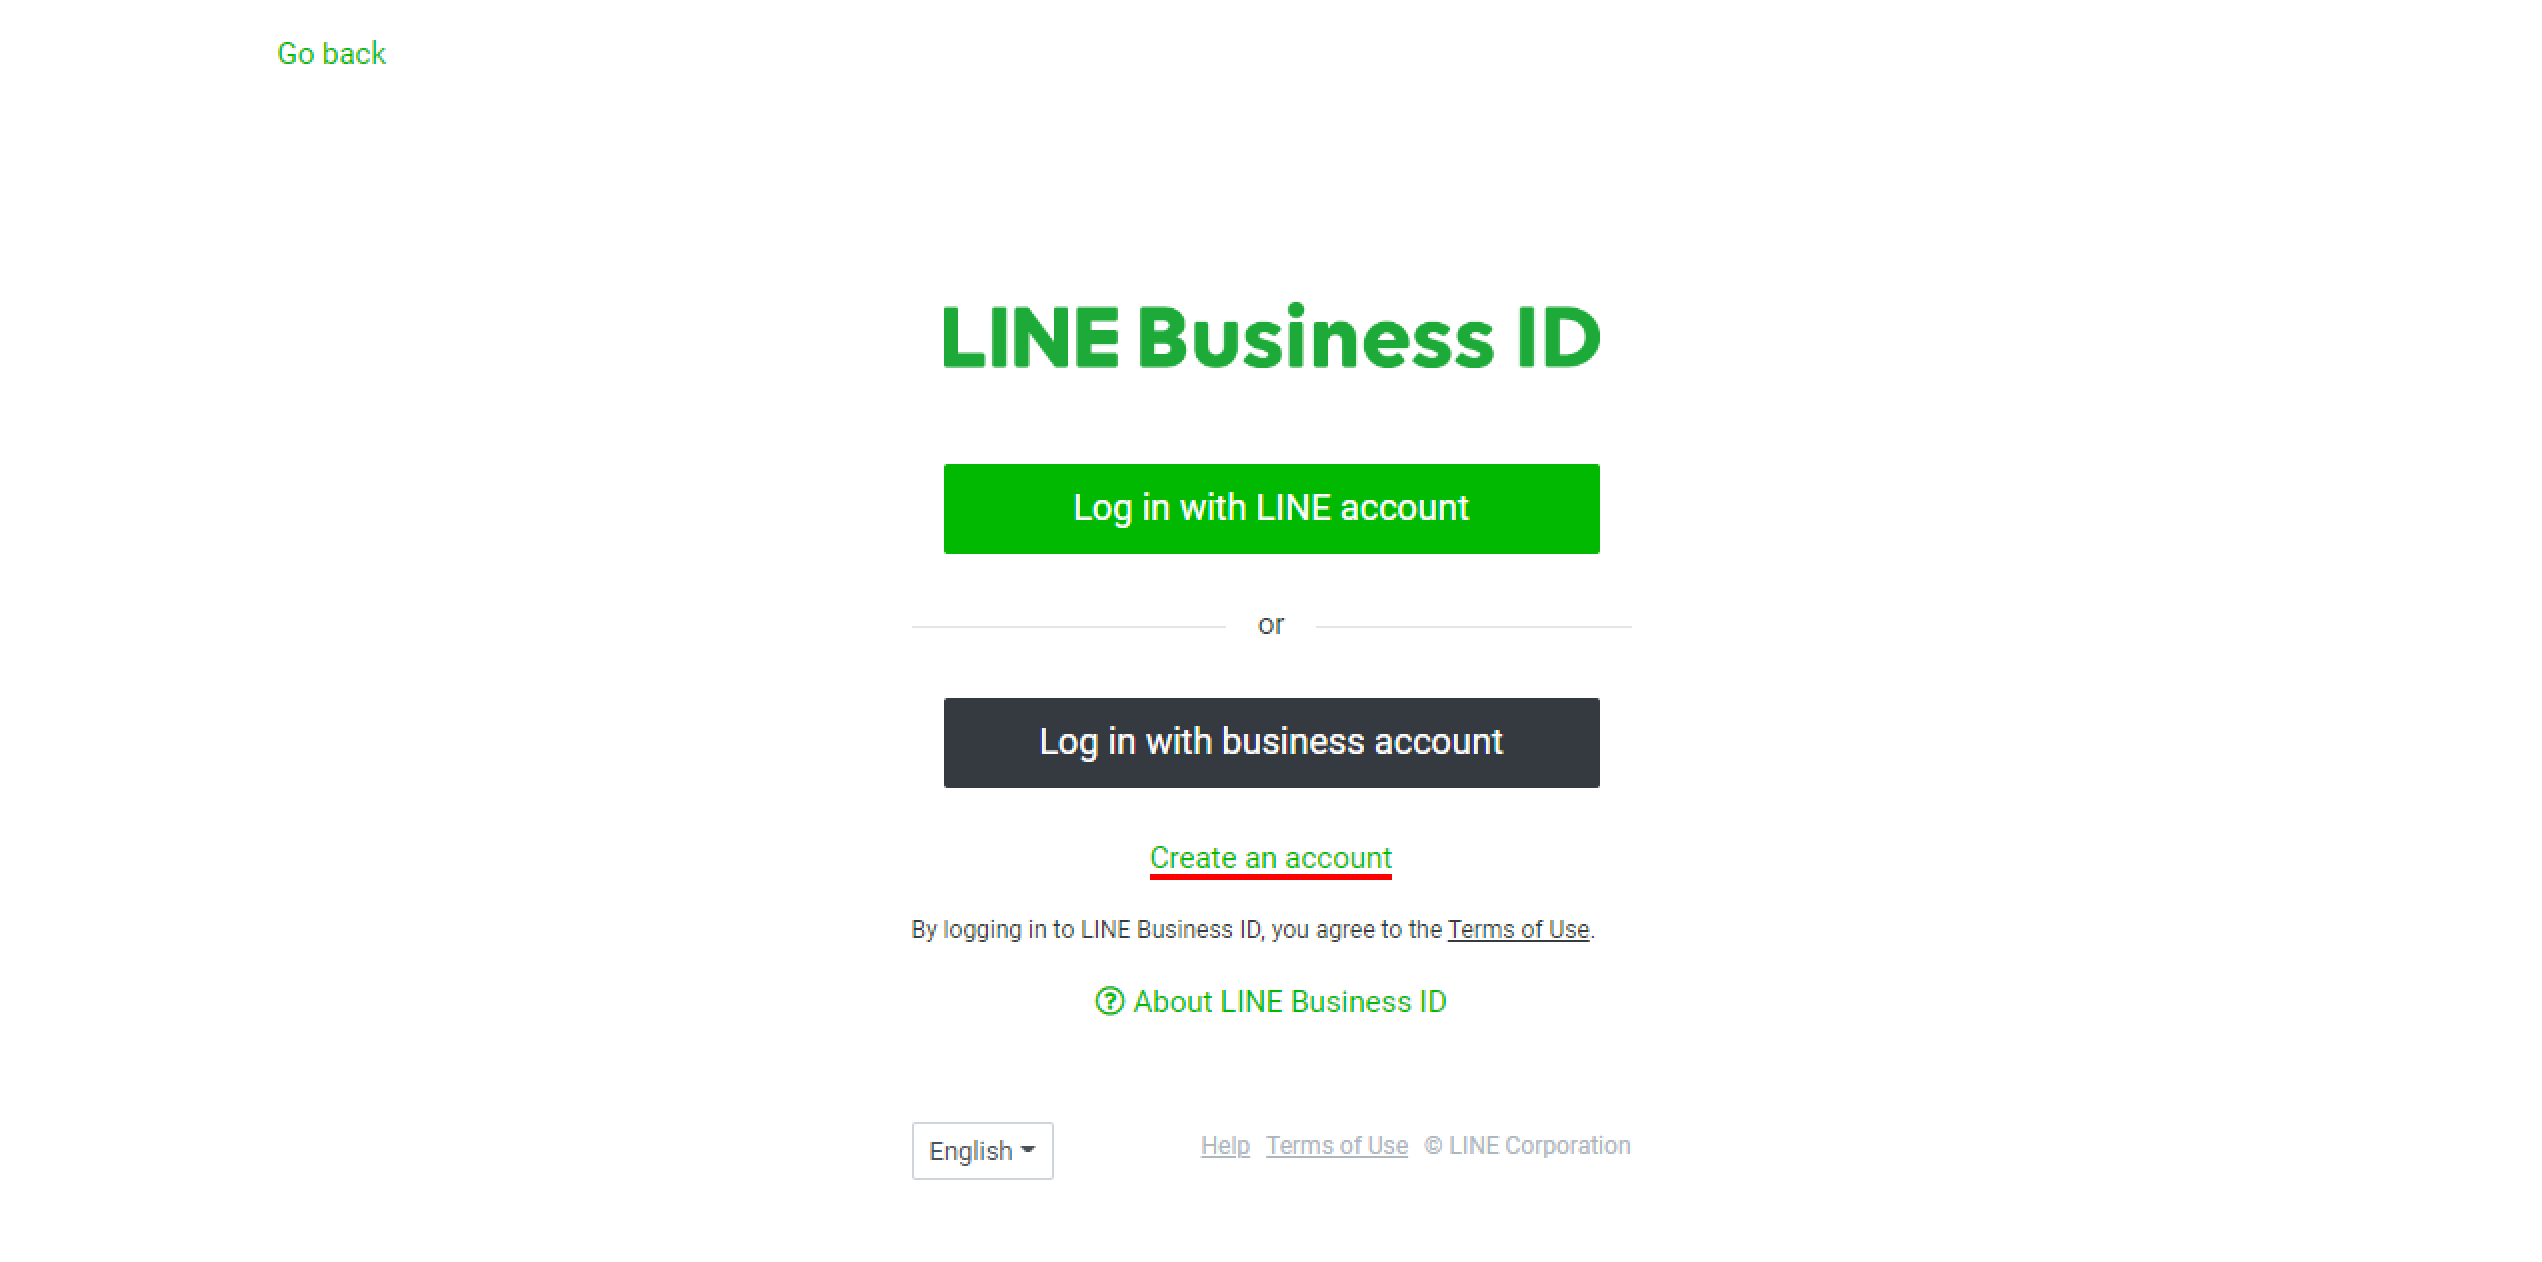
1. Log in to the LINE Developers Console. If you do not yet have a LINE Business ID, first register it by clicking on the appropriate link Create an account.
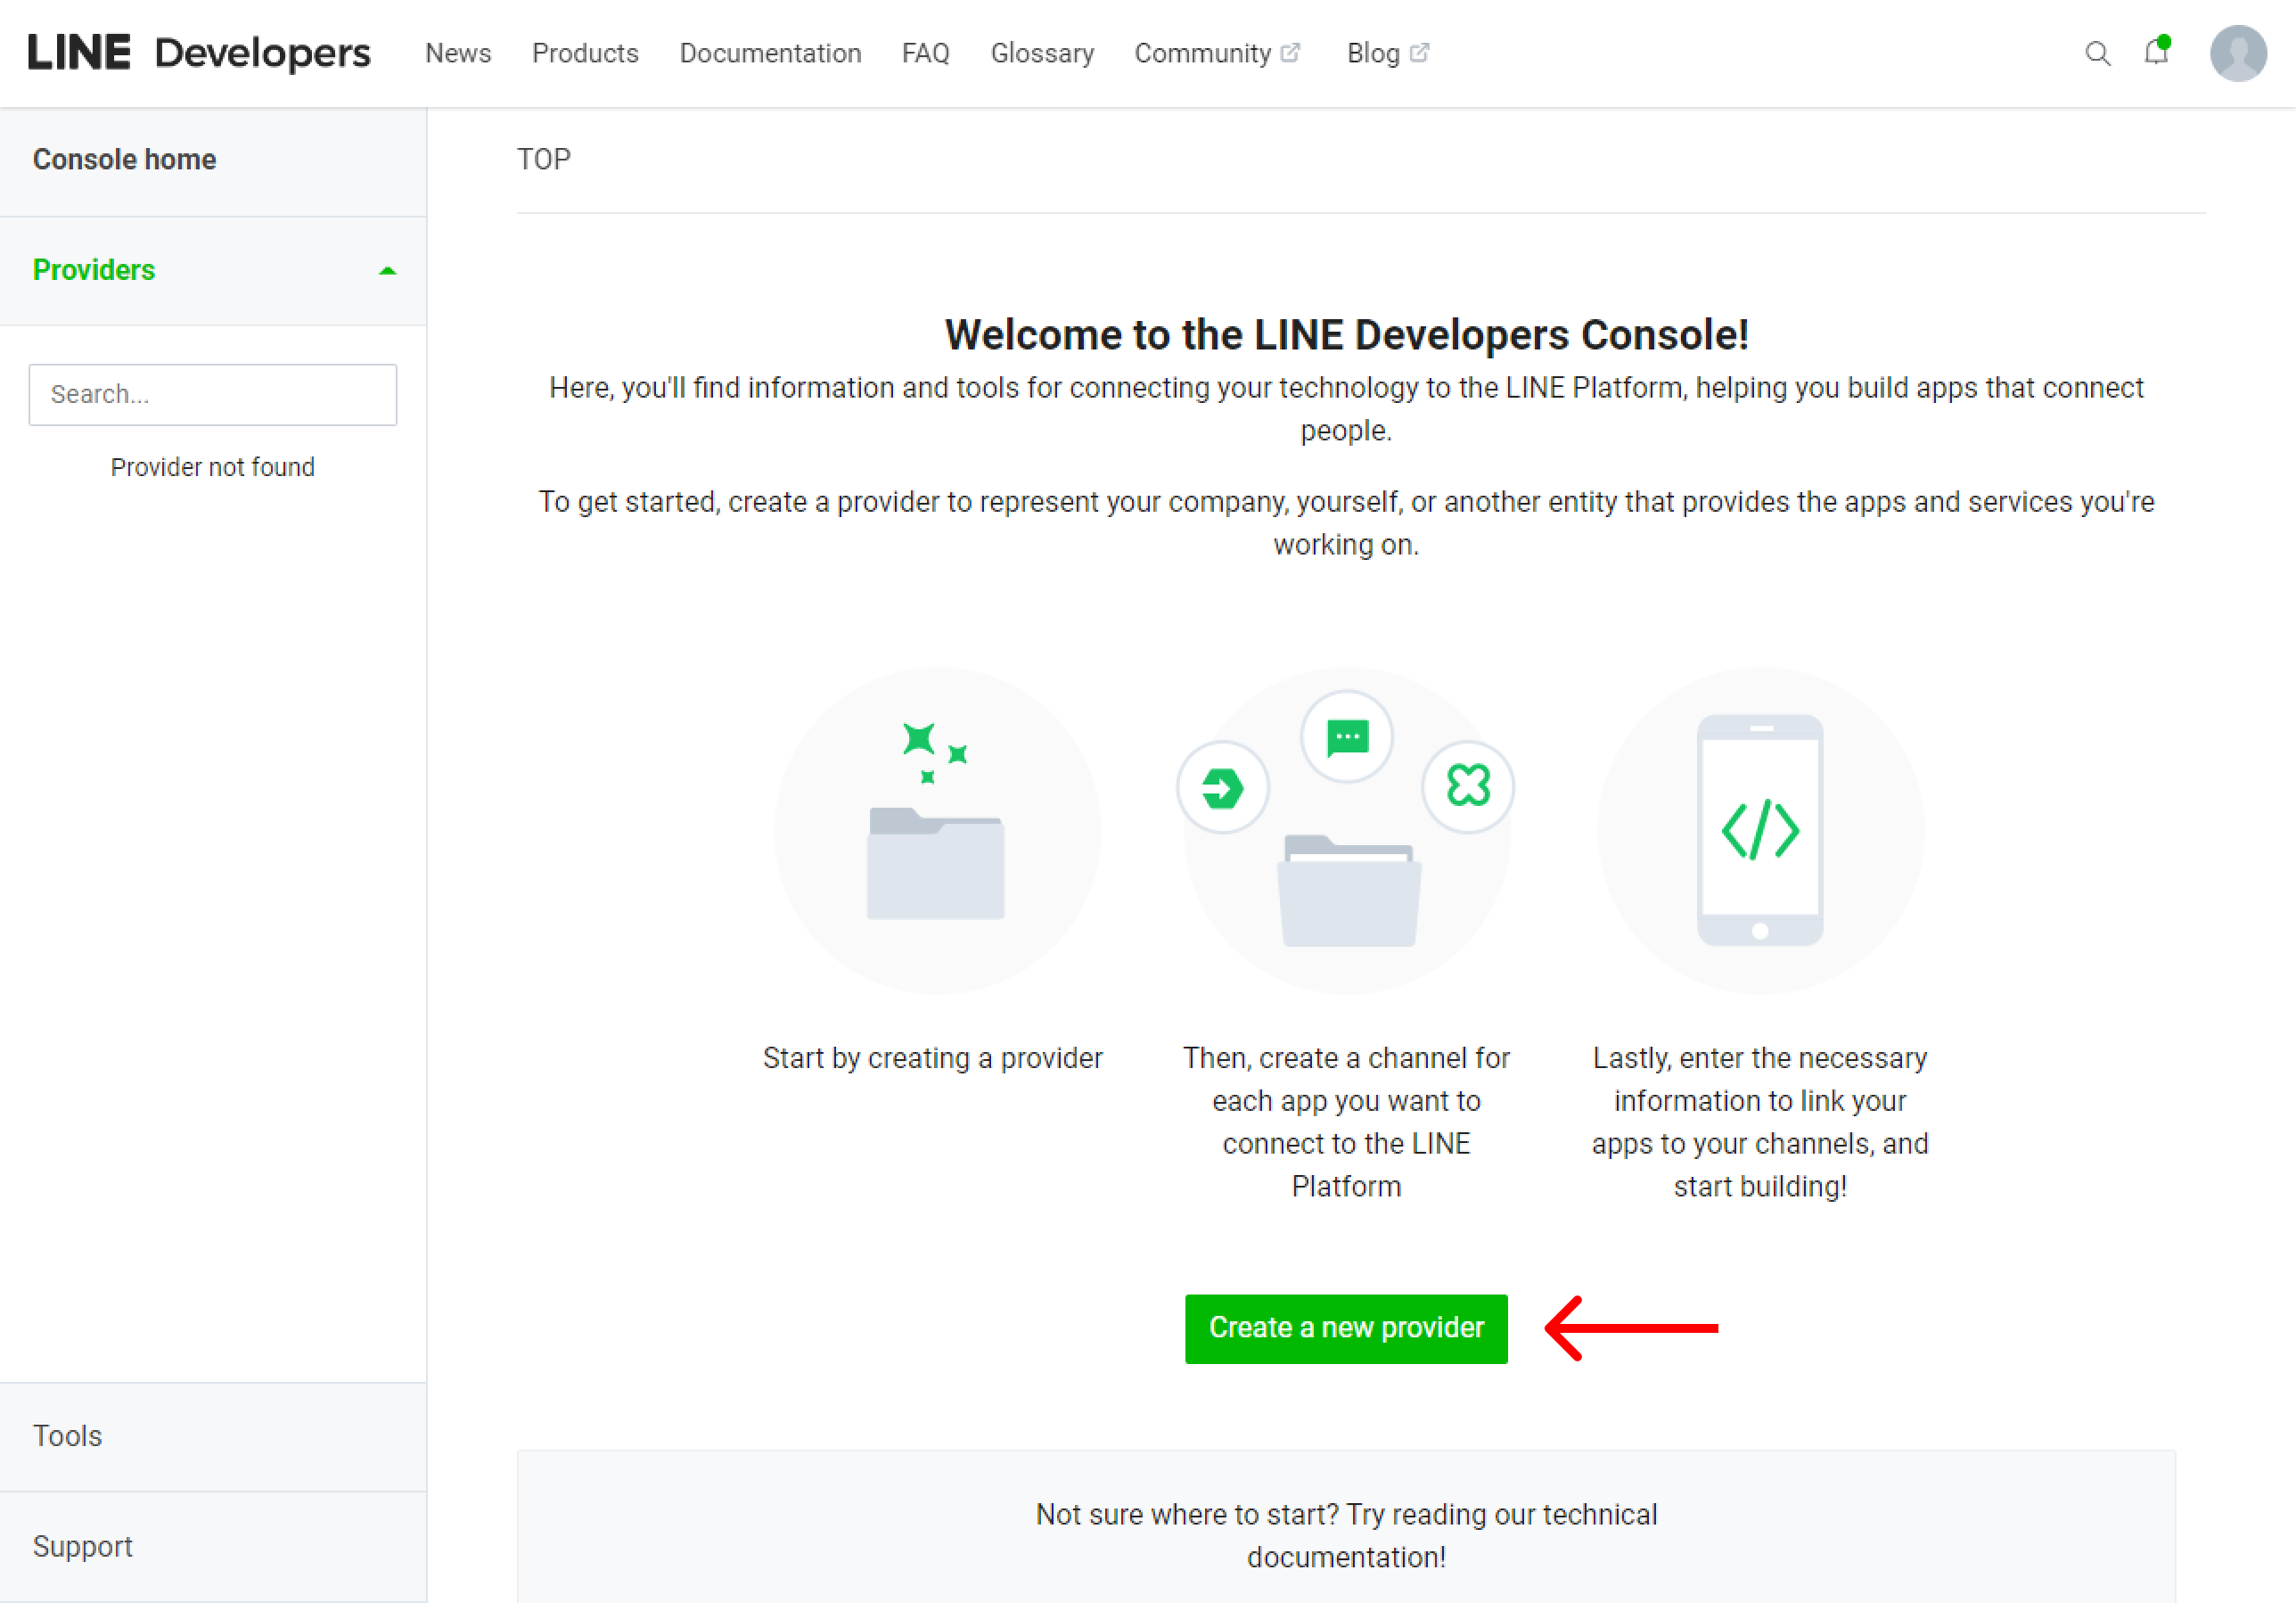
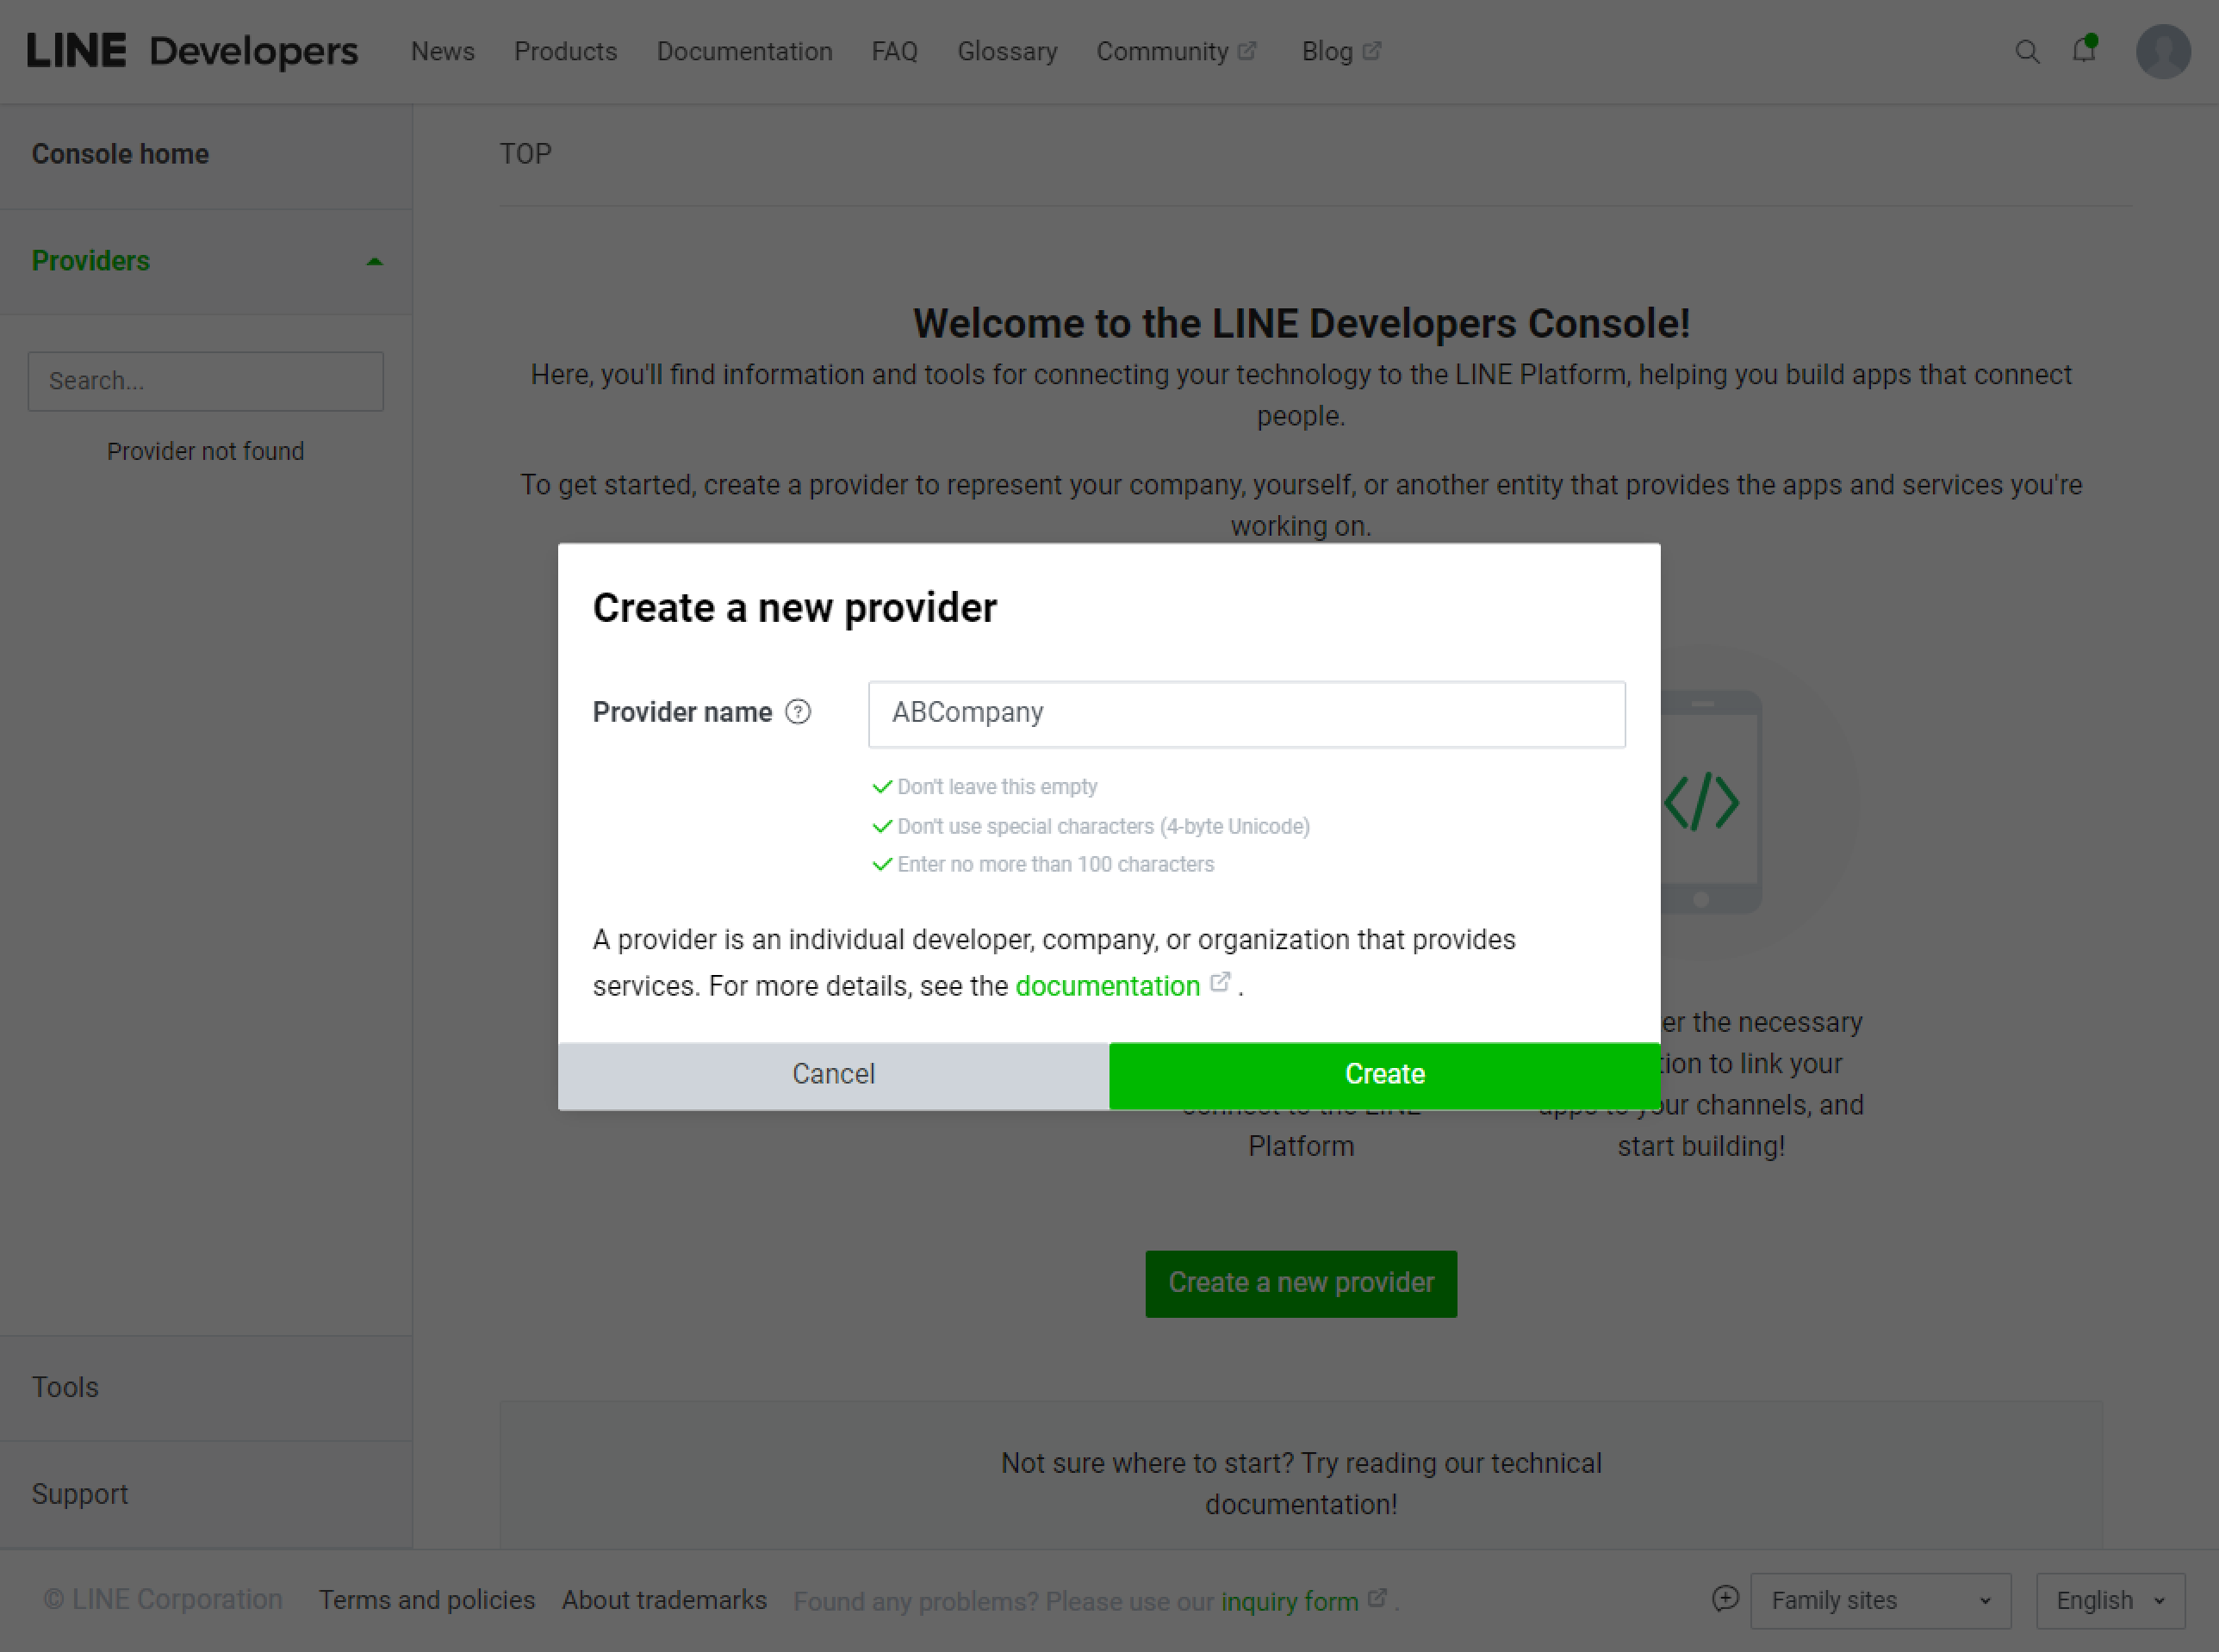
2. In the developer console, in the Providers section, click the Create a new Provider button — in the window that appears, specify the name of the provider (the name of your company) and click Create.
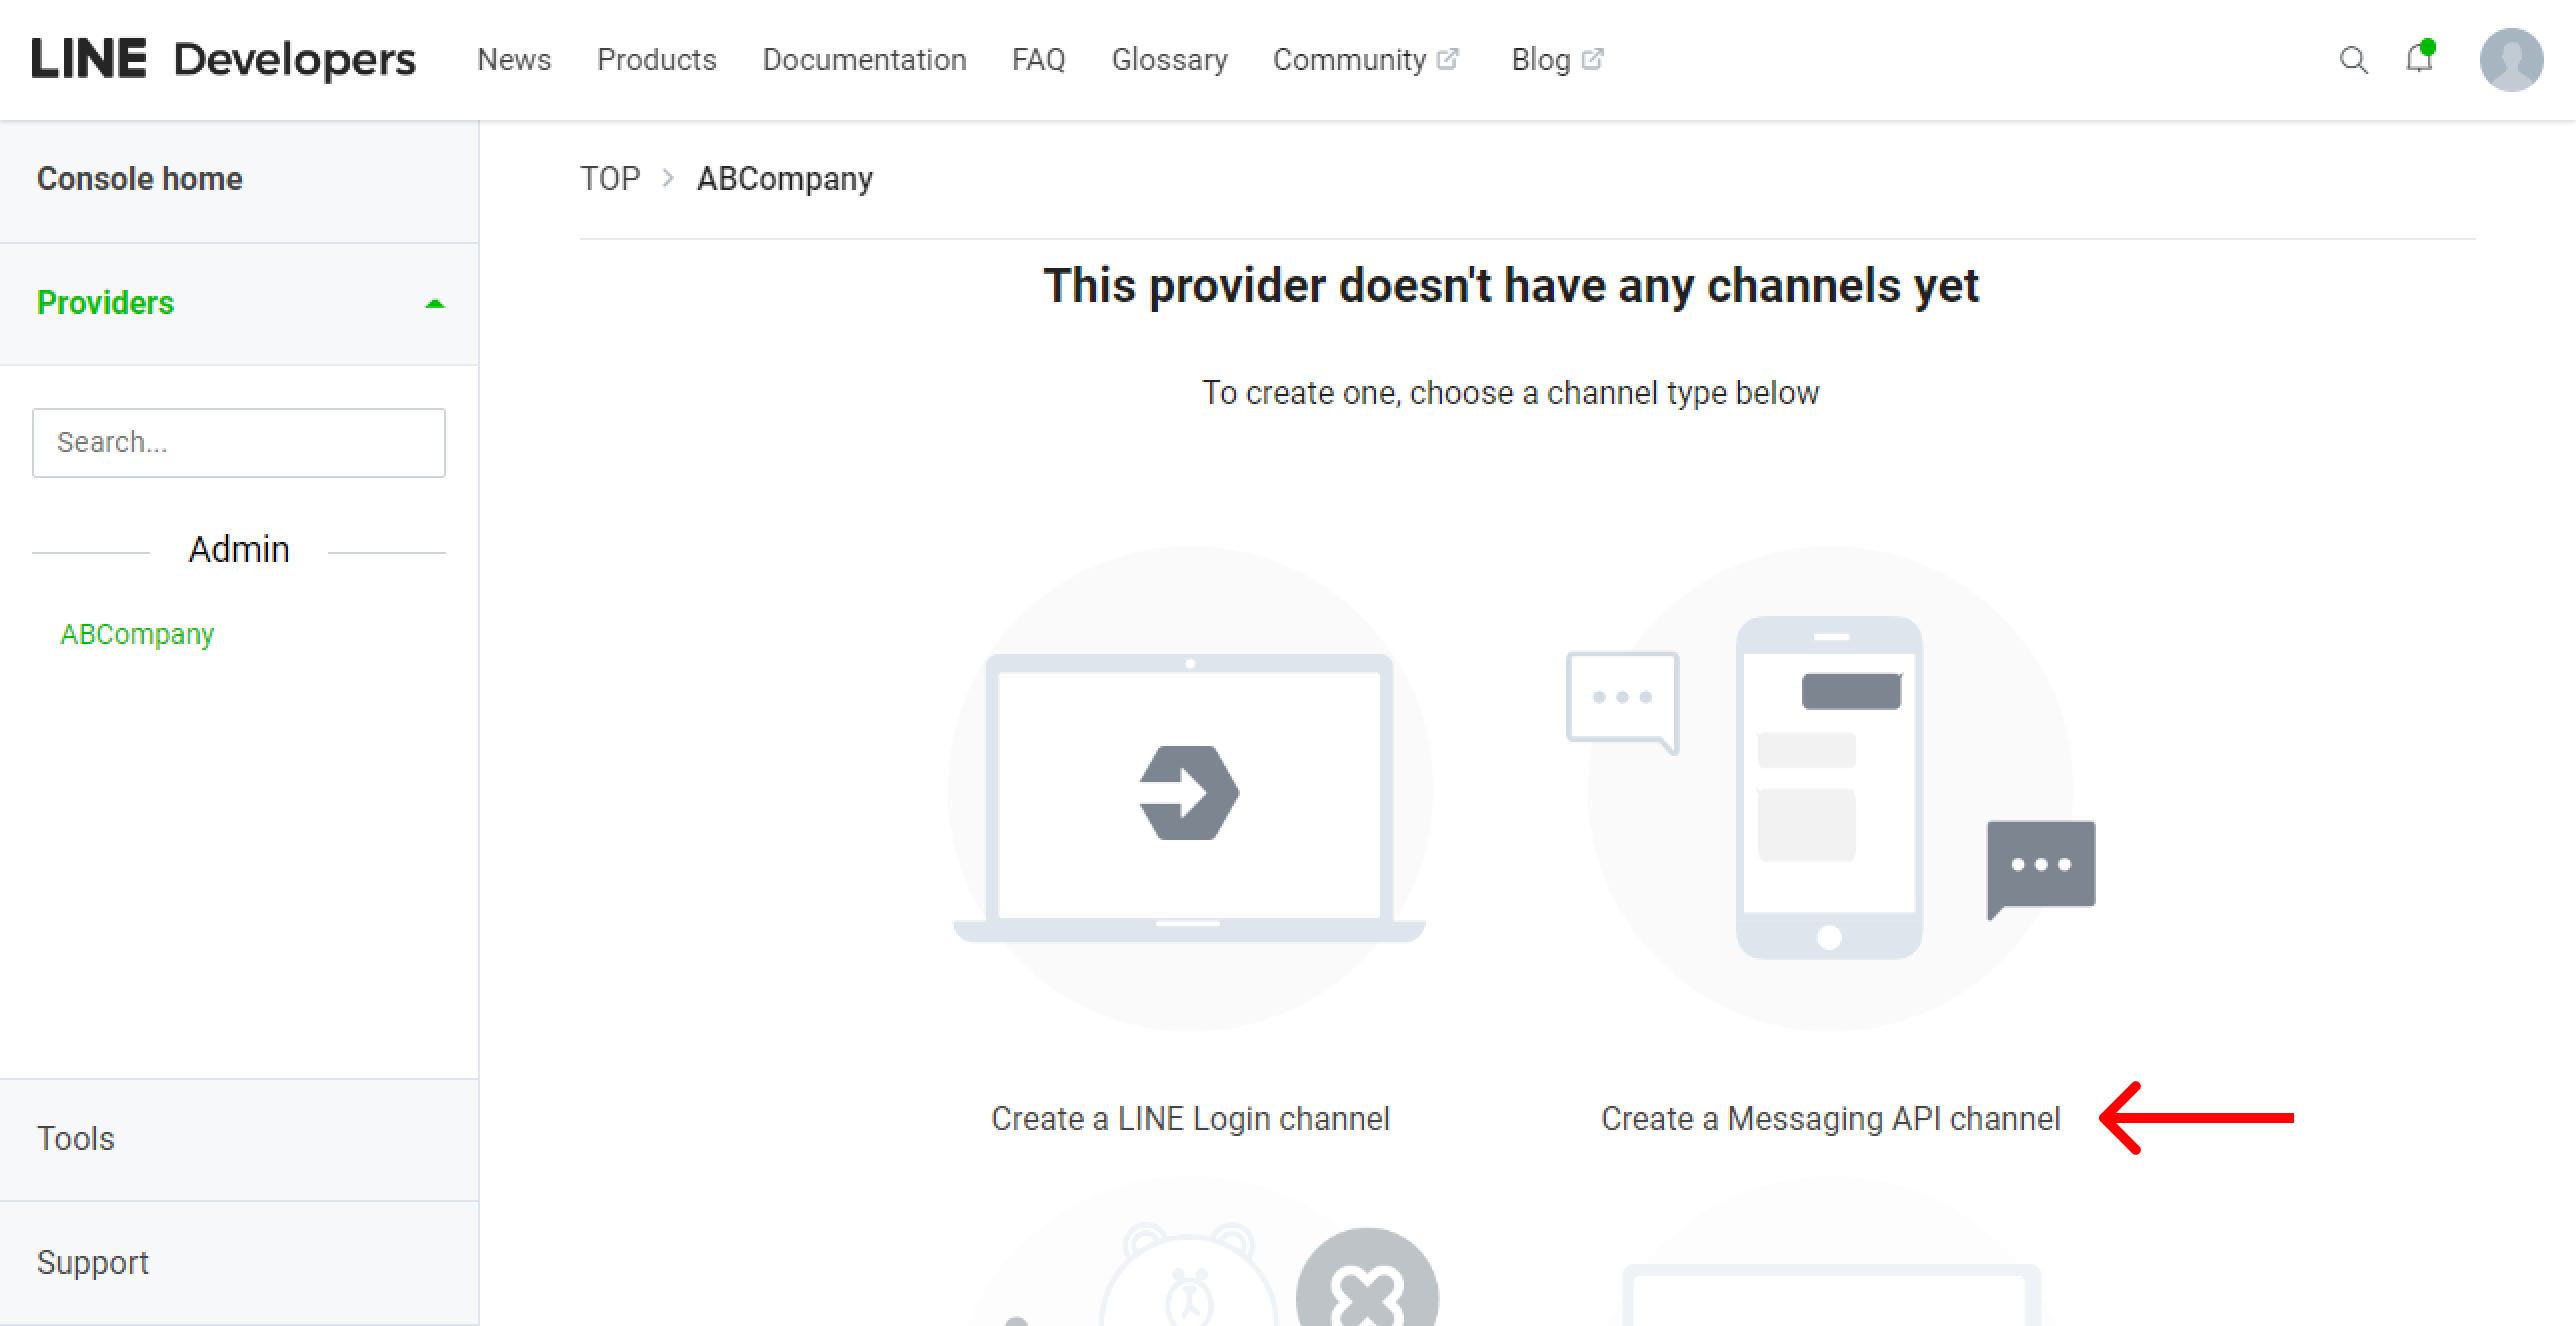
3. On the opened page of the created provider, click on the Create a Messaging API channel link.
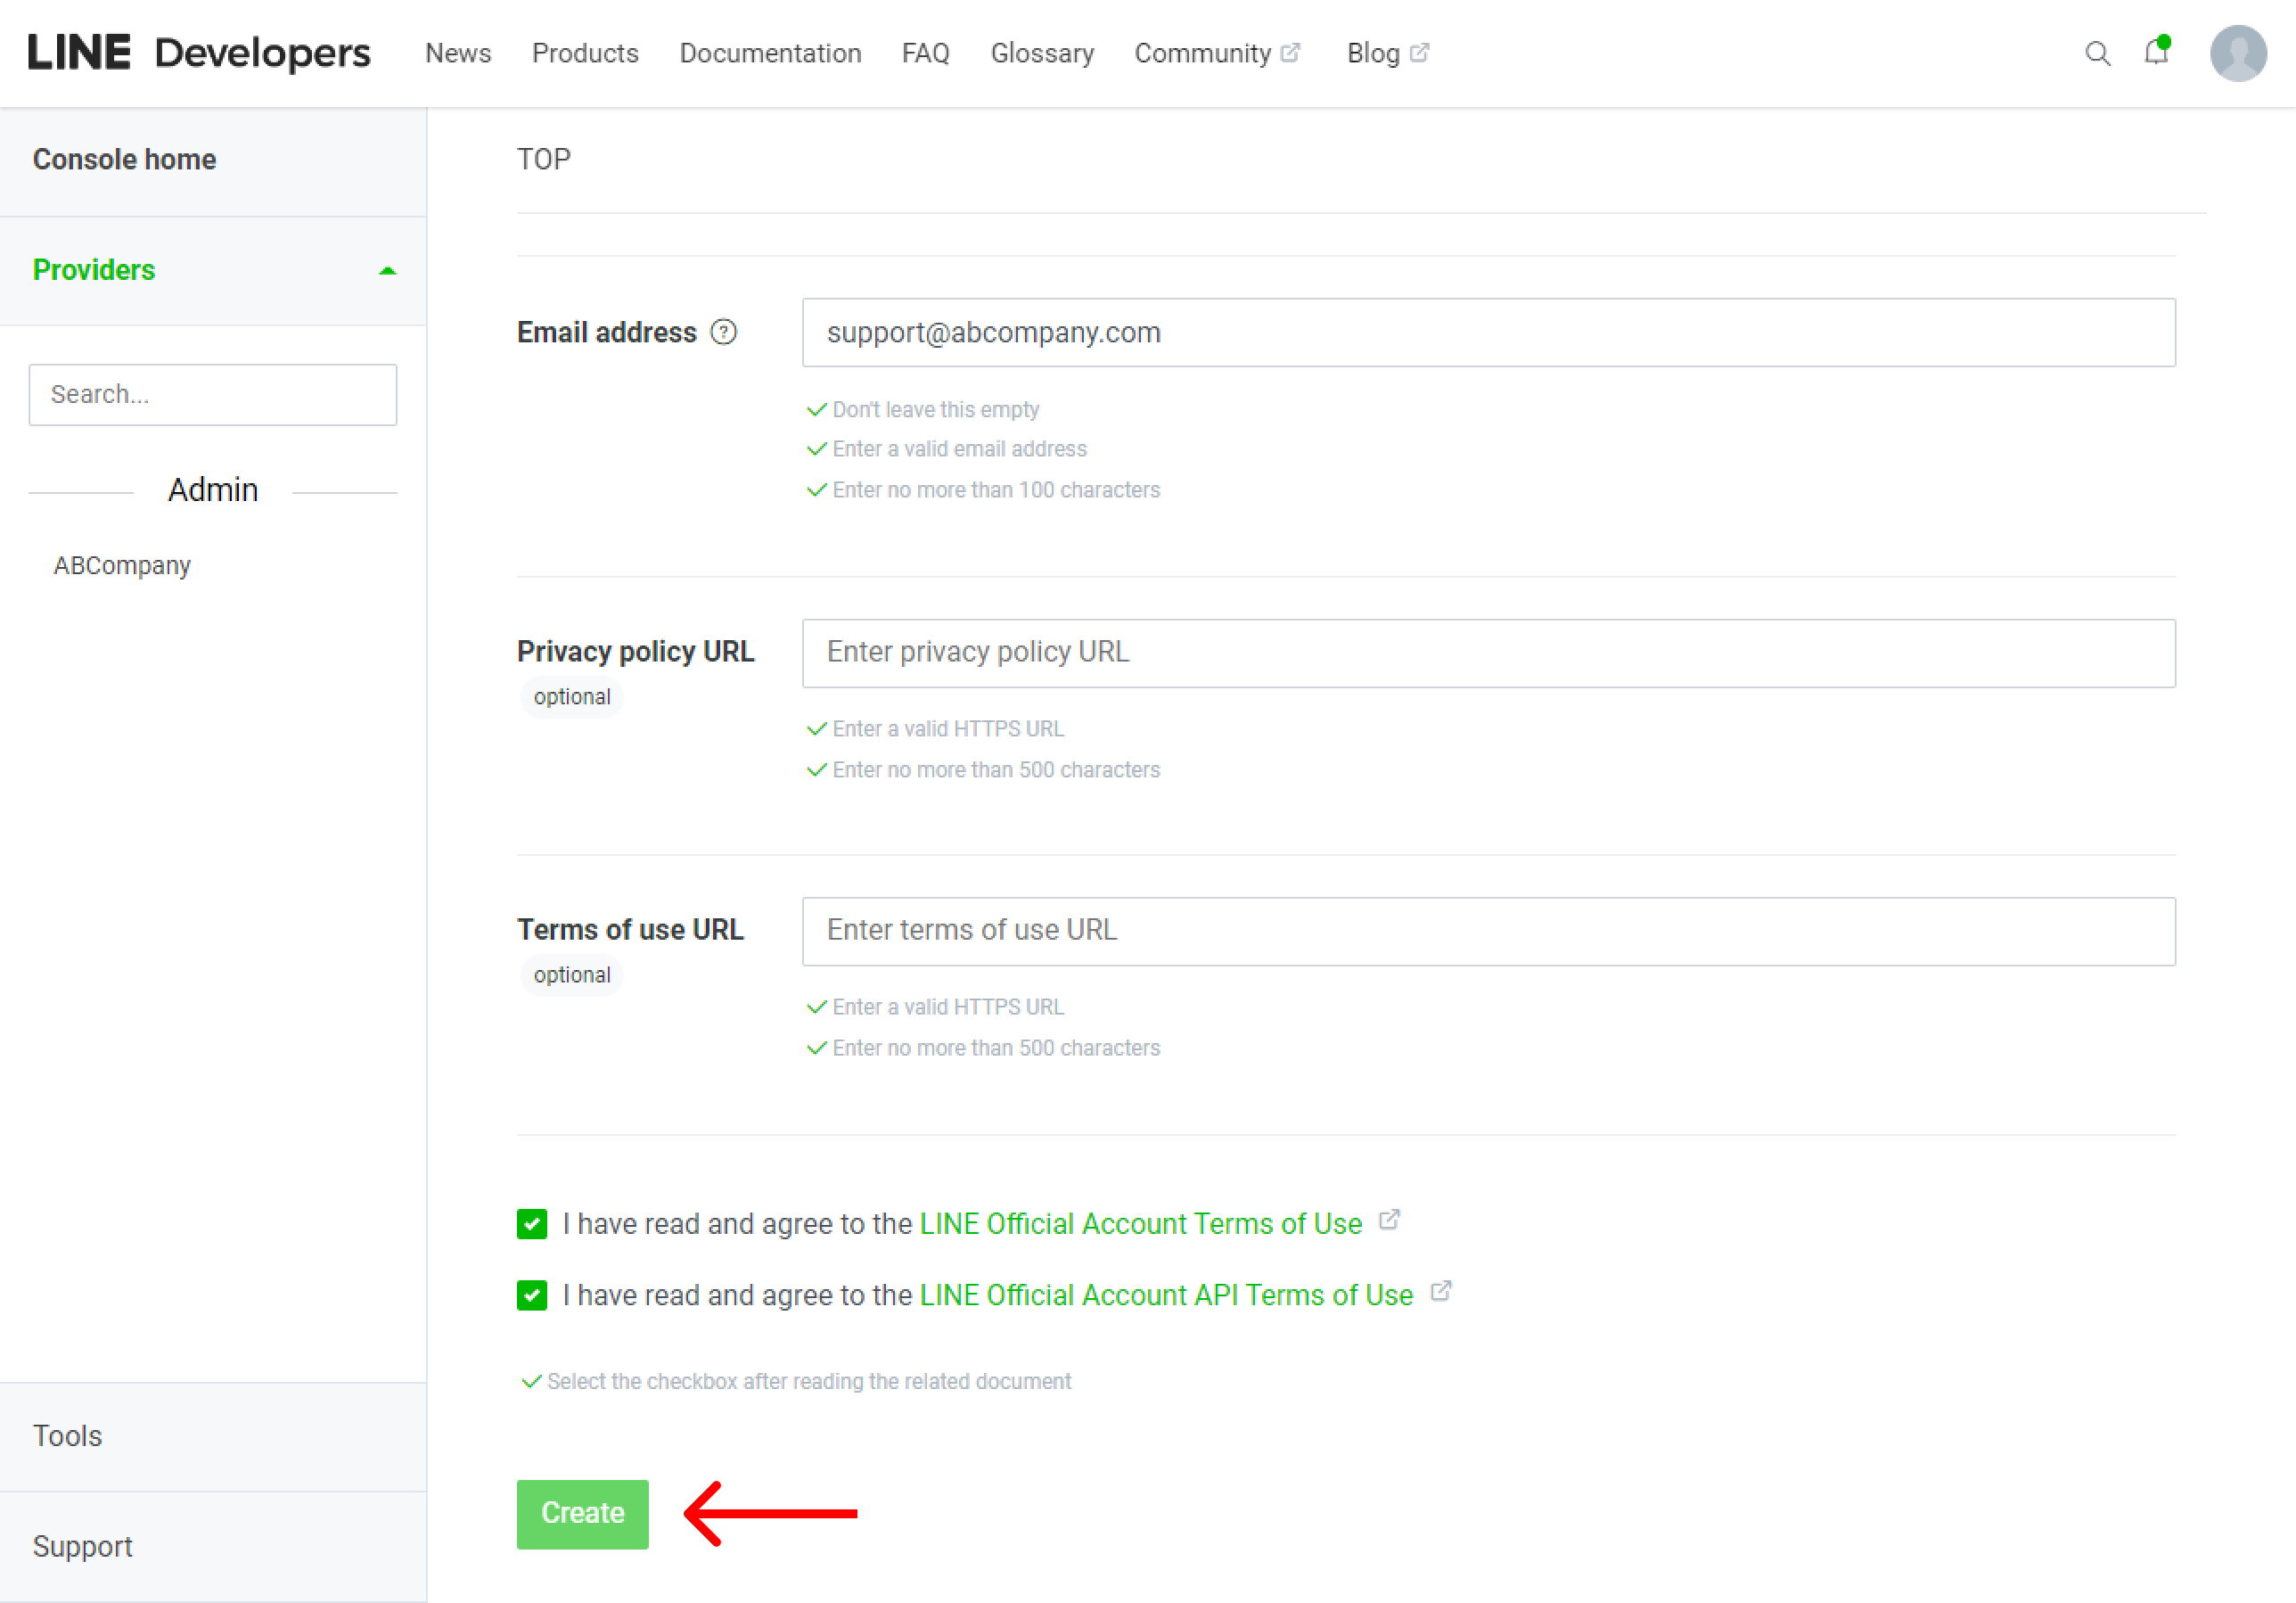
4. A page will open where you can specify information about your channel: company country, profile picture, name, description, category, link to the privacy policy, etc. When all the required fields are filled in, click on the Create button at the bottom of the page.
5. On the page of the created channel, go to the Messaging API tab — in the Webhook URL block, paste the link from the LINE channel connection form in Deskie — turn on all the toggles in the block (Use Webhook, Webhook redelivery, Error statistics aggregation).
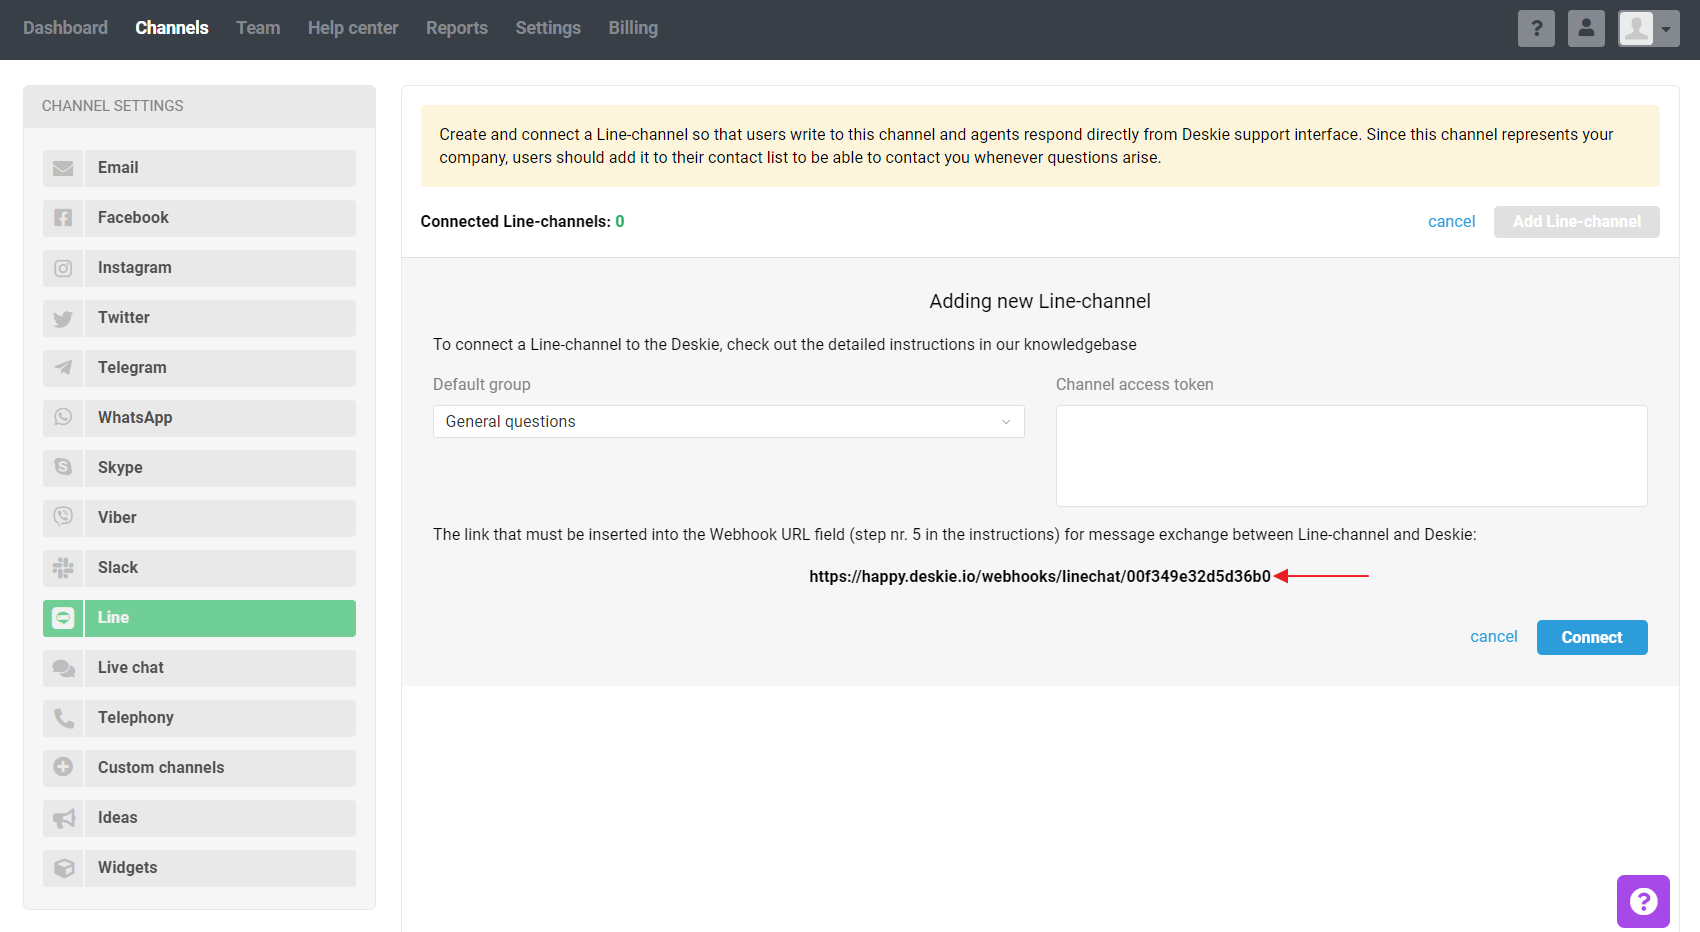
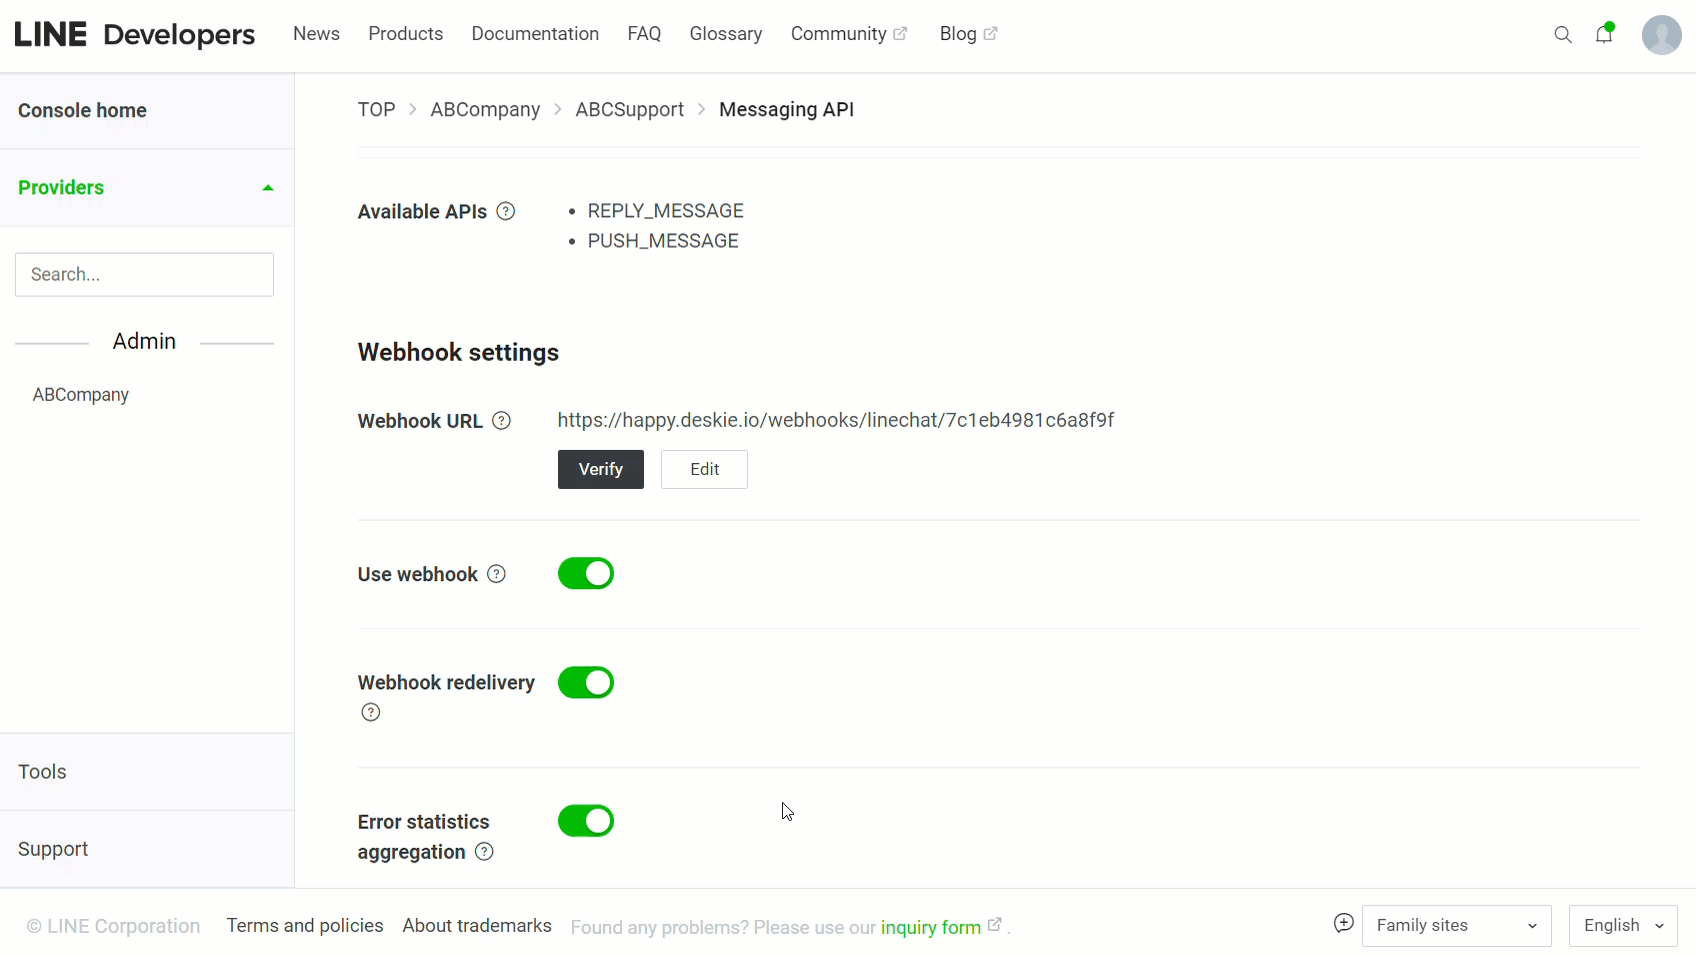
6. At the bottom of the same tab, in the Channel Access Token block, click the Issue button — copy the received token — specify it in the LINE channel connection form in Deskie.
Additional moments.
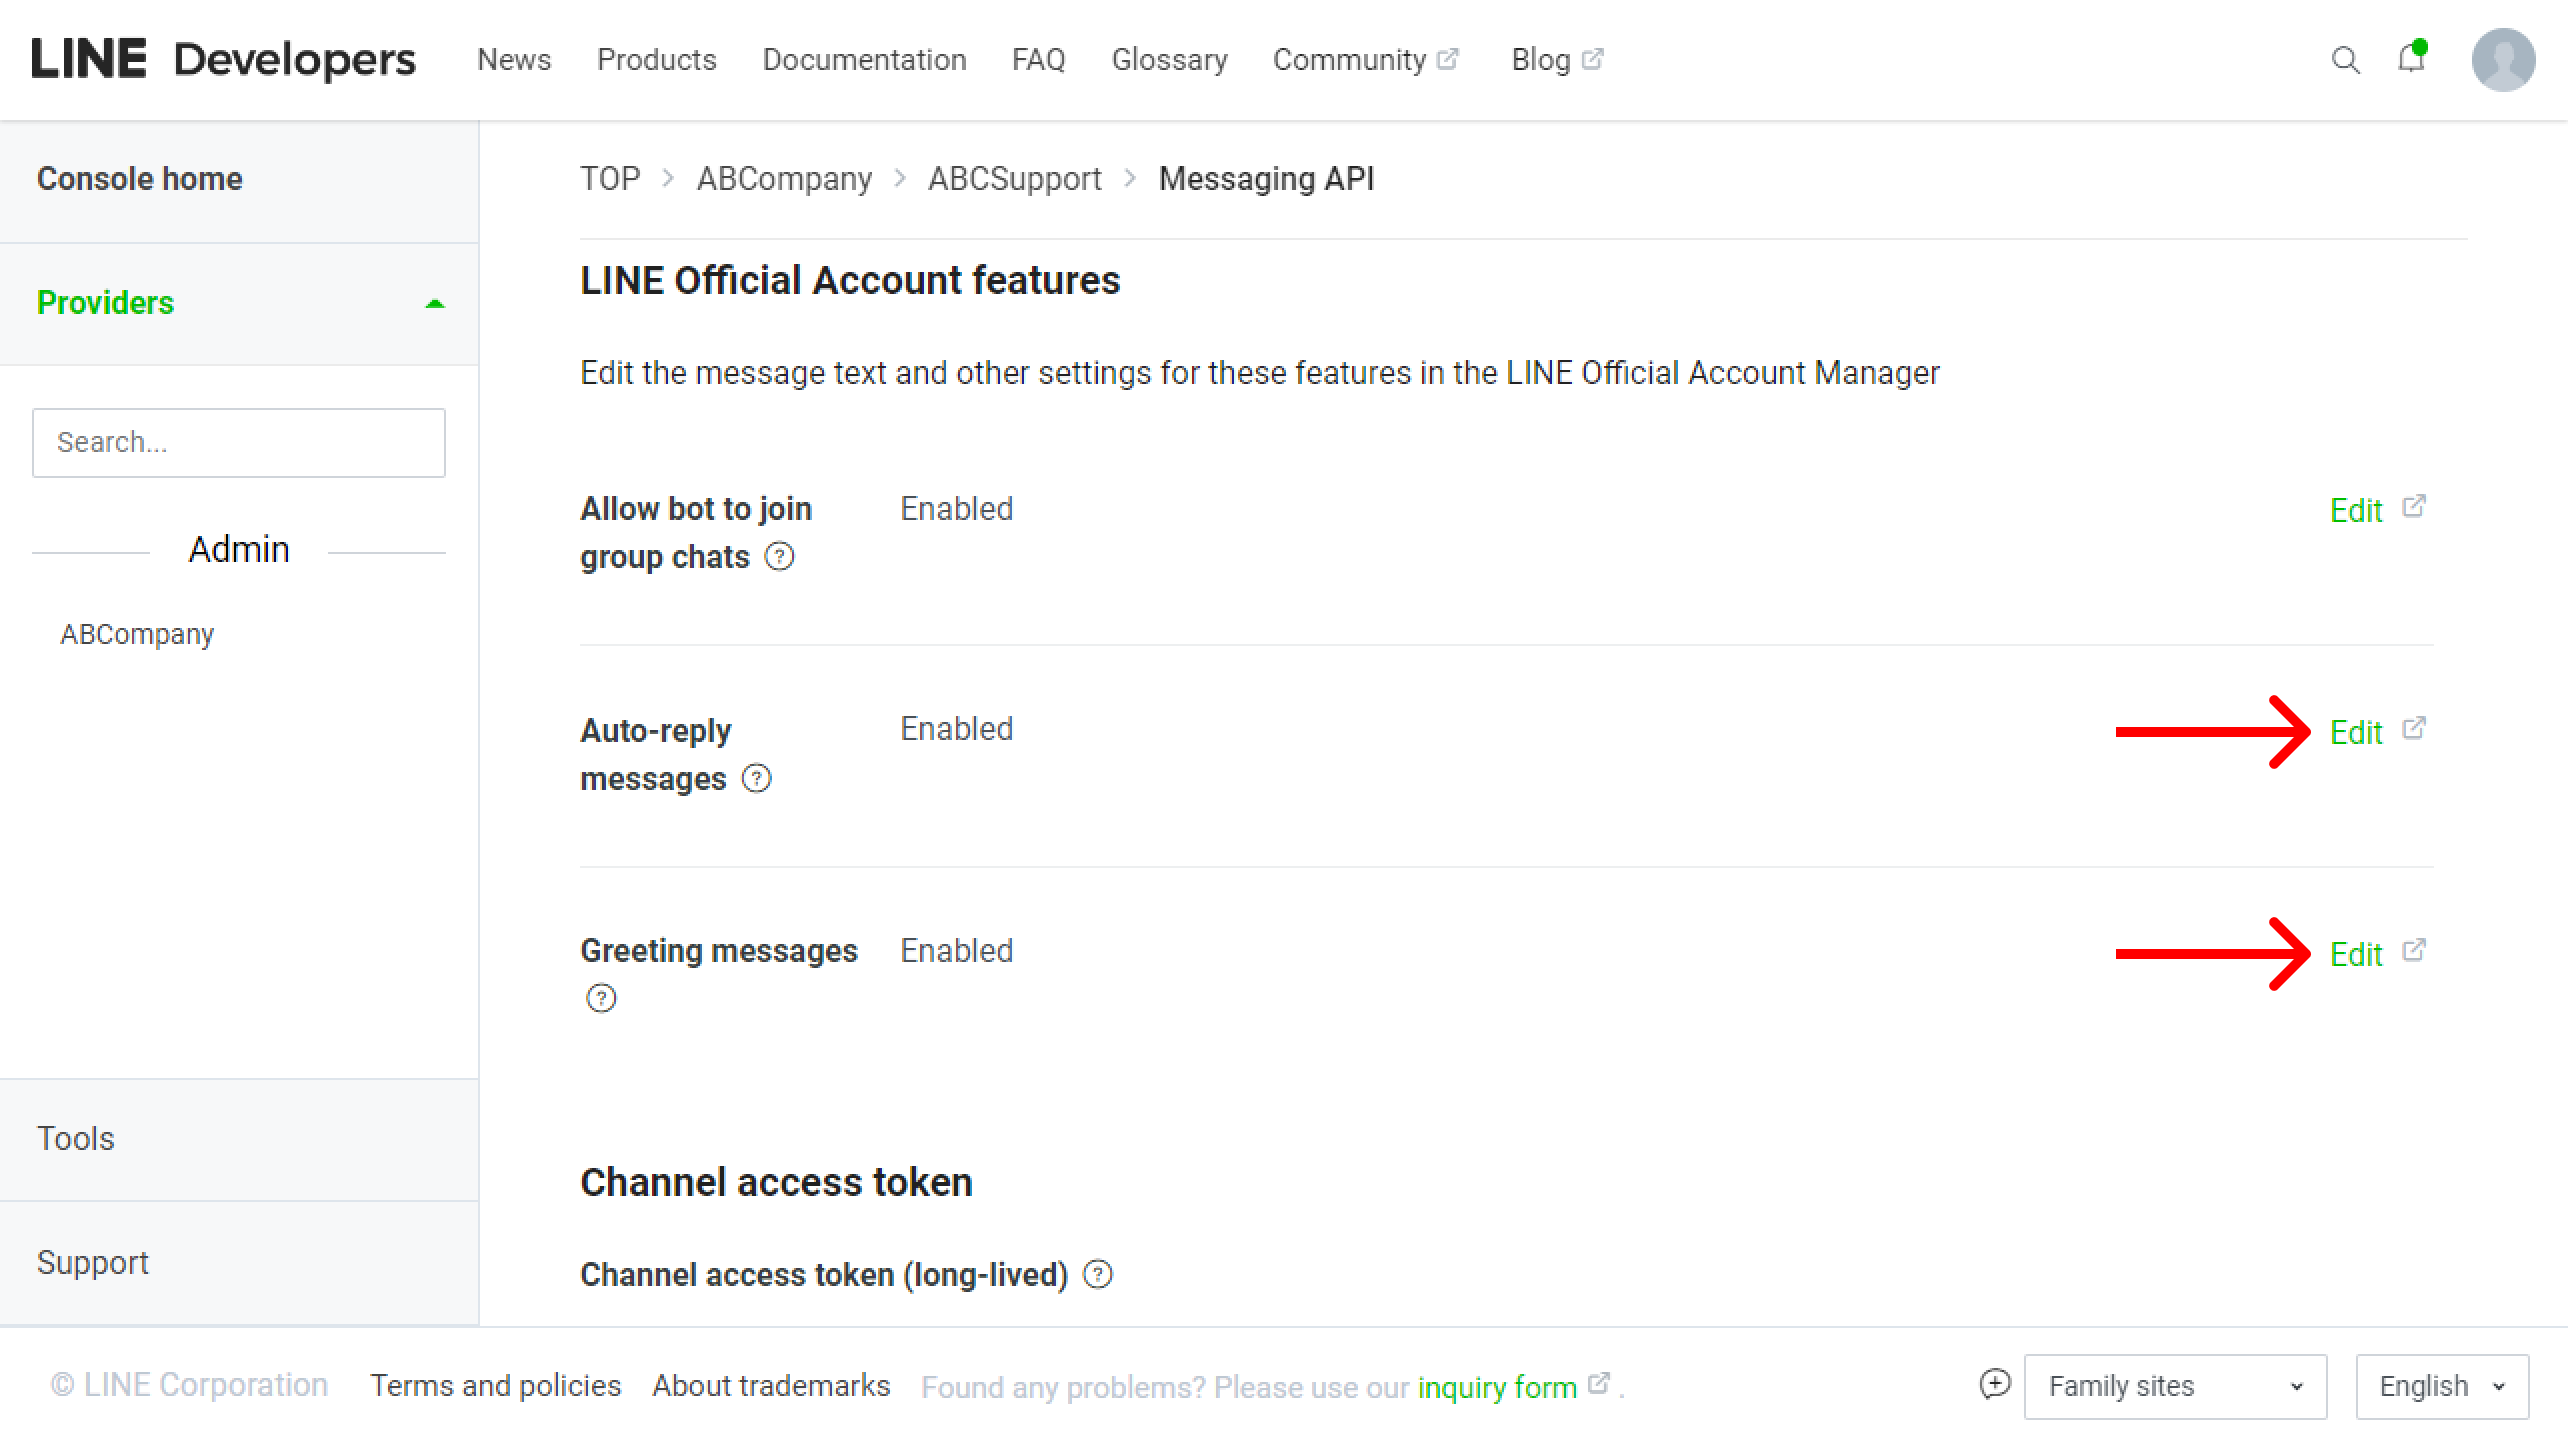
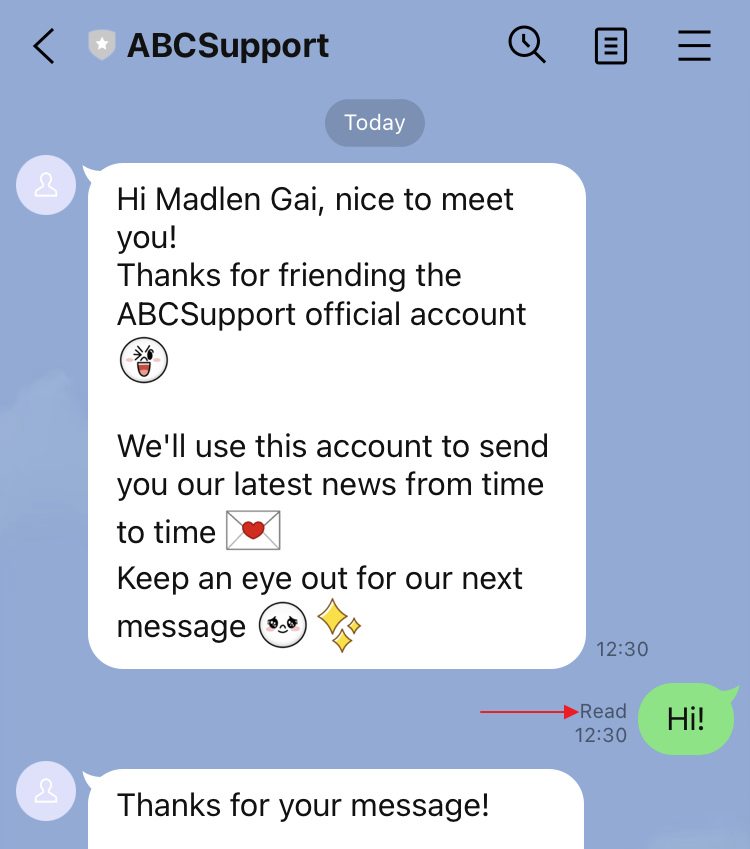
7. By default, when a customer adds your channel to his/her contacts, they will receive a Greeting message, and after sending a message to the channel, an Auto-reply message about an unconfigured channel.
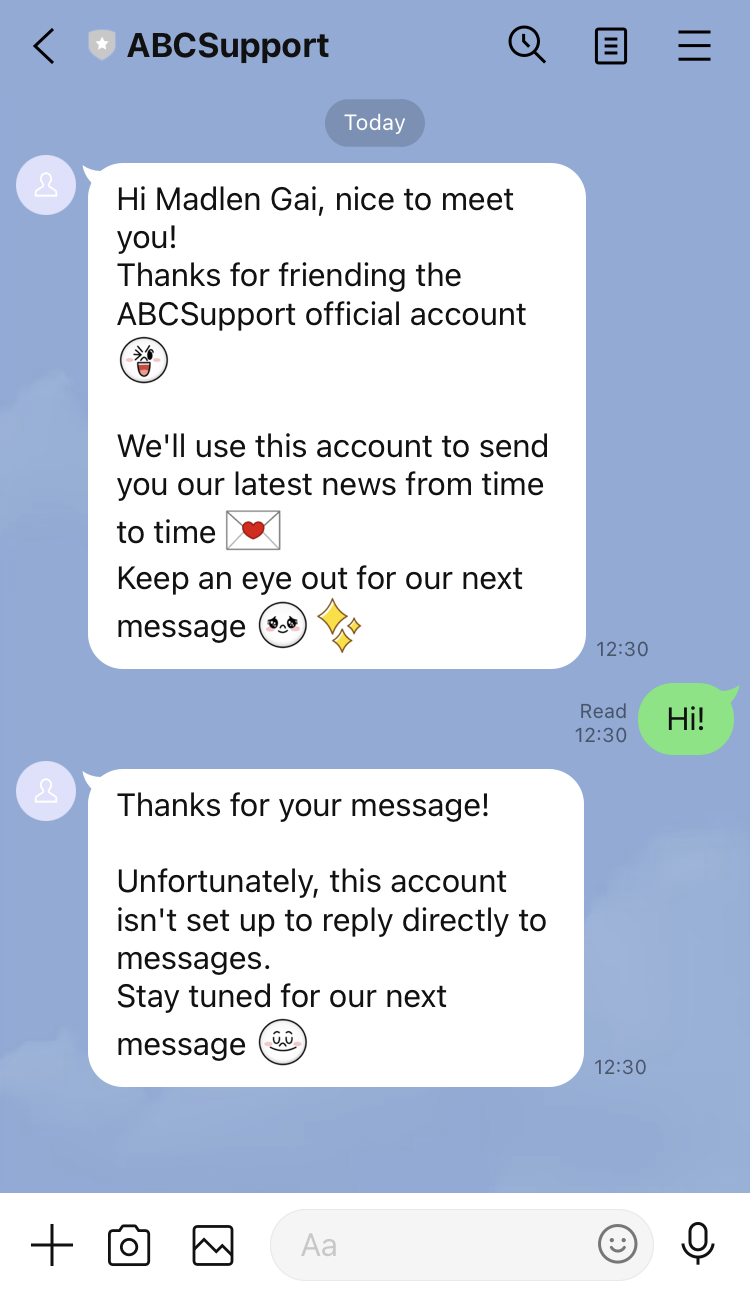
You can leave a greeting message, but it is better to turn off the message about an unconfigured channel so as not to confuse customers.
You can edit or disable these messages in the Messaging API tab in the LINE Official Account features block.
8. When a customer sends a message to a channel, their replies always have the Read status immediately: it only means that the message was successfully sent to the Webhook URL specified in the channel settings. LINE itself does not have the ability to control this status.
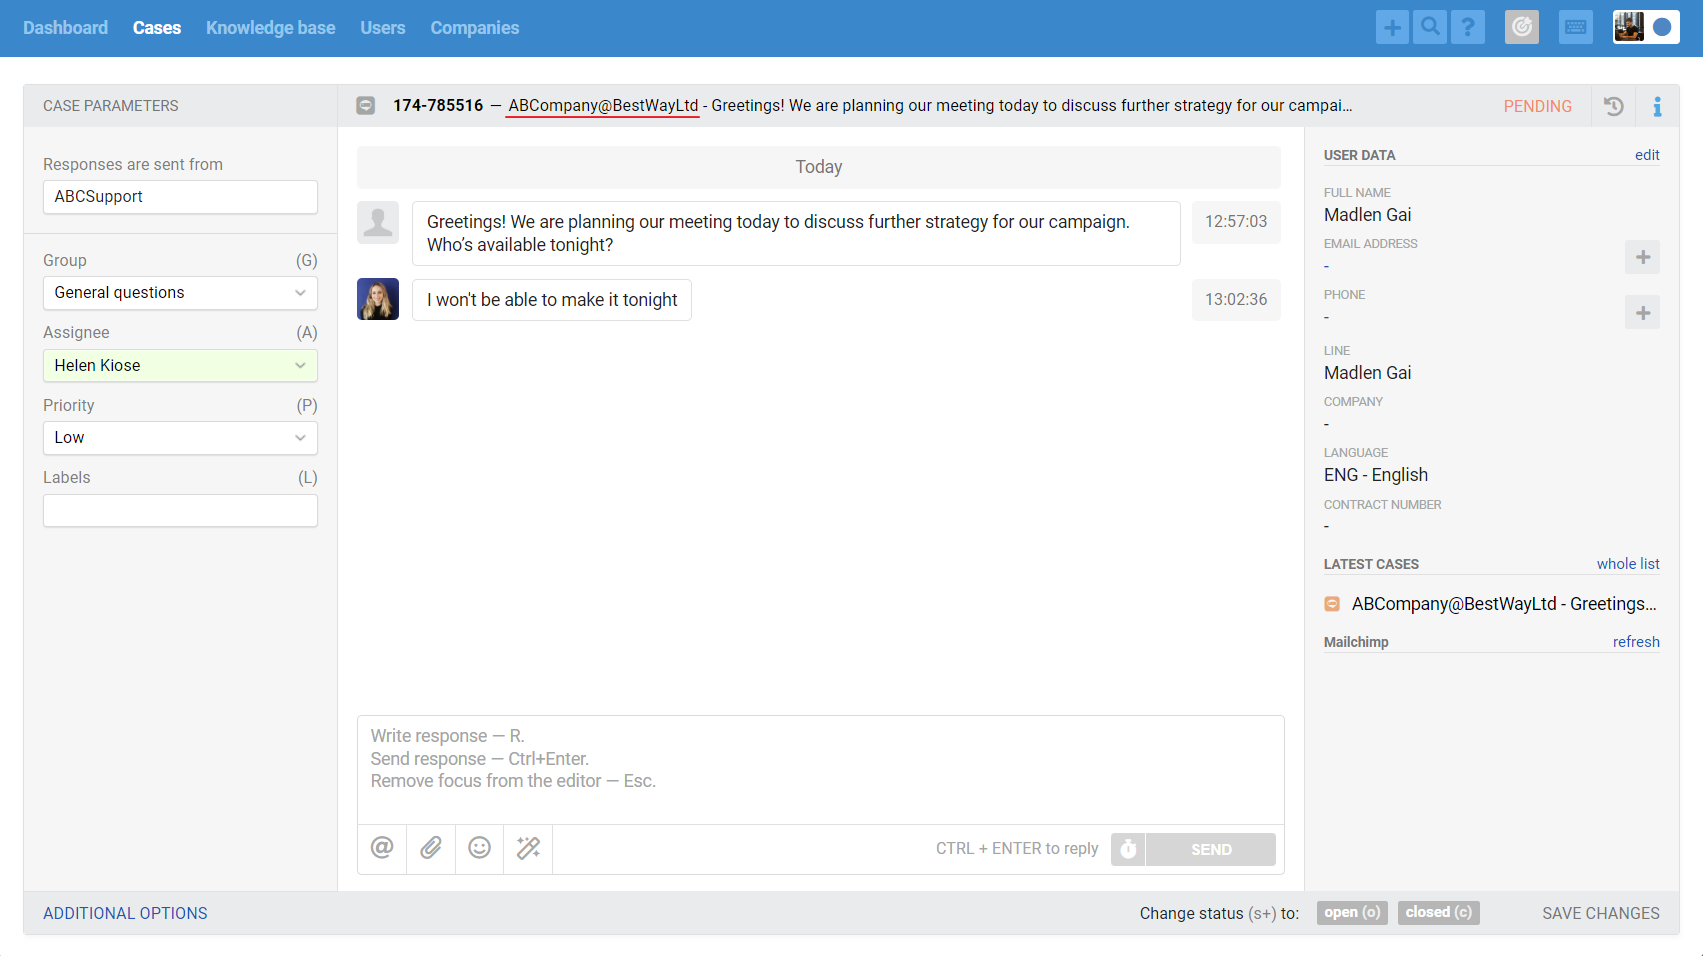
What do LINE messages look like in Deskie?
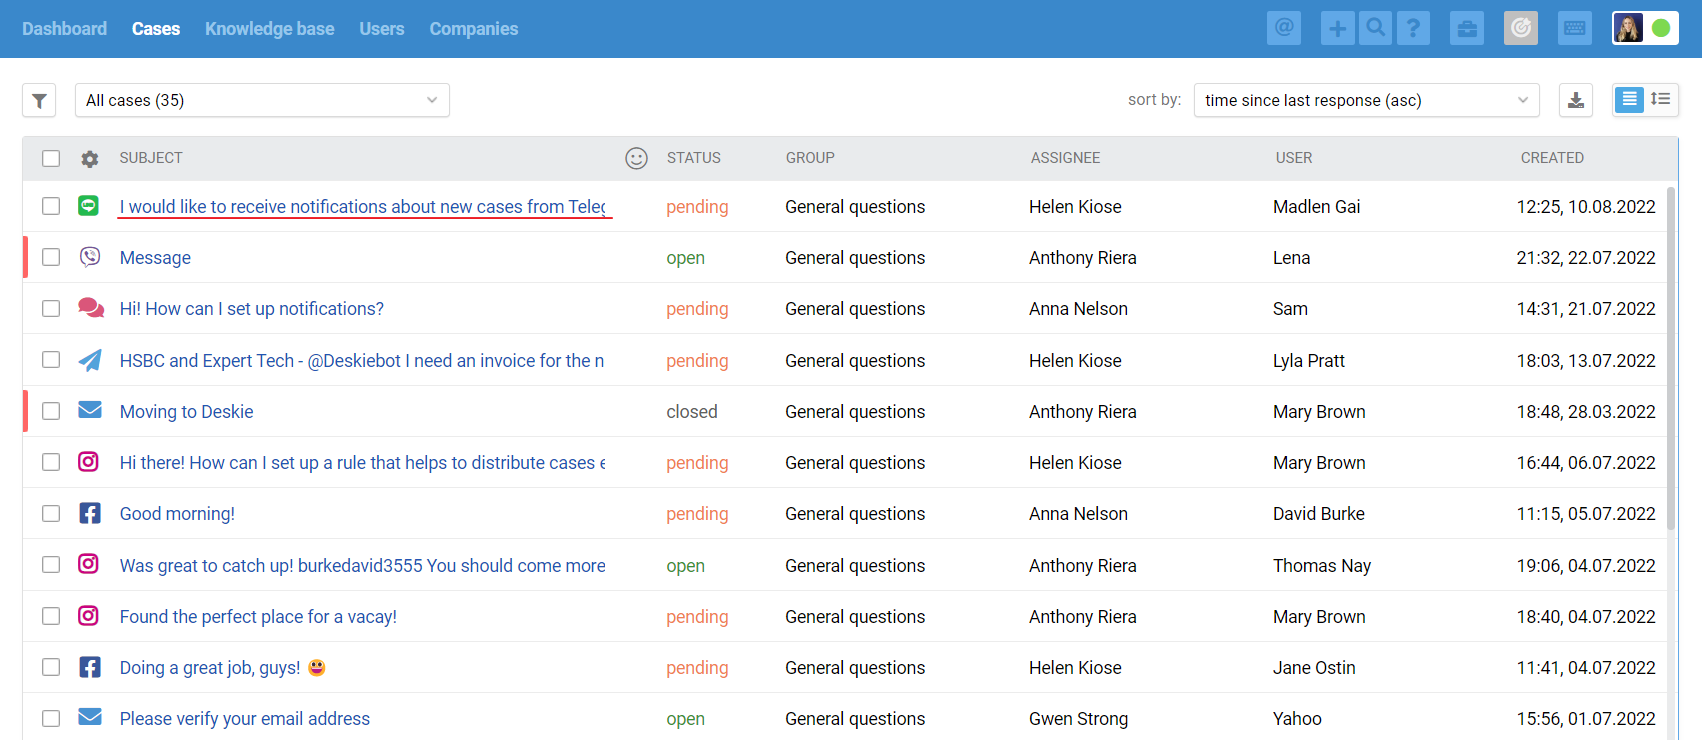
9. All cases list displays only the cases coming from asynchronous channels — users on both sides reply when it’s convenient for them. As for real-time chats, they are displayed and processed in a separate interface.
When you get a new chat (LINE, Microsoft Teams, Slack, Telegram, FB messages, Whatsapp, Viber), a green icon appears in the upper right corner of the agent’s account. It displays incoming chats and new chat responses:
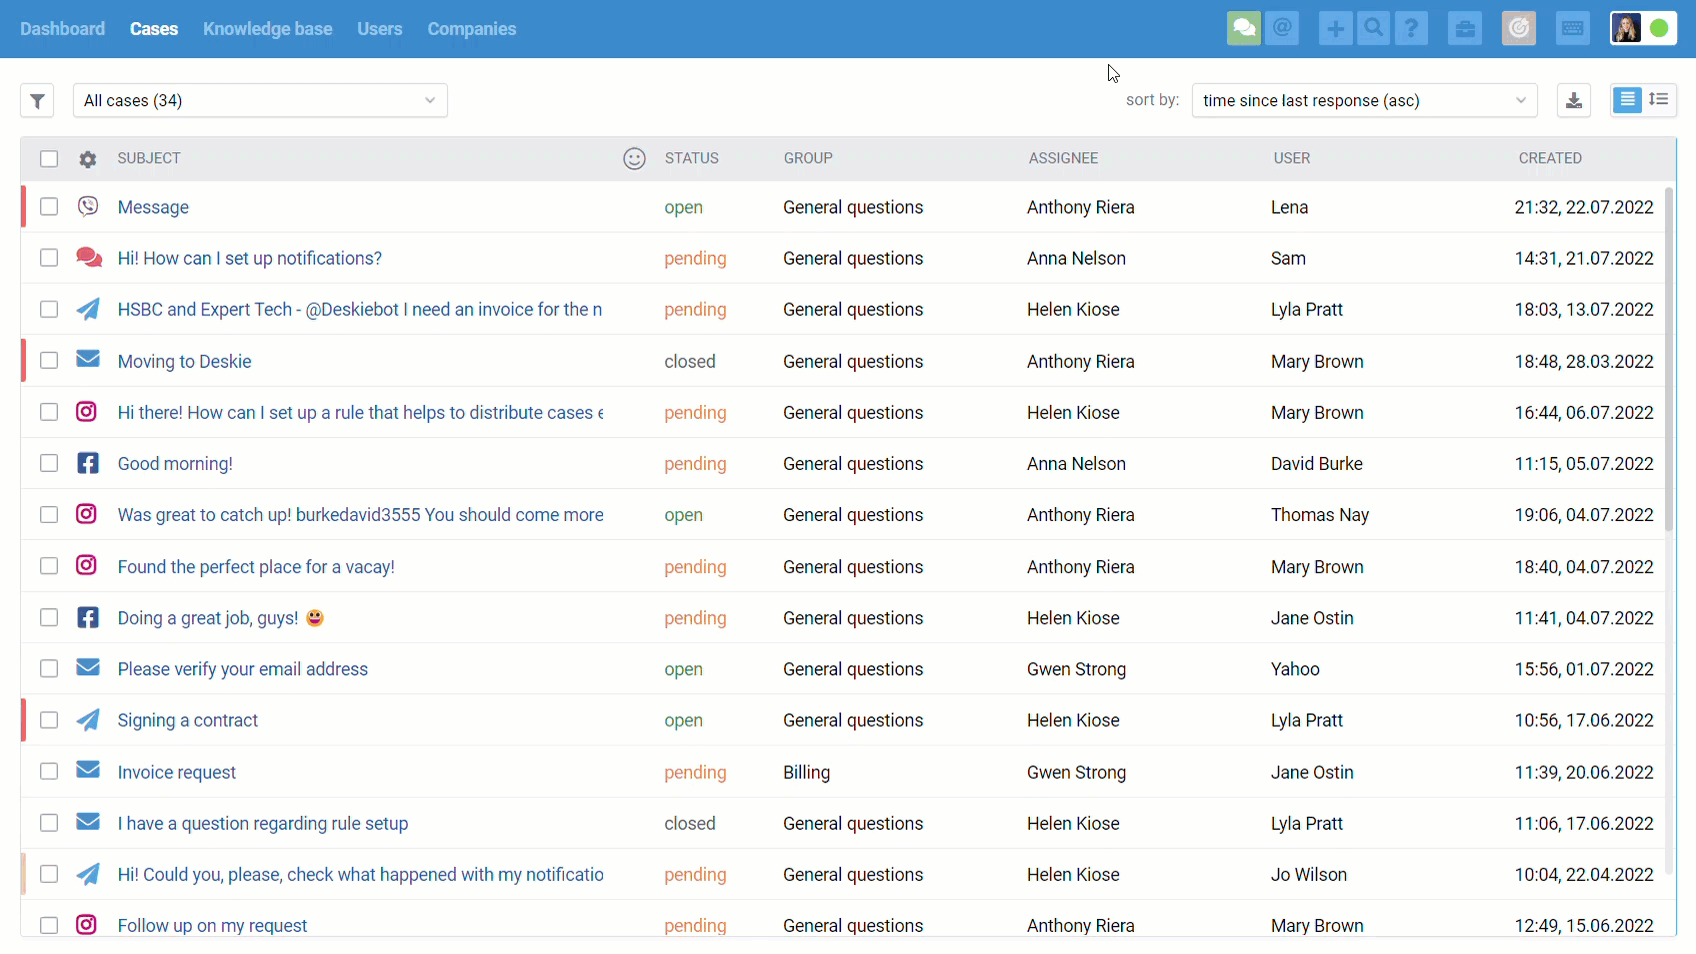
Chats are displayed in the all cases list too, but only after they were ended:
when an agent is ending the chat, clicking “end chat” in the lower right corner;
after 10 minutes (default value) of inactivity on both sides;
when one of the automated rules is applied, that has an “end chat and set status” action (for example, if you don’t plan to process chats and want to get them as cases in the all cases list):
For example, the user is ok to wait for a couple of hours to get a response to his/her email. However, even a 5-minute response delay in chats might seem like an eternity. If you do not take this point into account and treat cases from email and chats equally, some users will get an unpleasant experience interacting with the company.
Group chatting in LINE
A LINE channel can also be added to group chats to receive customer messages from there, but group communication in LINE has some nuances.
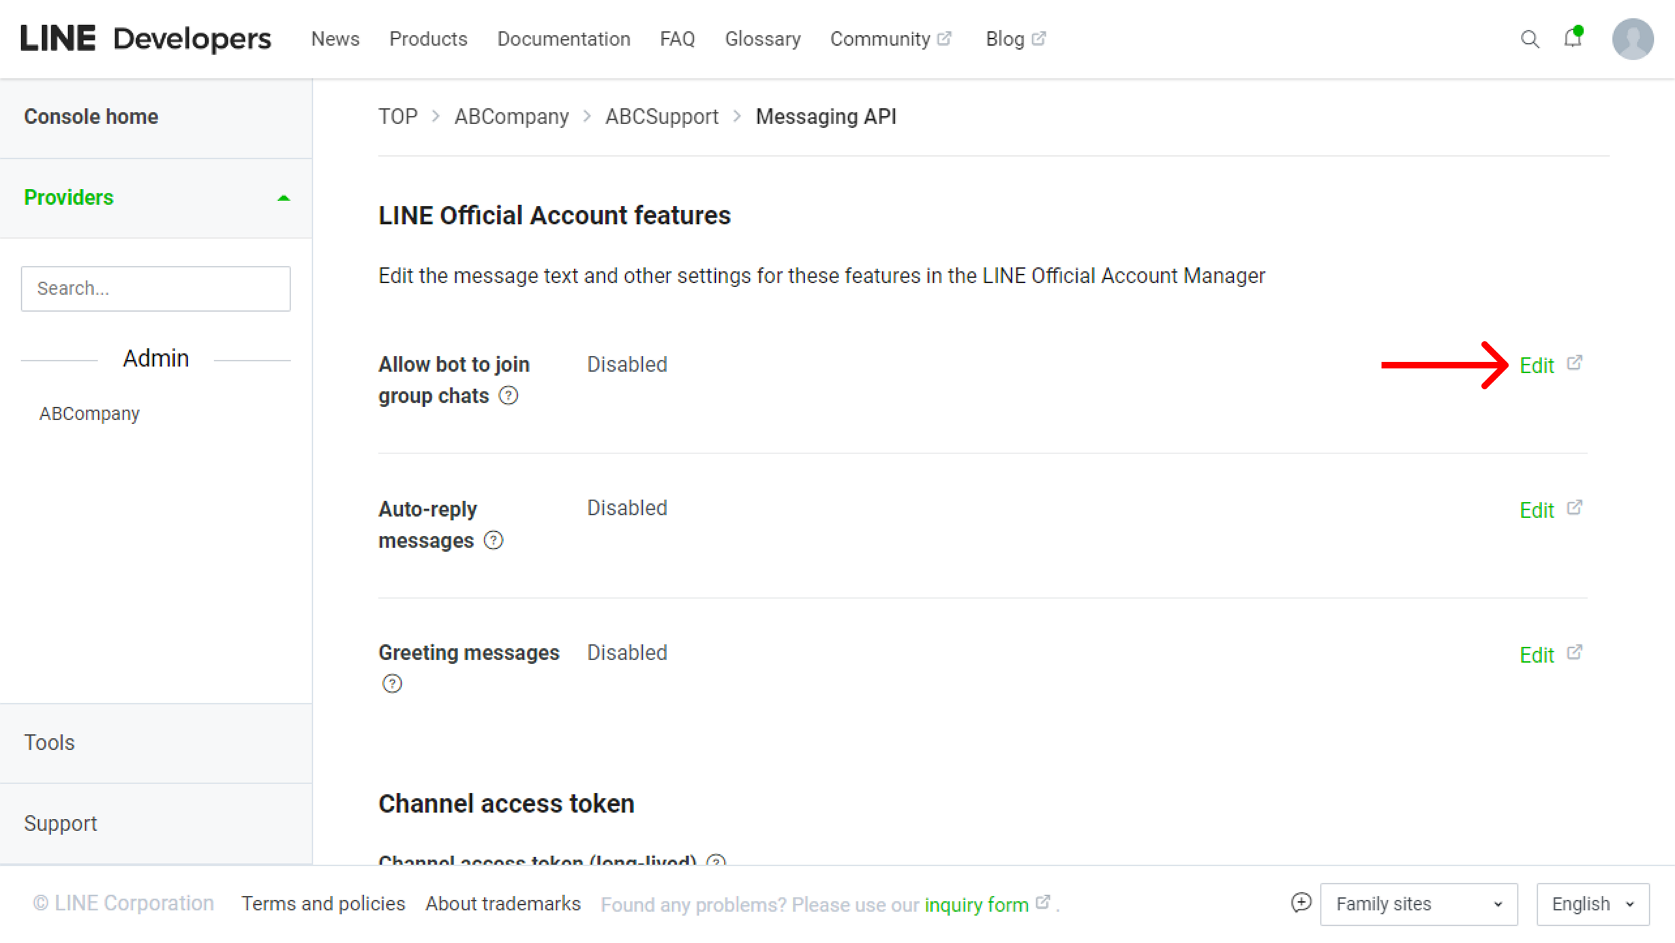
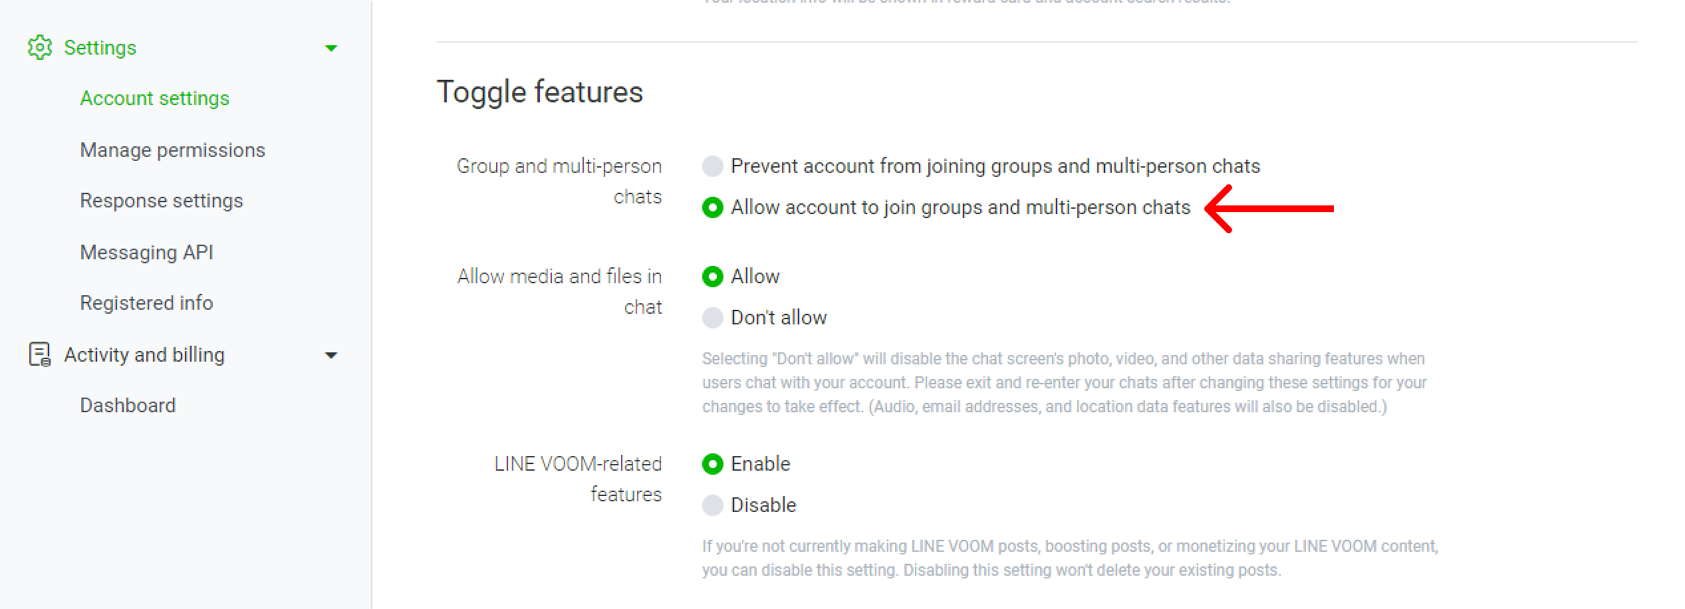
10. By default, LINE channels cannot be added to group chats. For this feature to appear, you need to enable it in the channel settings: Messaging API → LINE Official Account features → Allow bot to join group chats → Edit → Account Settings → Toggle features → Group and multi-person chats → Allow account to join groups and multi-person chats.
11. LINE allows you to add only one channel to a group chat. When you try to add a second channel to a group chat, it will immediately leave the group.
12. All messages from a group chat are sent to Deskie and displayed in one chat, making it convenient for agents to chat with multiple participants at the same time.
a. The chat author is the user whose message created a new chat in Deskie.
b. If the chat was reactivated by another participant, then when the agent selects a message in a new chat, the author of the case will change.
c. To make it easy for agents to understand that they received a message from a group chat, the name of the group chat in LINE is visible in the subject of the case.
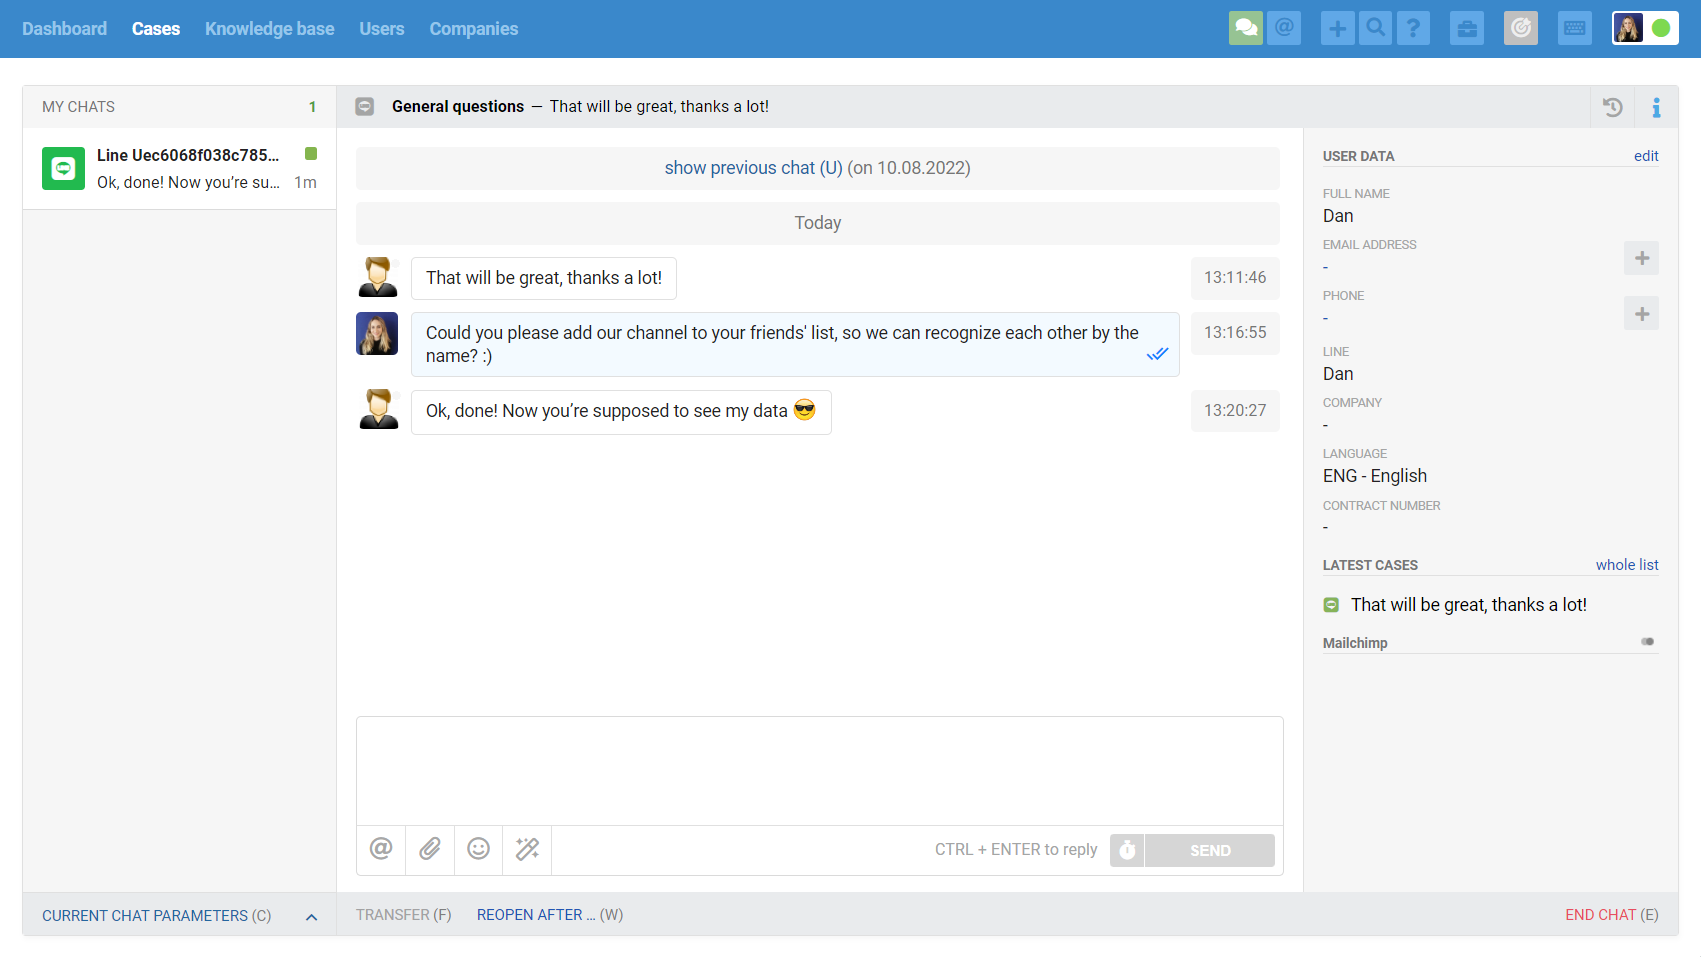
d. From group chats, Deskie receives messages from all users. But if the user has not previously added your Line channel as a friend, Line will not allow the channel to receive any data about the user. Therefore, messages from such a user will be displayed simply with the user id in Line until the user adds your channel as a friend.
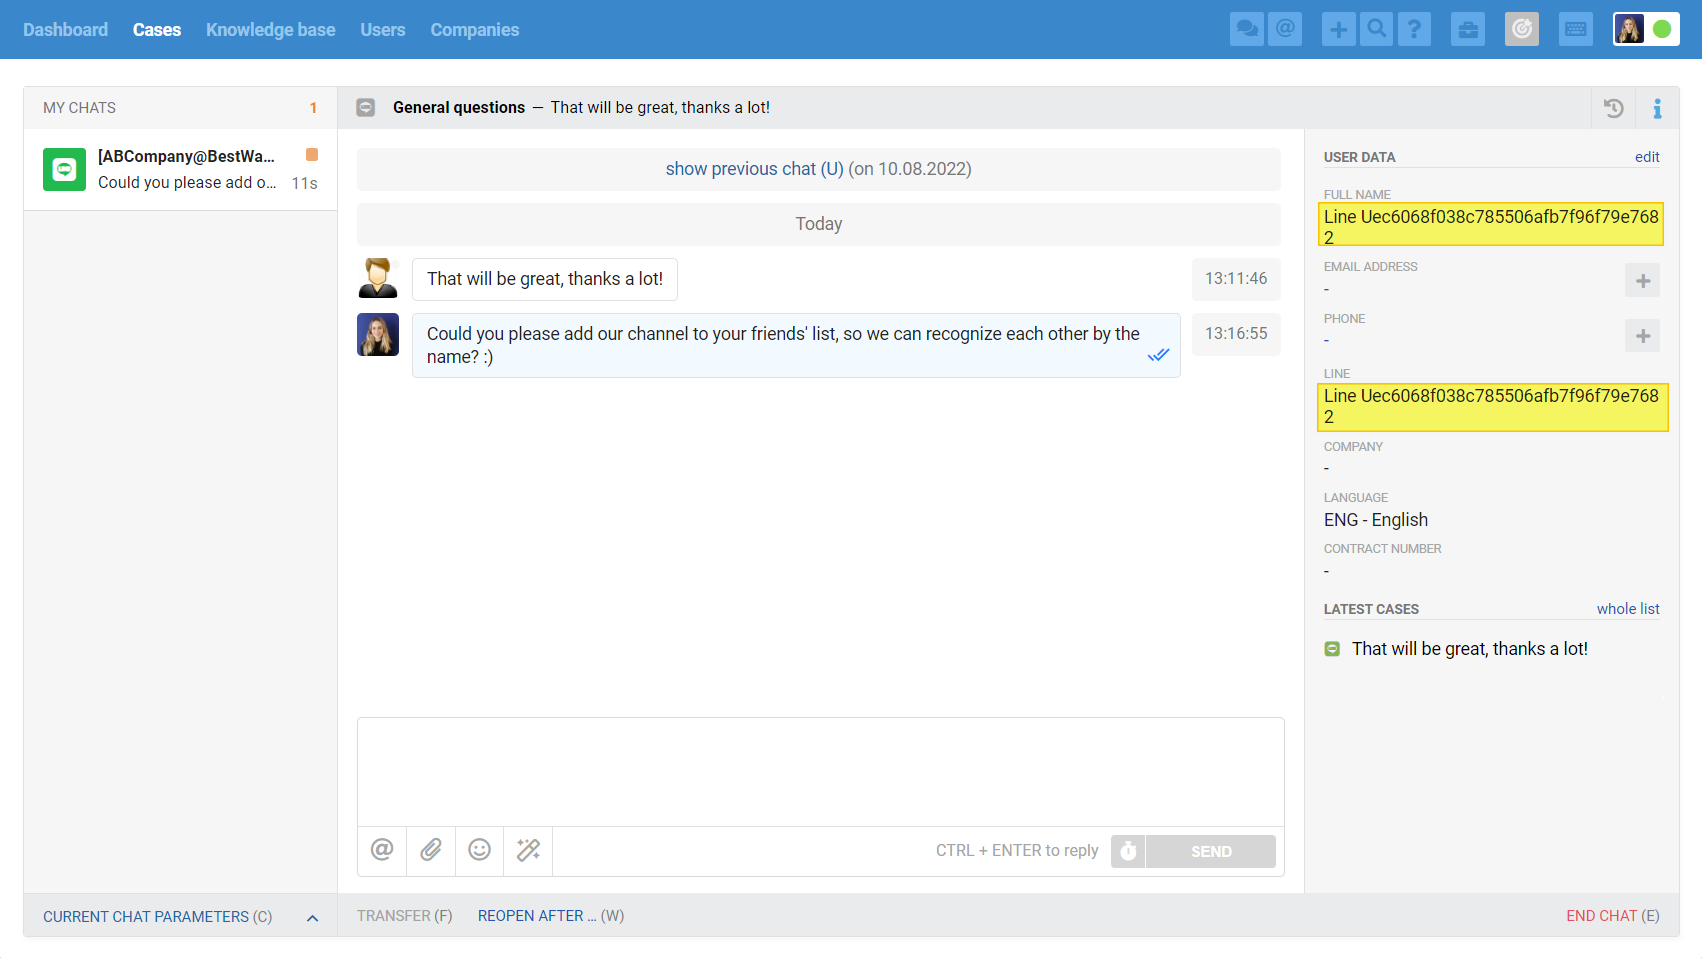
To make it easier for customers to add your channel as a friend, you can send a link to your channel in a group chat, by clicking on it they will be taken to your channel page and can add it as a friend.
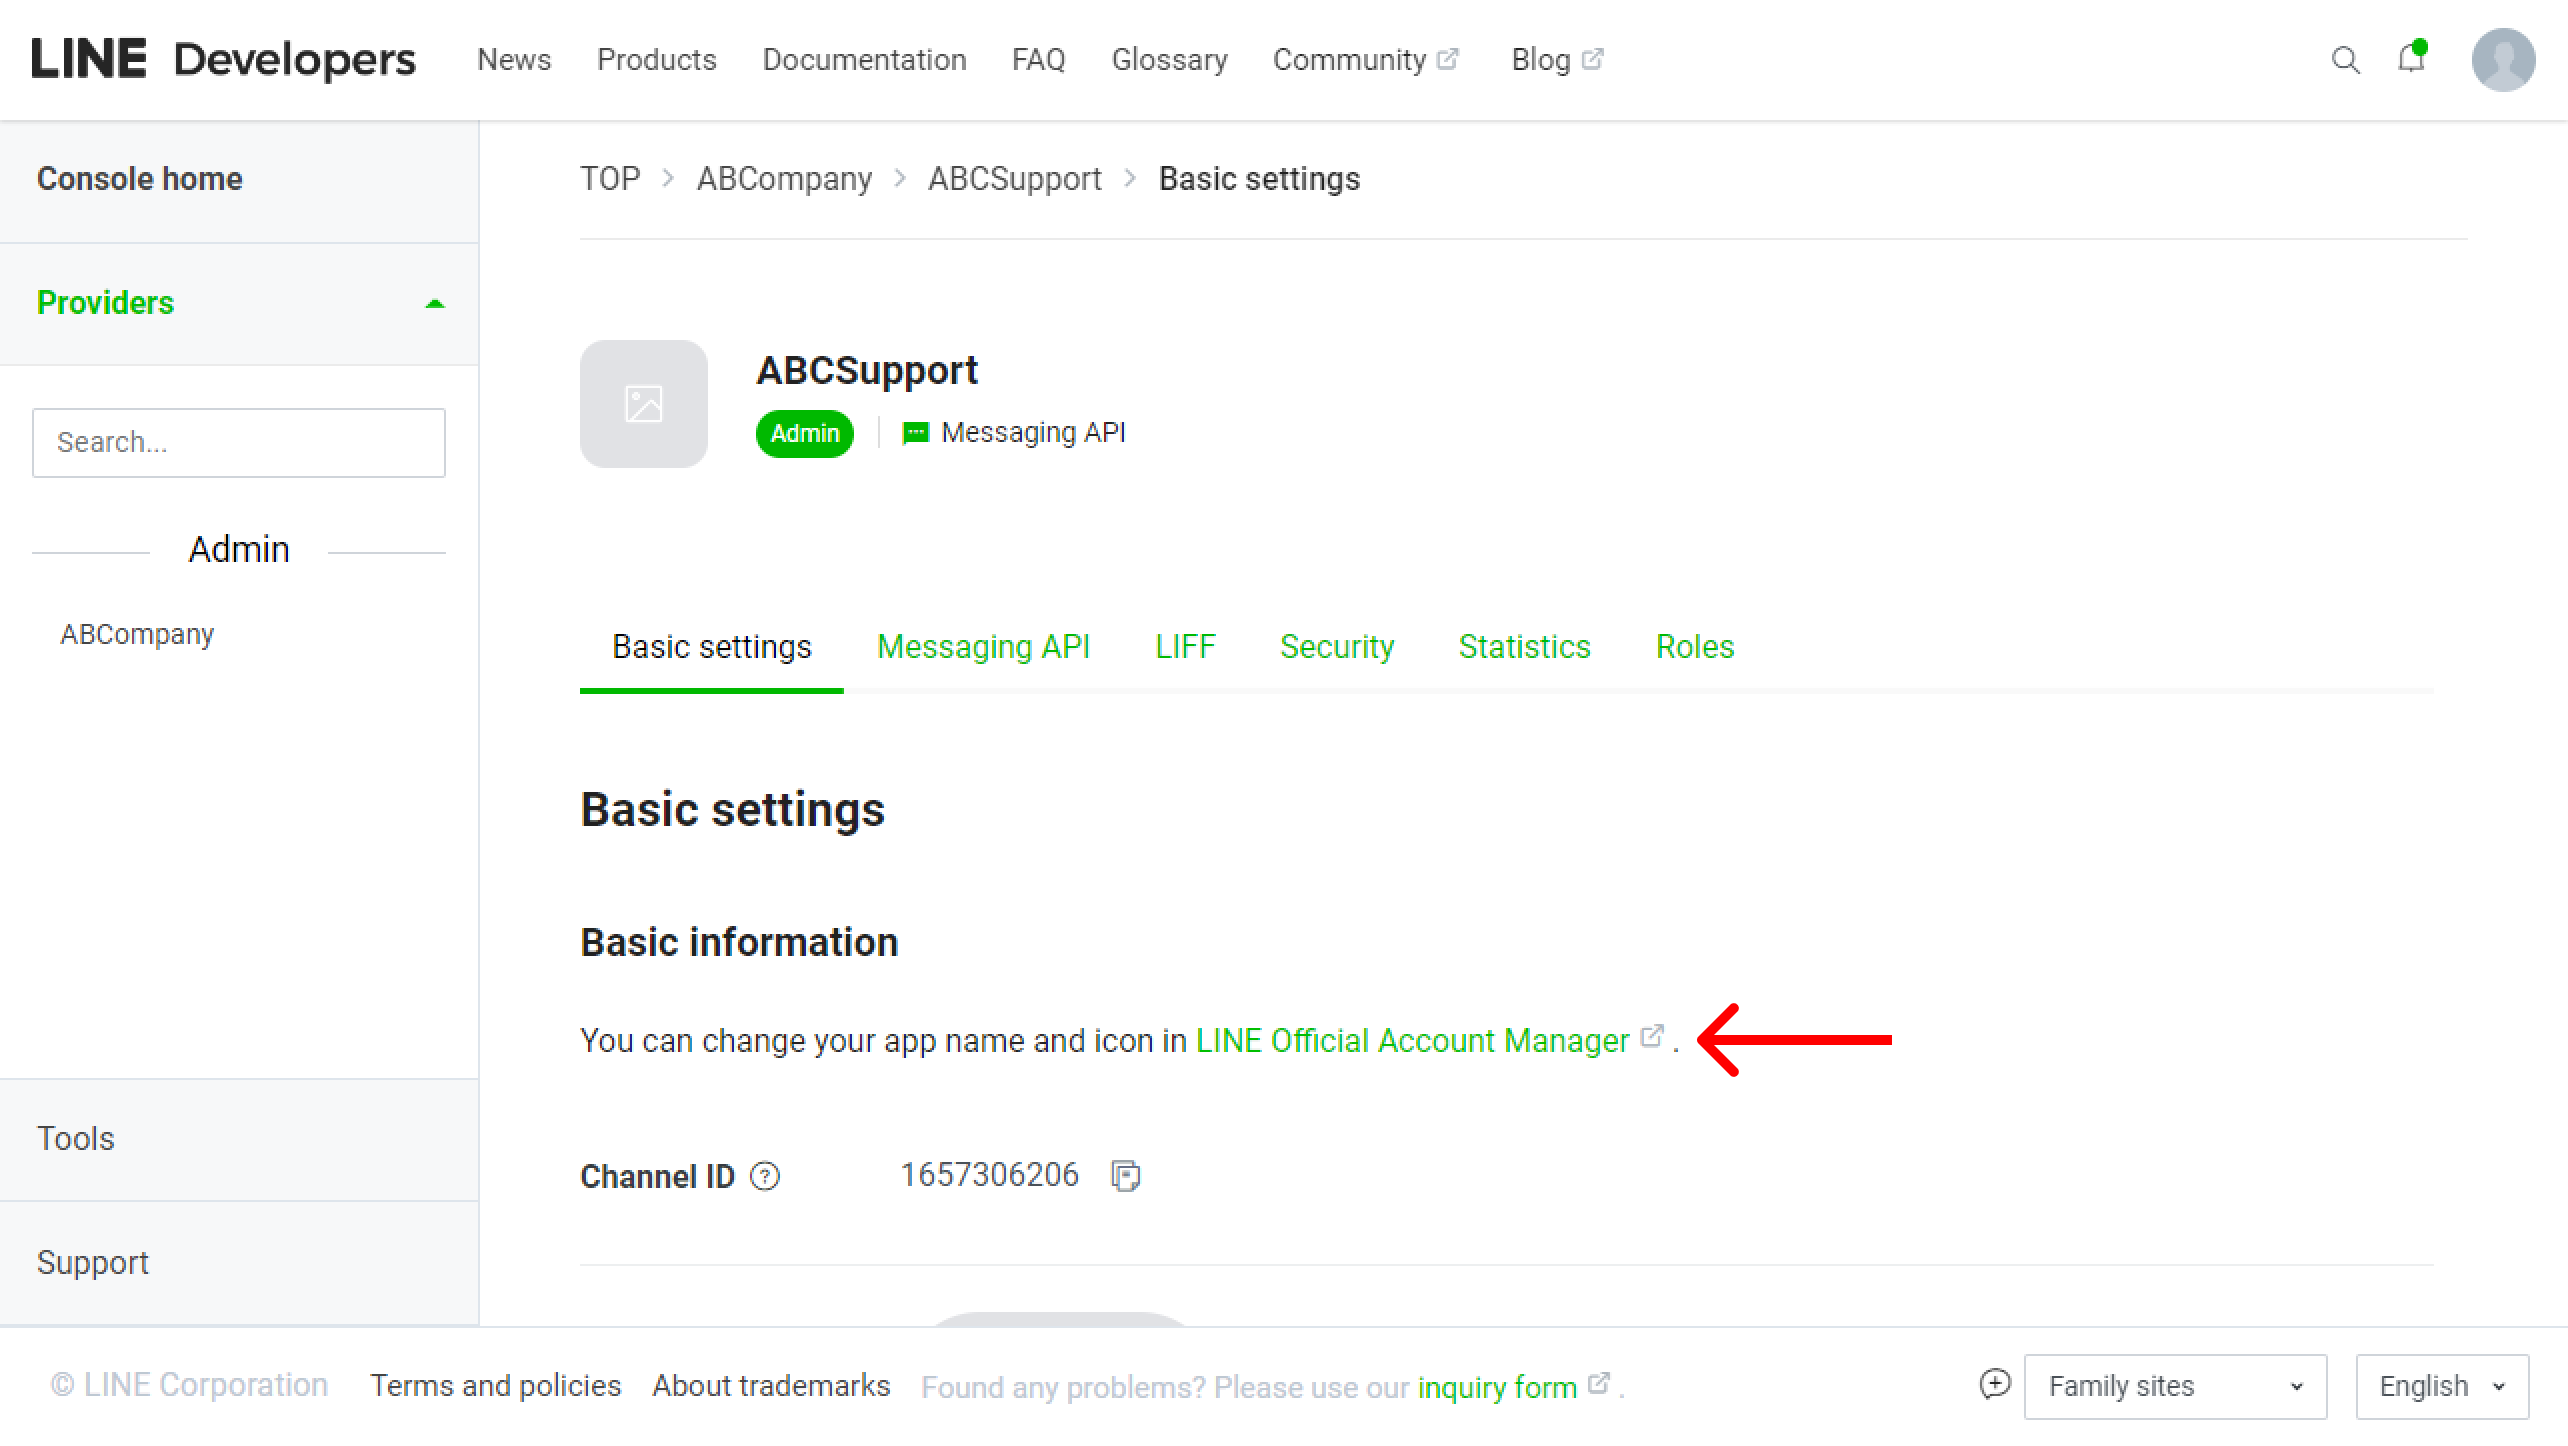
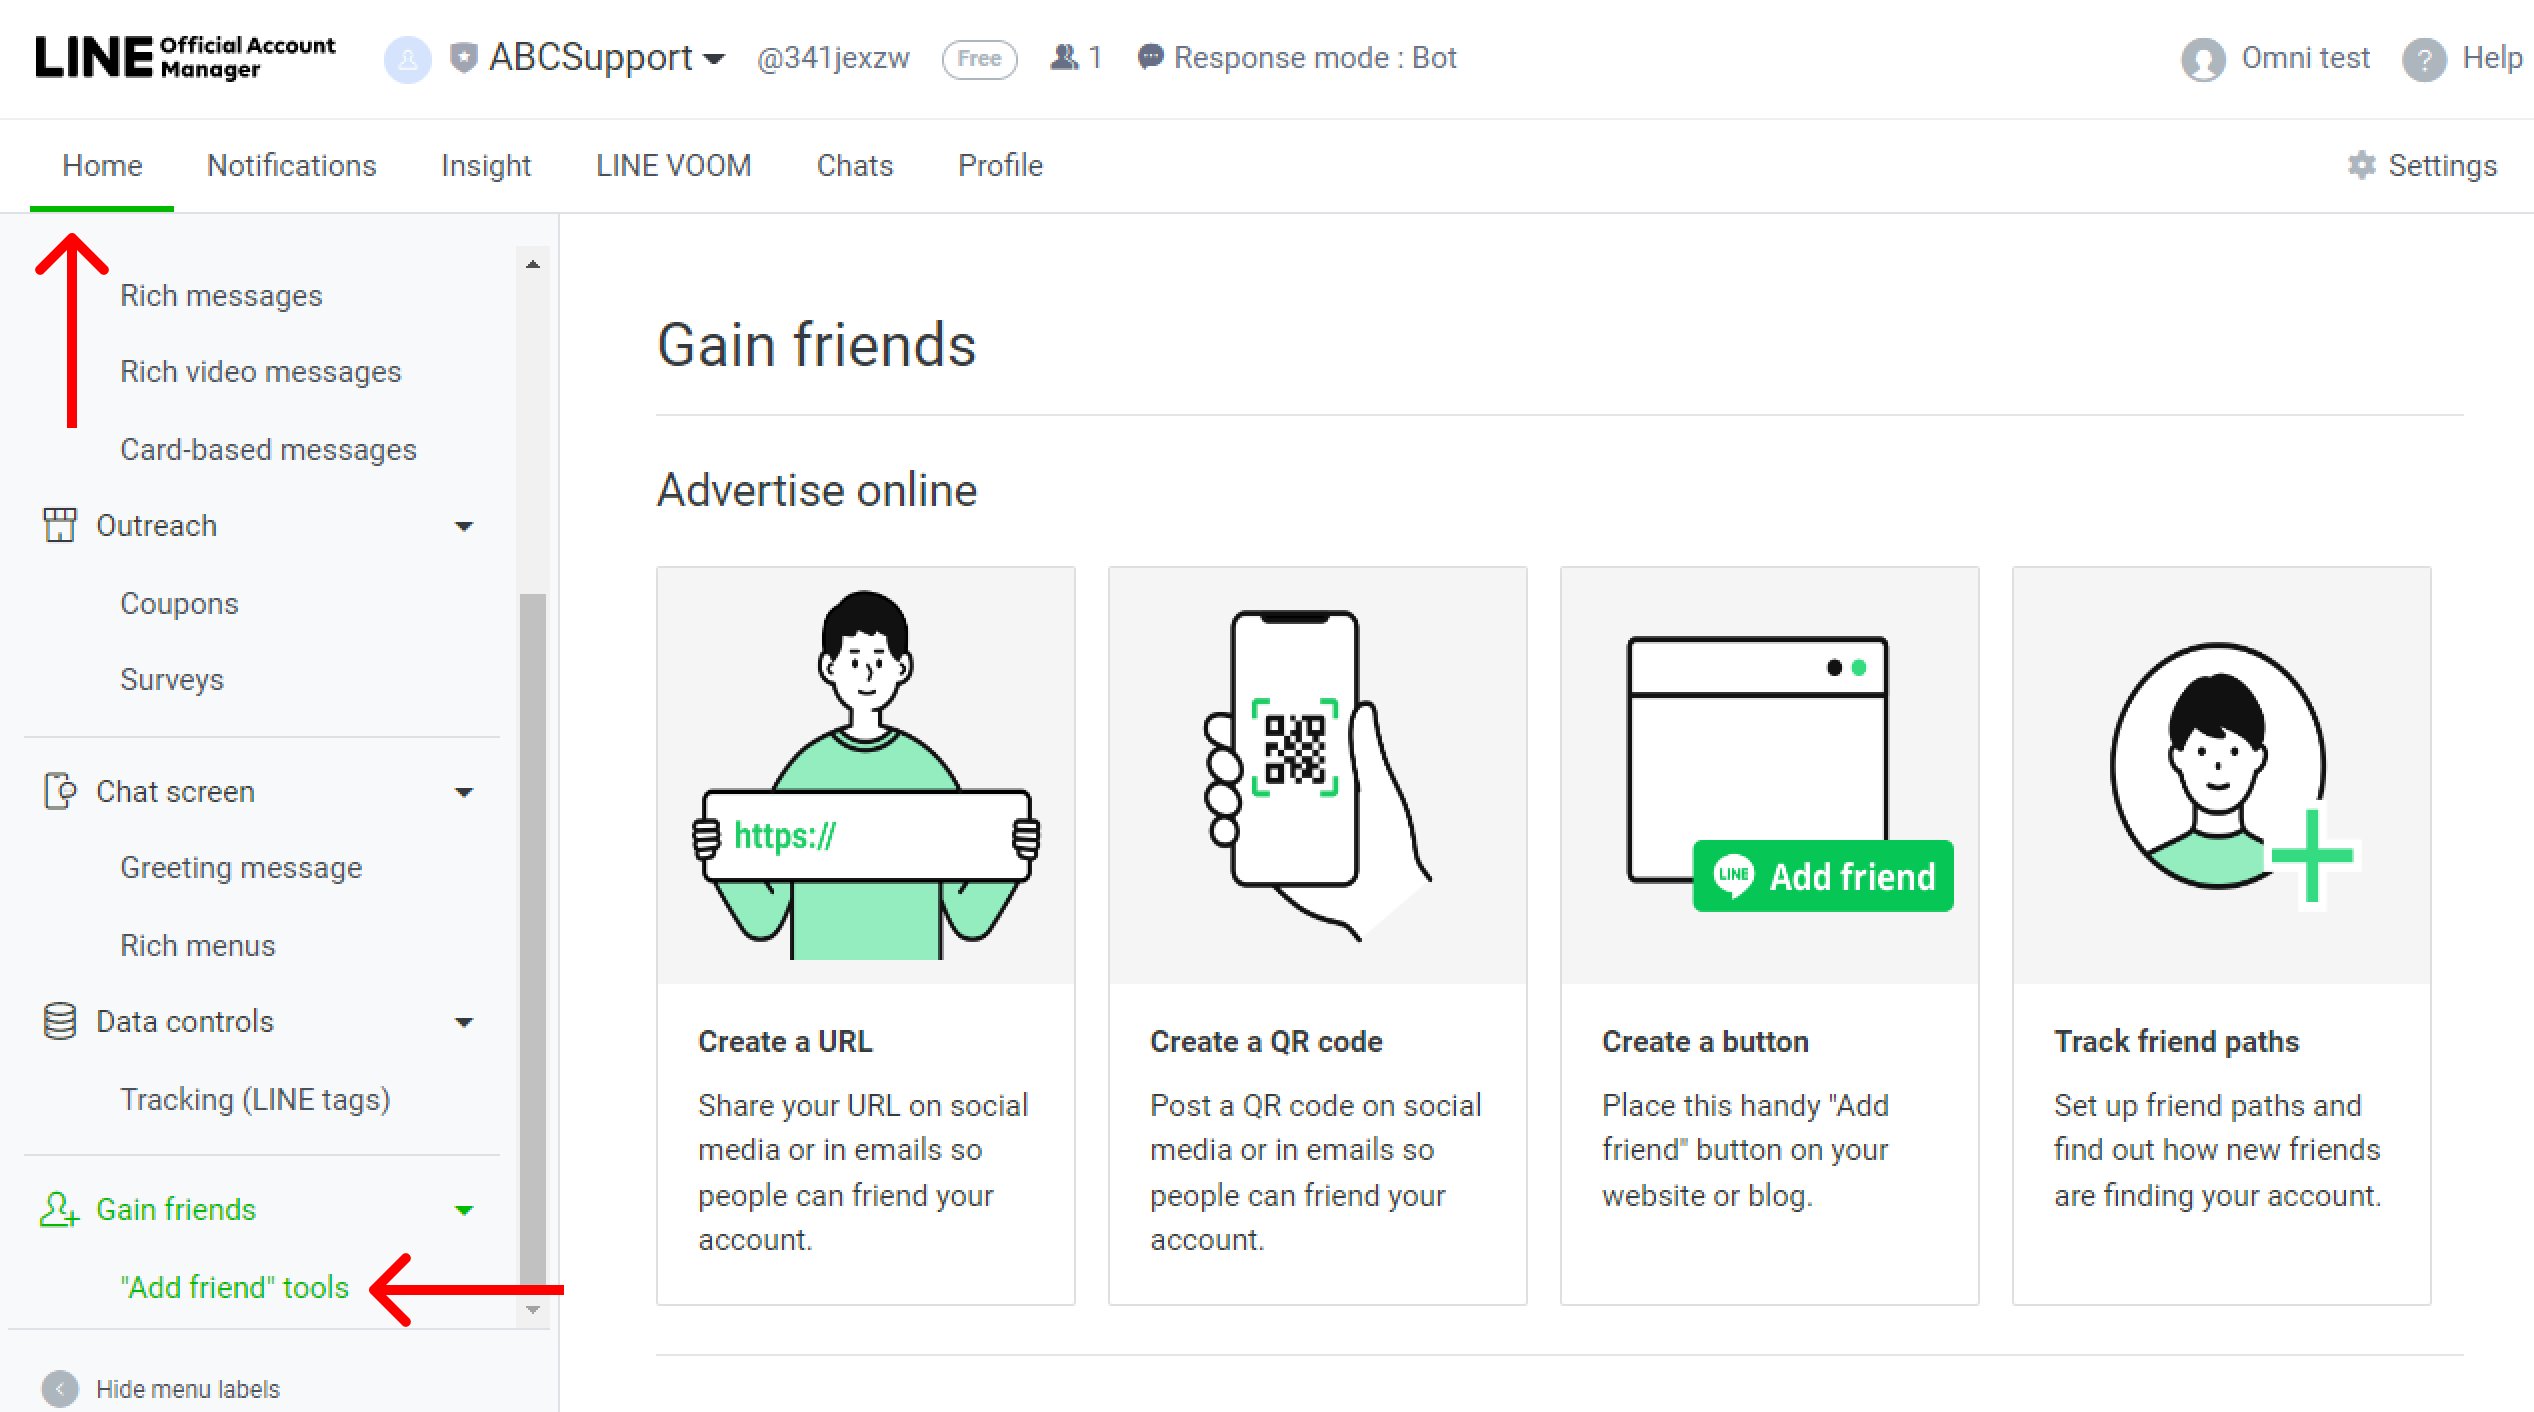
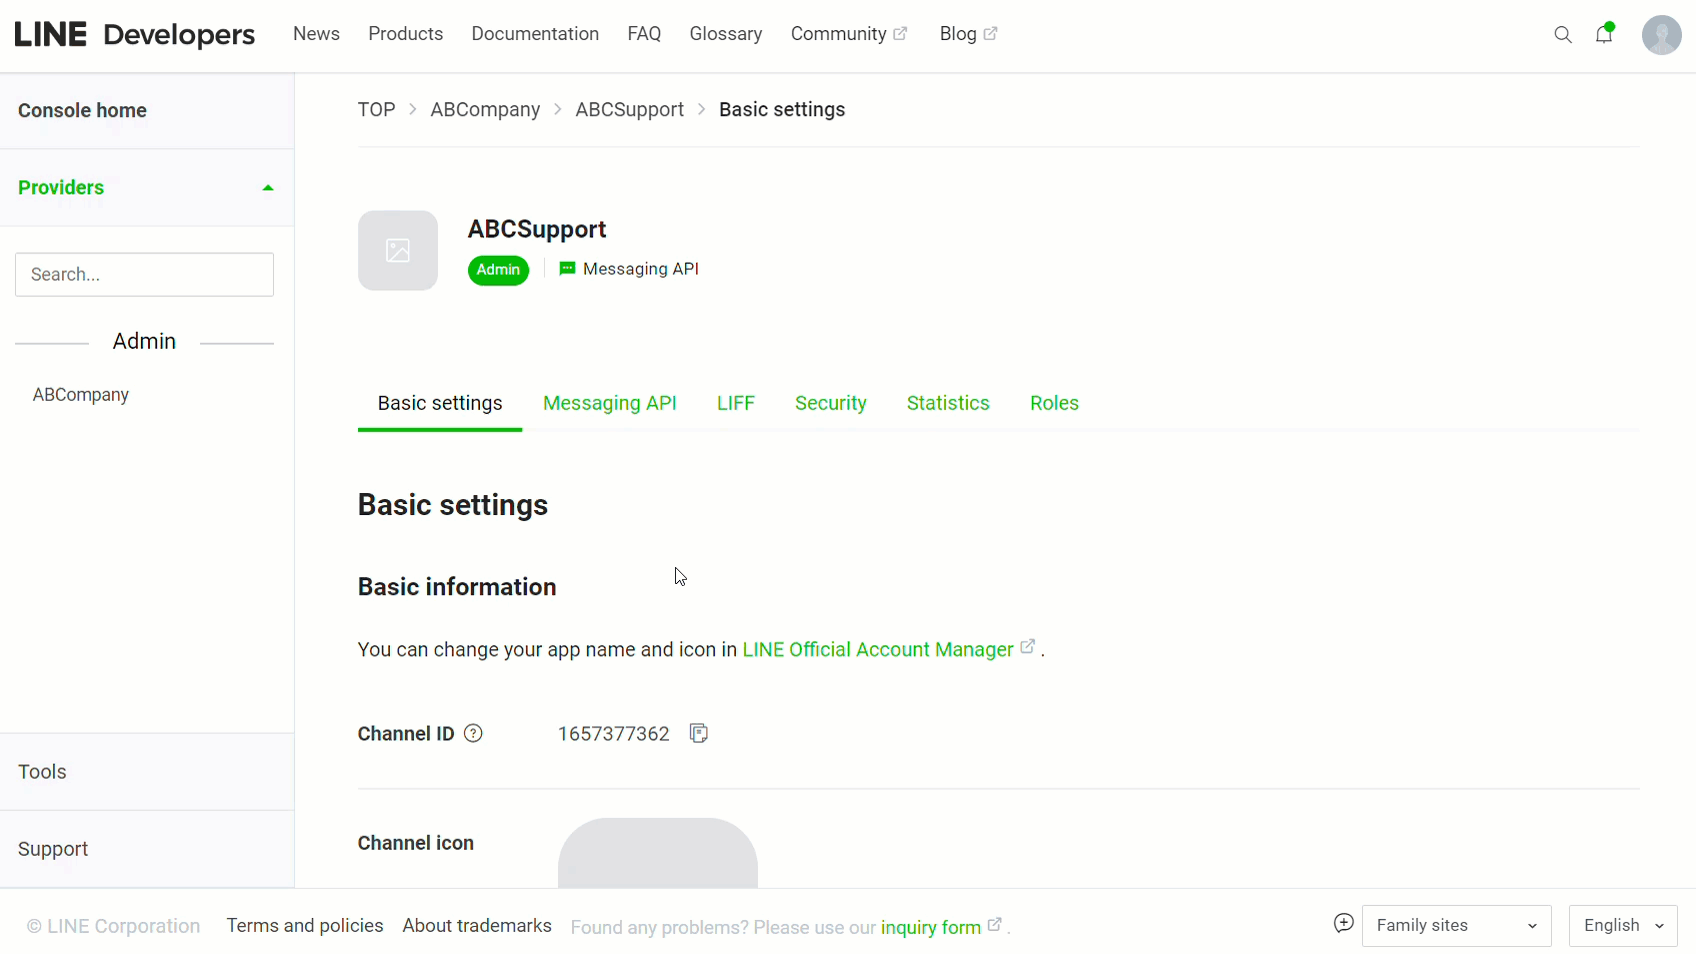
Getting a link to your channel: LINE Developers Console → Basic settings → LINE Official Account Manager → Home → Add friend tools → Create a URL.