To enable integration with Mailchimp, just specify the API key (Profile — Extras — API keys) in the "Integrations" subsection of the "Settings" section of the administrator account.

Where to display the data: you can choose where to display the widget in the "Panel for displaying data" drop-down list. You can place the data at the bottom of the informational panel on the case page. But if there is a lot of information, it is more convenient to display the widget in a separate panel.
Specify who should see the widget: list specific agents or groups that need to have the widget displayed.
Data display
After connecting the integration, the data from Mailchimp is displayed on the page of a specific case in the right sidebar. The amount of data depends on what is in Mailchimp. Let's take a closer look at the possible options.
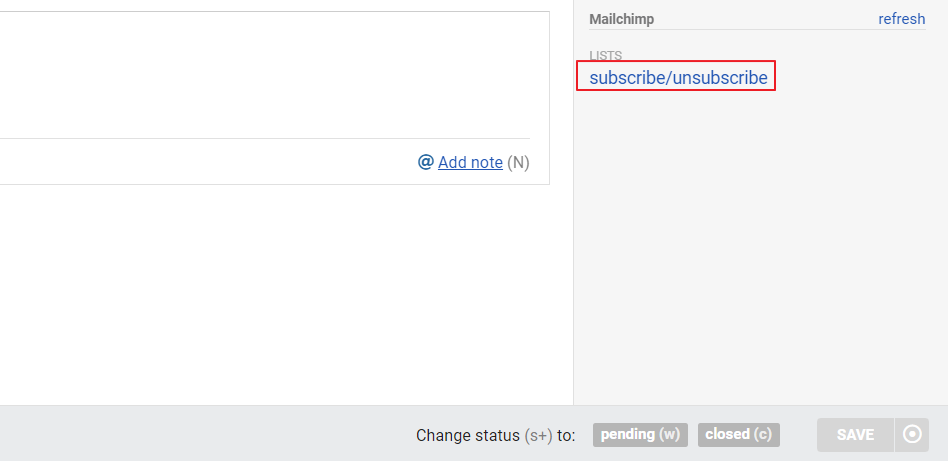
1) If the customer is not yet on any Mailchimp list, then we give an opportunity to quickly add them to the necessary lists:

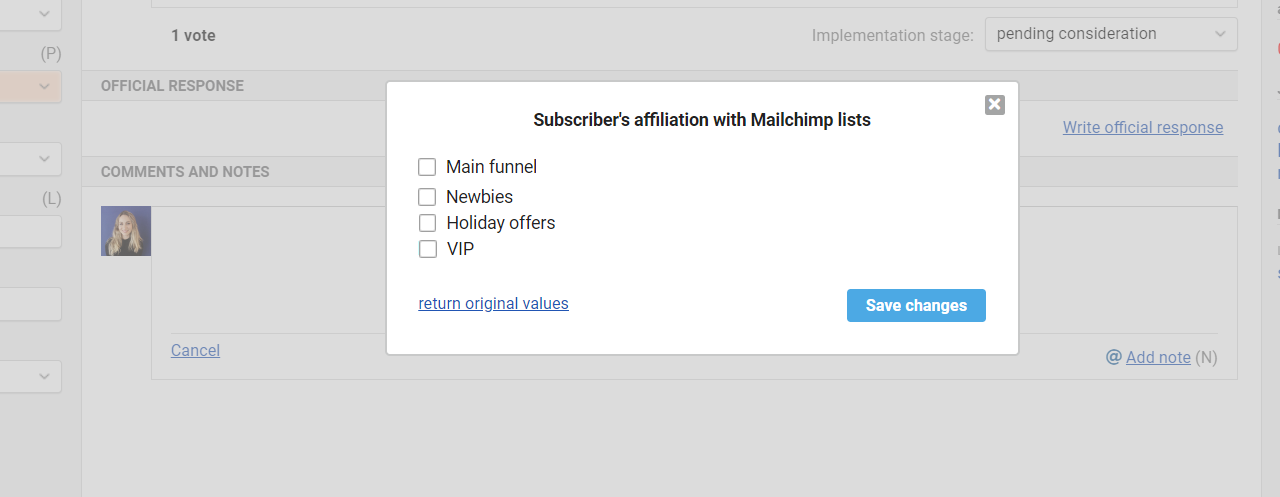
When you click on the "subscribe/unsubscribe" link, a modal window appears that displays lists from Mailchimp. To add a customer to one or another list, it is enough to mark the checkbox and click on the "Save changes" button:

Also in the modal window, there is a link "revert original values". It helps when you have made changes or changed your mind, and want to return to the original state.
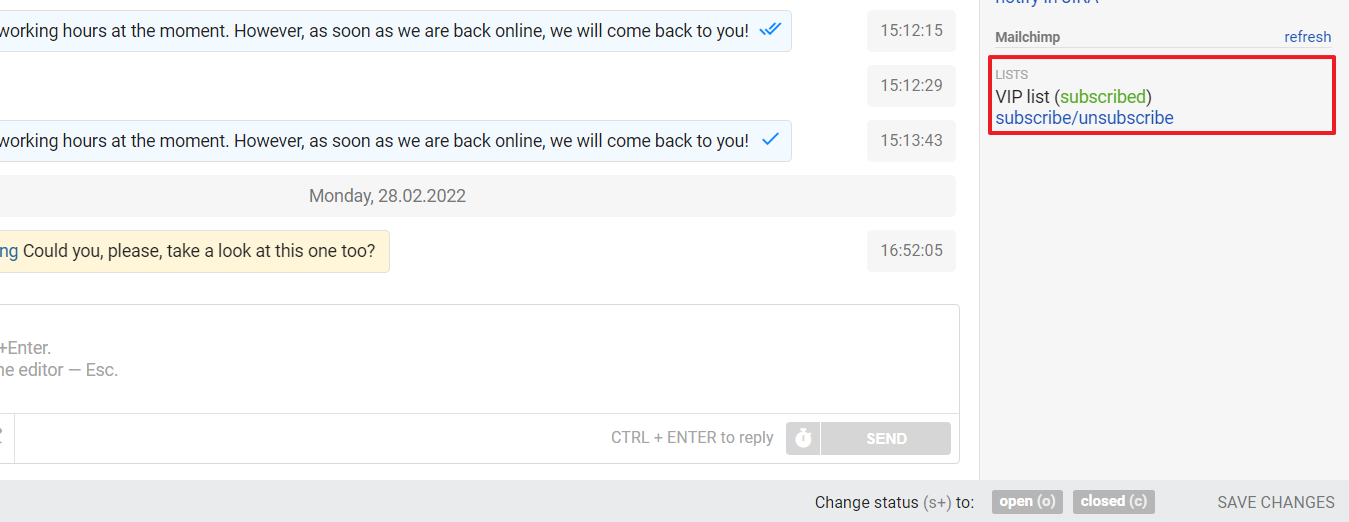
2) If the subscriber is on the list, but has not yet received a single letter, then the Lists item displays the list and the status of the subscriber in it, which is indicated in brackets:

There are four subscriber statuses in the lists:
subscribed (green color);
unsubscribed (red color);
cleaned (orange color);
pending (grey color).
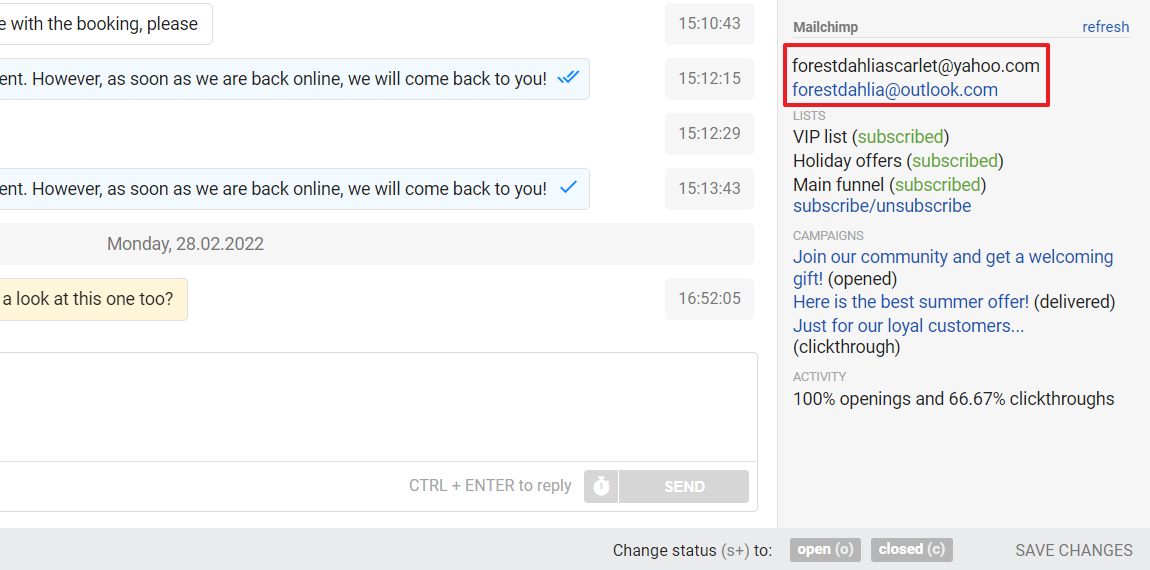
3) When the subscriber is not only in the lists but has already received some newsletters, all widget items are displayed:
Lists (all mailing lists that the subscriber belongs to);
Campaigns (the last three letters that the subscriber received);
Activity (average values for openings and clickthroughs).

The campaign name is a link that you can click on to view the web version of the email. It is quite useful since by the campaign's name it's not always possible to understand/remember what kind of email it was.
4) We check the presence of a subscriber in Mailchimp by email address. However, one customer can have multiple email addresses in Deskie. Therefore, when checking data in Mailchimp, we consider all email addresses of the customer.
If there is more than one email address, all of them are displayed at the beginning of the Mailchimp block:

In this case, email addresses act like tabs. Active tabs have black text, while inactive tabs have blue text, meaning they are links. When you click on an inactive "tab", we load data from Mailchimp for the selected address.
