To connect the integration, create an application in the Google Developer Console and connect it to your Deskie account.
Connecting a shared Google Drive account for all agents (creating an application in the Google Developer Console)
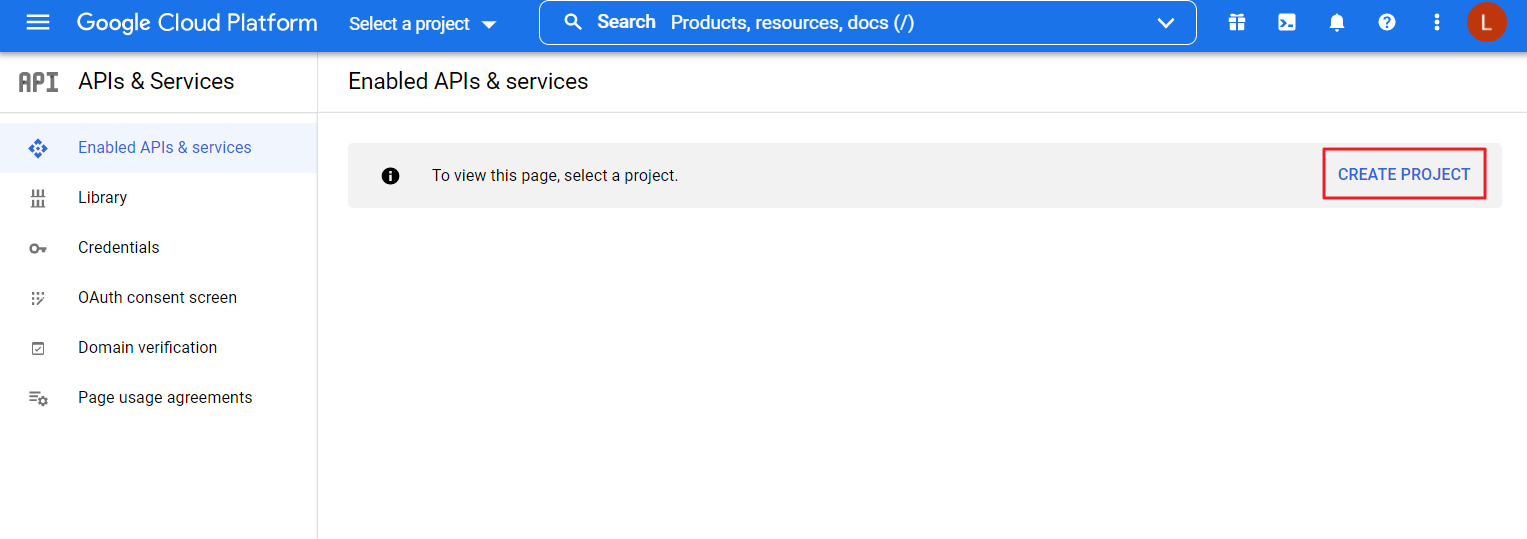
1. Log in to your Google account, go to the Google Dev Console and create a new project.

2. Go to the "Library" section, search for the Google Drive API and enable it.
3. Go to the "Credentials" section of your project and create an API key. Go to the Edit mode of the generated key, select "Google Drive API" under "API restrictions" and save the changes. Paste the received API key into the corresponding integration connection field in Deskie.
4. Go to the "OAuth consent screen" tab — specify the name of the application — add "deskie.io" in the "Authorized domains" section — specify the developer's email address — save the changes.
5. Create a client ID and provide links from the admin account in the "Authorized JavaScript origins" and "Authorized redirect URIs" fields. Paste the received "Client ID" and "Client Secret" into the corresponding integration connection fields in Deskie.
6. Go to the project settings, copy its number and paste it into the corresponding integration connection field in Deskie. Click Connect.
Connecting Personal Google Drive Accounts (Google Developer Console App Creation)
1. Log in to your Google account, go to the Google Dev Console and create a new project.
2. Go to the "Library" section, find the Google Picker API through the search and enable it.

3. Go to the "Credentials" section of your project and create an API key. Go to the Edit mode of the generated key, select "Google Picker API" under "API restrictions" and save the changes. Paste the received API key into the corresponding integration connection field in Deskie.

4. Go to the "OAuth consent screen" tab — specify the name of the application — add "deskie.io" in the "Authorized domains" section — specify the developer's email address — save the changes.
5. Create a client ID and provide links from the admin account in the "Authorized JavaScript origins" and "Authorized redirect URIs" fields. Paste the received "Client ID" and "Client Secret" into the corresponding integration connection fields in Deskie.

6. Go to the project settings, copy its number and paste it into the corresponding integration connection field in Deskie. Click Connect.
