This task is solved by placing your JS file on the necessary pages in the agent's account: on the page of a specific case, the page for creating a case, in the user profile, on the page of the case list. The JS file provides the ability to manage these pages: hide something, add new elements, etc.
Thus, when loading a page, you can, for example, send user data to your server, run a search through the database, return results and display them in Deskie.
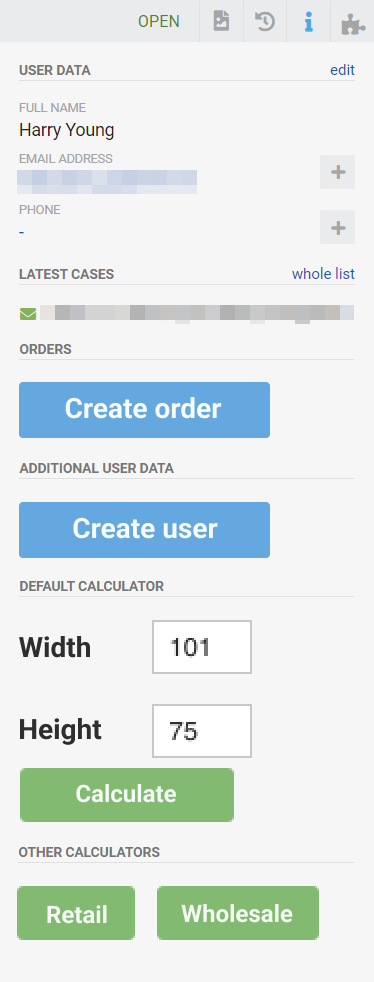
A lot of customers create additional functionality using this method — from simple profile links to complex cost calculators:

In this case, the standard blocks are user data and latest cases. Everything else was added by the customer.
In terms of appearance, the additional block in the right sidebar can look both Deskie-style and custom.
You can also add your own buttons, links, and other elements to the top panel of an agent's account using JS.

To make it easier for you to prepare your own JS files, check out the examples:
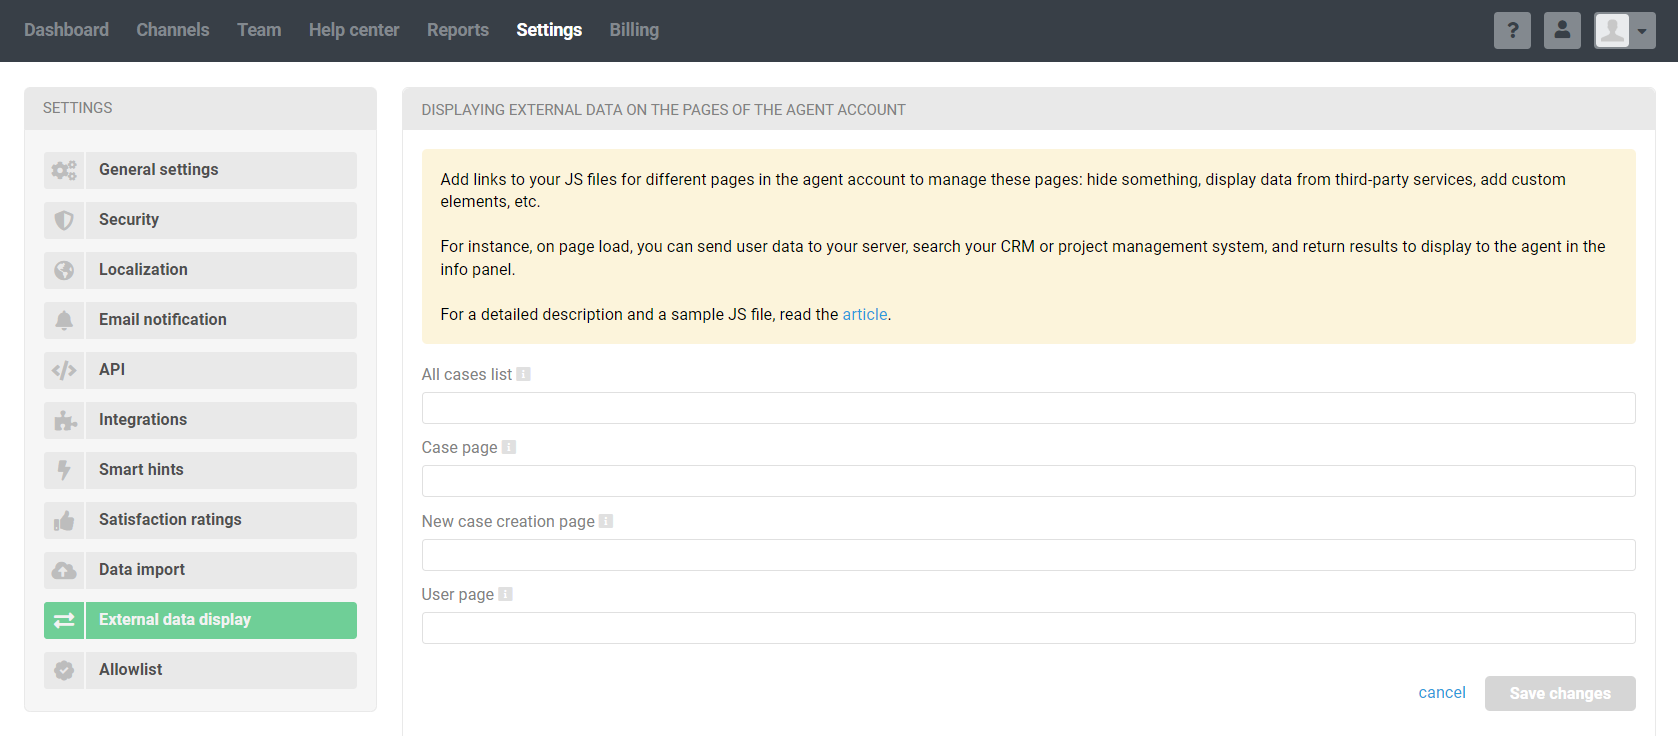
You can add links to your own JS files along the path: administrator account — section "Settings" — subsection "External data display"

