The knowledge base can be configured both in the administrator's account (the "Help Center" section) and in the agent's account (the "Knowledge Base" section), if the agent has been given the additional permissions. Let's take a look at the creation of a knowledge base in an administrator account.
1. The knowledge base consists of categories, sections, and articles.

2. Sections and articles are divided into blocks (by categories and sections, respectively), which can be collapsed.
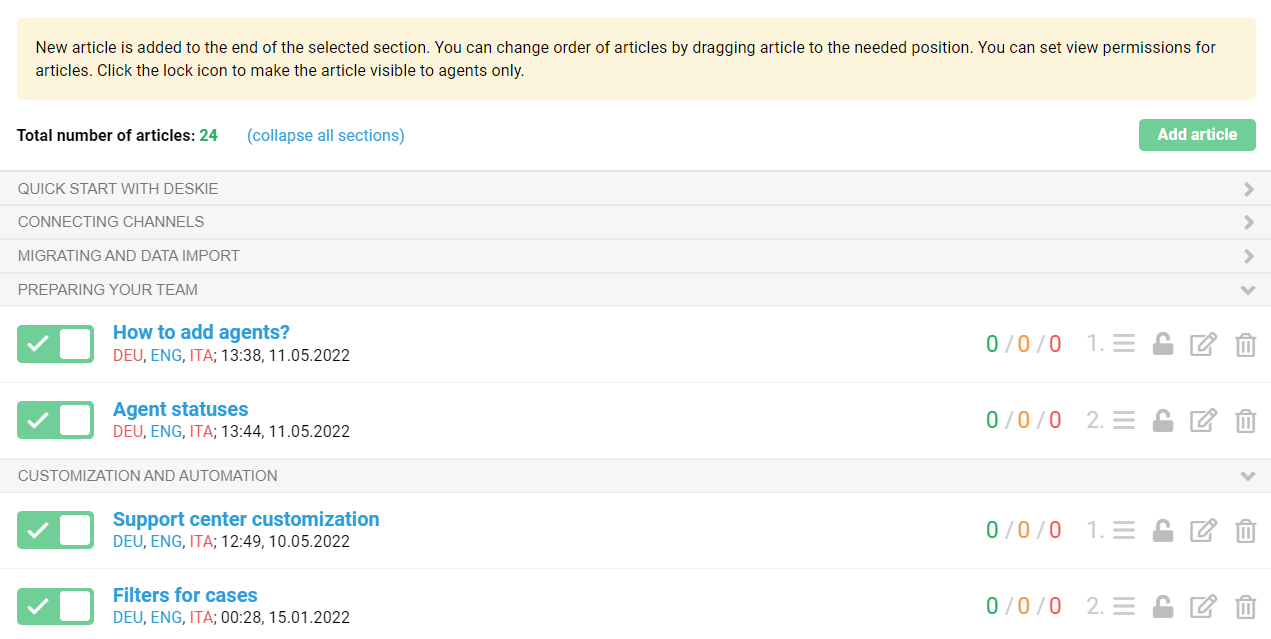
3. When adding and editing a section, the fields "Name", "Category" and "Short description" appear. A brief description of the section is displayed in the Help Center. It helps customers to become more familiar with what information the section contains.

If you provide support in several languages and you have added additional languages in addition to English in your administrator account along the path "Settings" — "Localization", fields for translation will appear in the form.
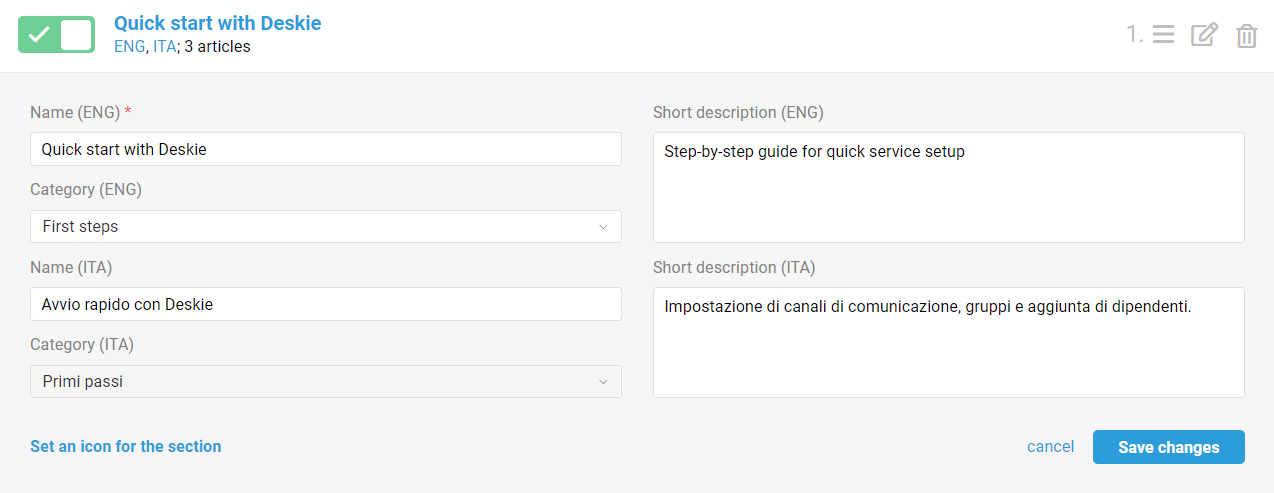
4. To make it easier for customers to navigate the knowledge base, you can add icons to the sections from the proposed list.

If a section has an icon set, it is displayed in the list of sections (administrator and agent counts) to make it easier for you to understand which sections have an icon left to set.
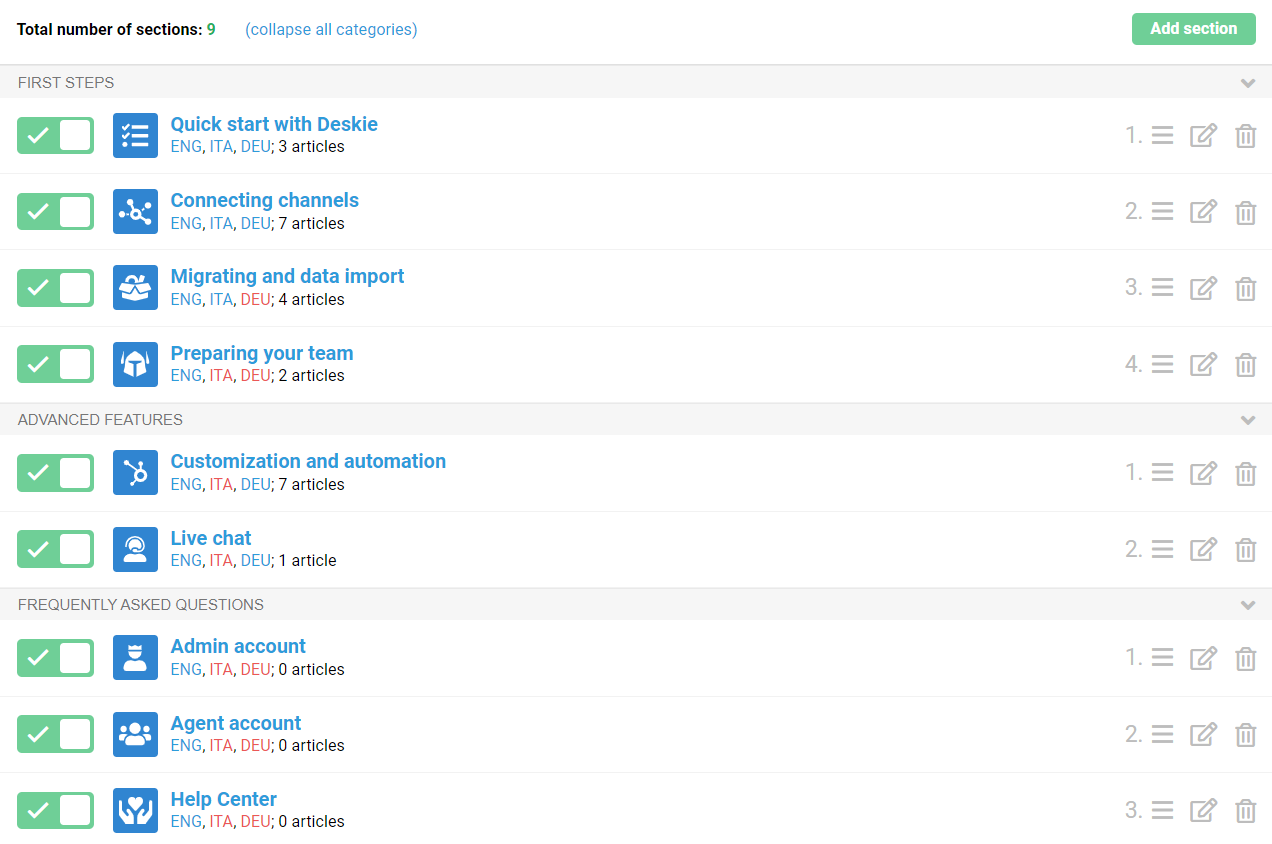
5. Each article has a padlock icon. With its help, you can restrict access to the article only to agents.

6. Sections and articles can be dragged between blocks (not only within one block).
7. When disabled, the category is moved to the end of the list, and the section or article is moved to the end of the block.
Displaying the knowledge base in the Help Center.
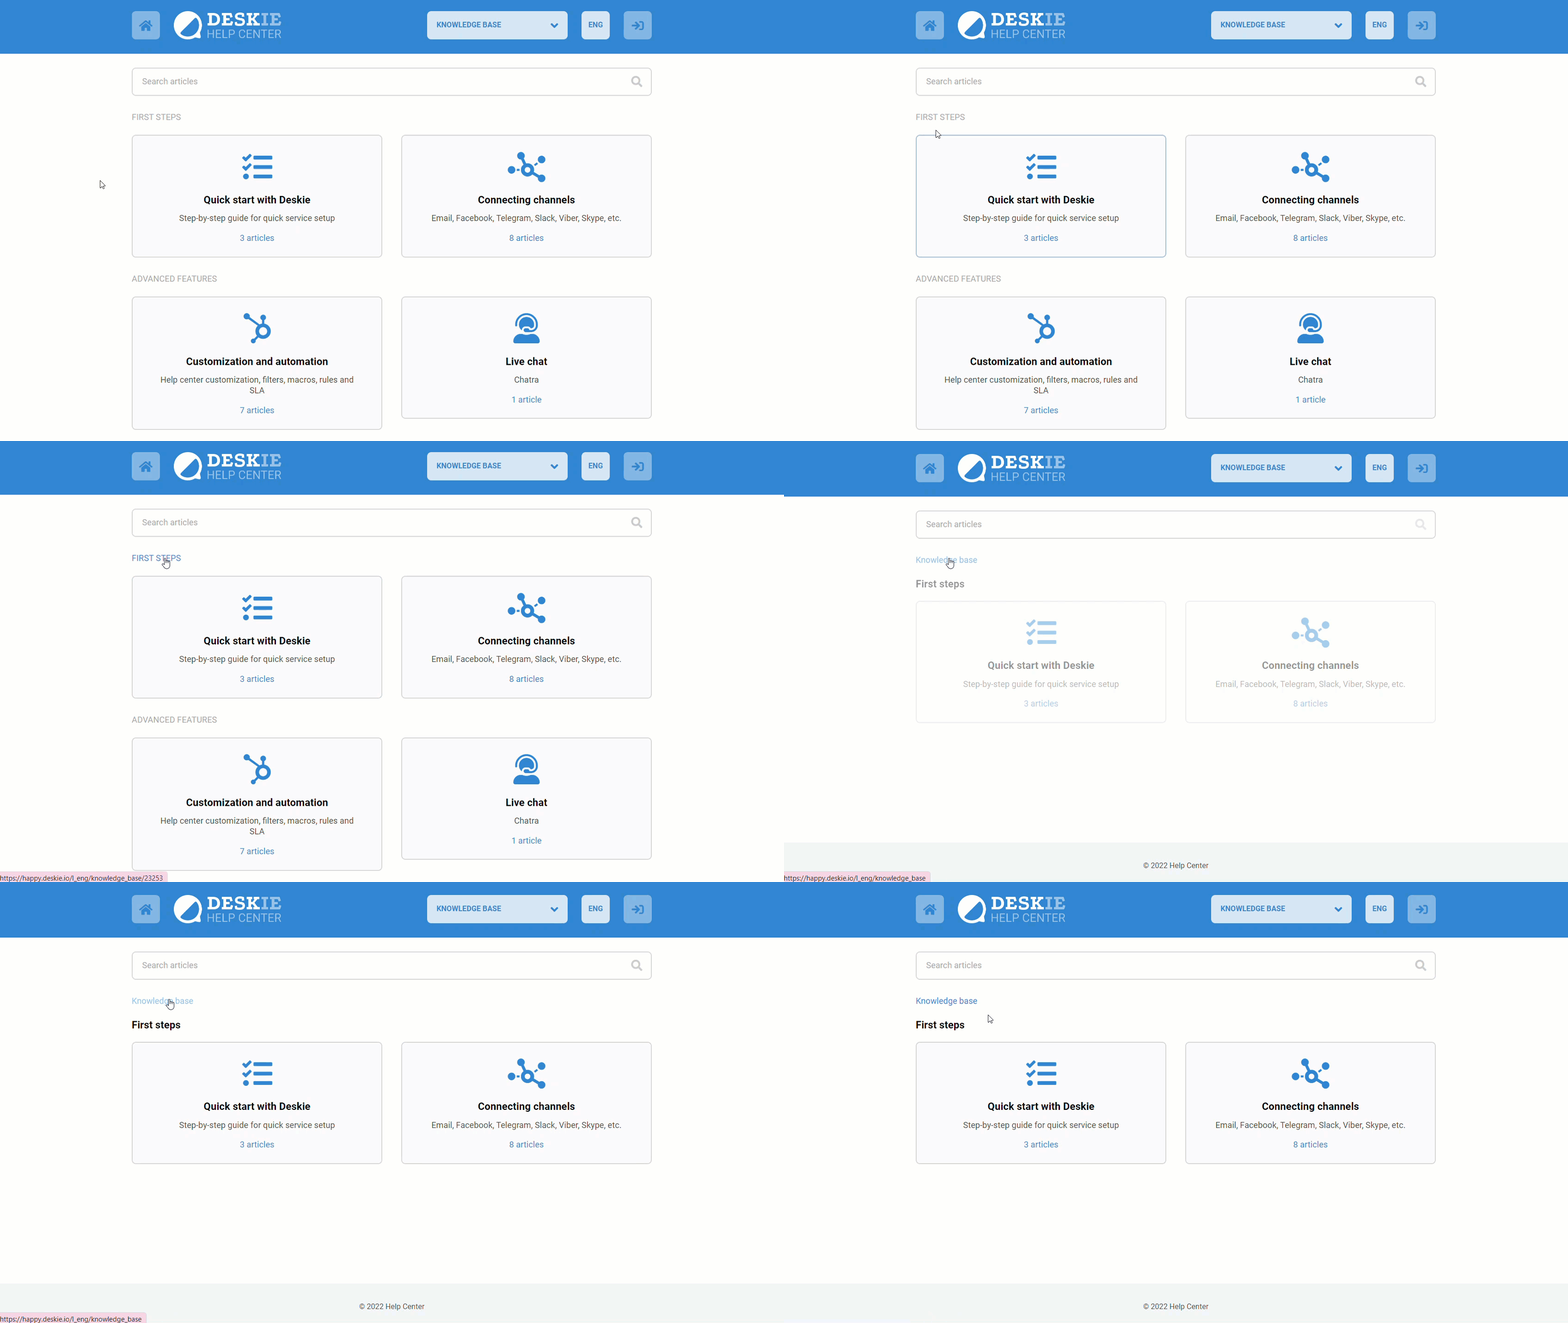
8. If you have only one category, only sections are displayed in the action center, without the category name.
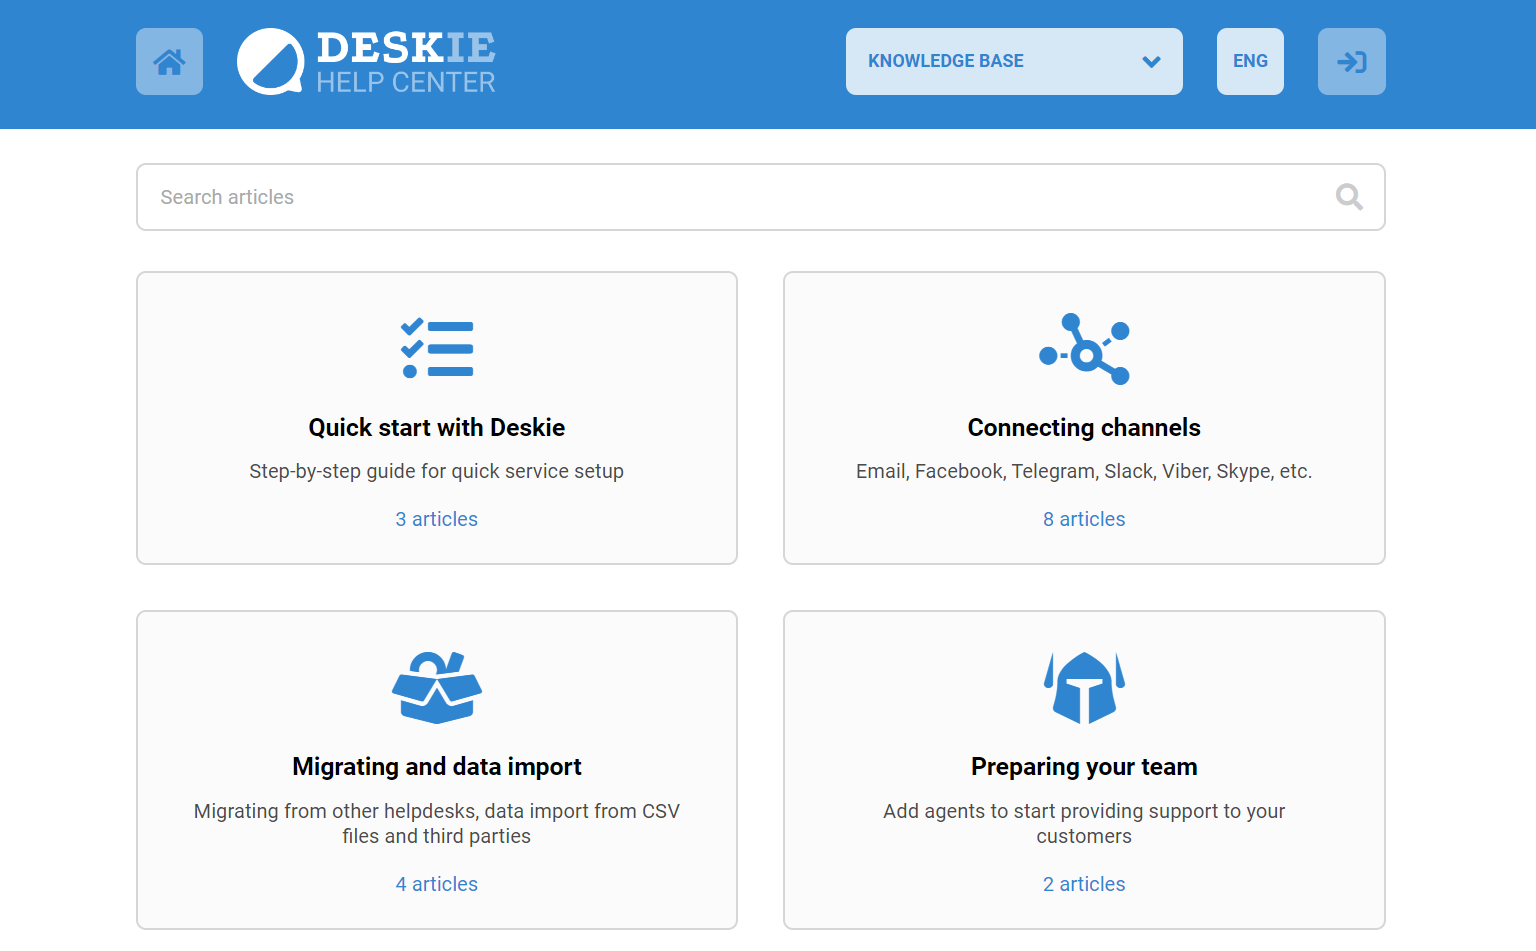
The same thing happens when you have two categories, but one does not have sections or the existing sections do not contain active articles.
9. If you have two or more categories with active sections and articles, sections are divided into blocks.
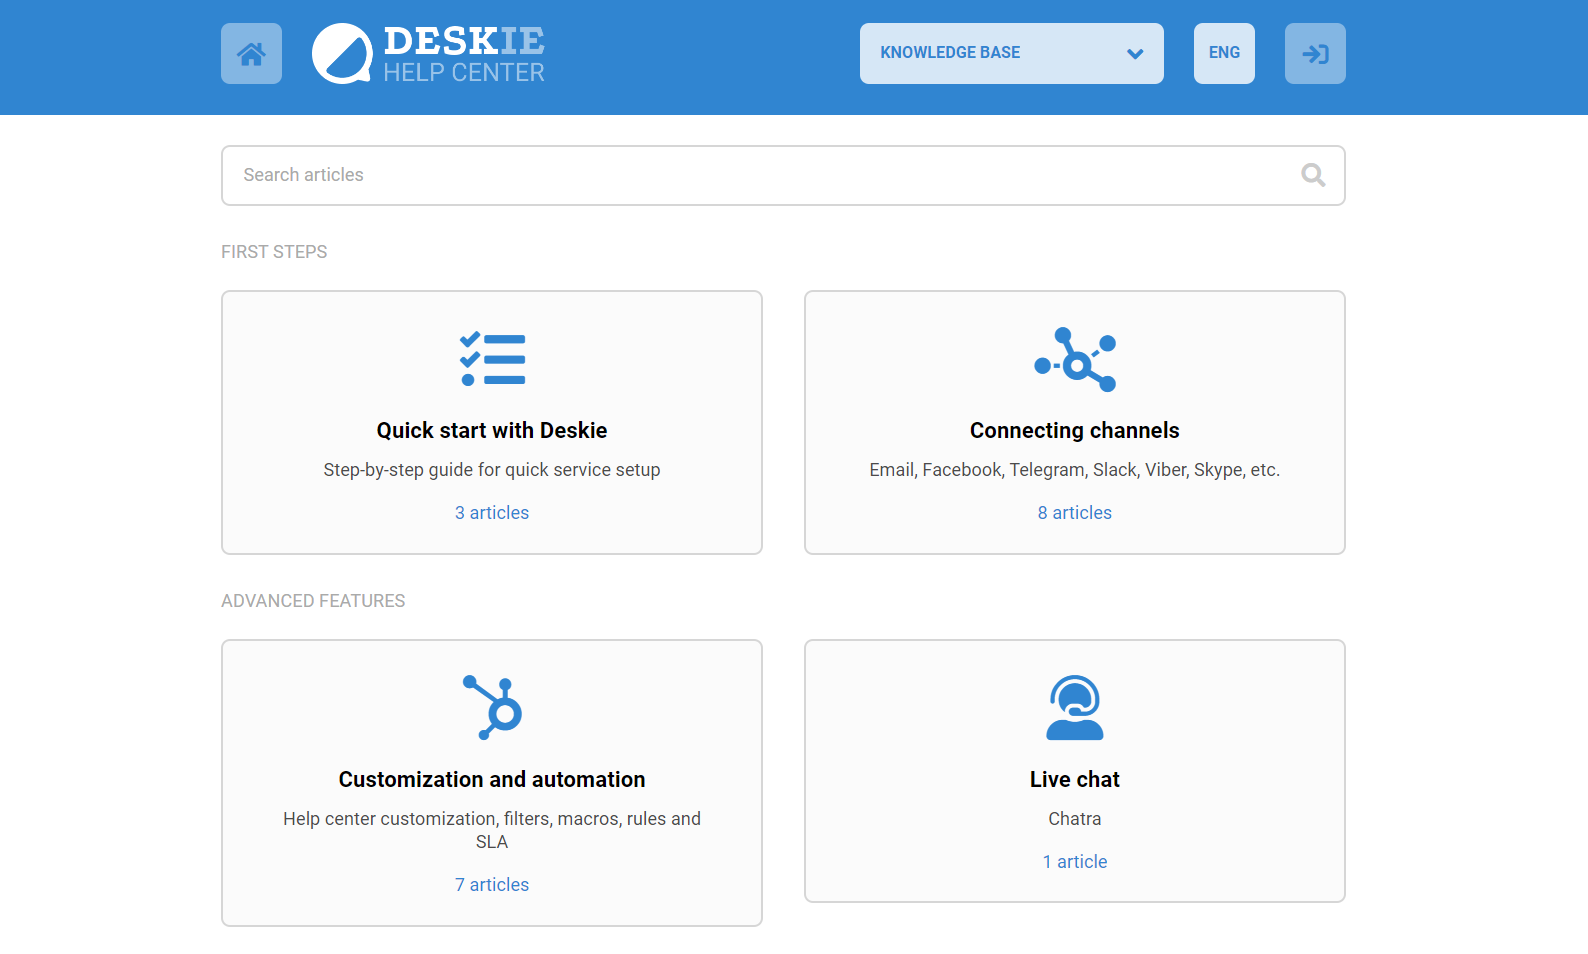
10. Section names are not limited by the number of characters and are displayed in their entirety.
11. Category name is a link that can be sent to the customer — just click on its name, after which a separate page will open and you can copy the URL from the address bar of the browser. This URL can also be copied via the right mouse click.
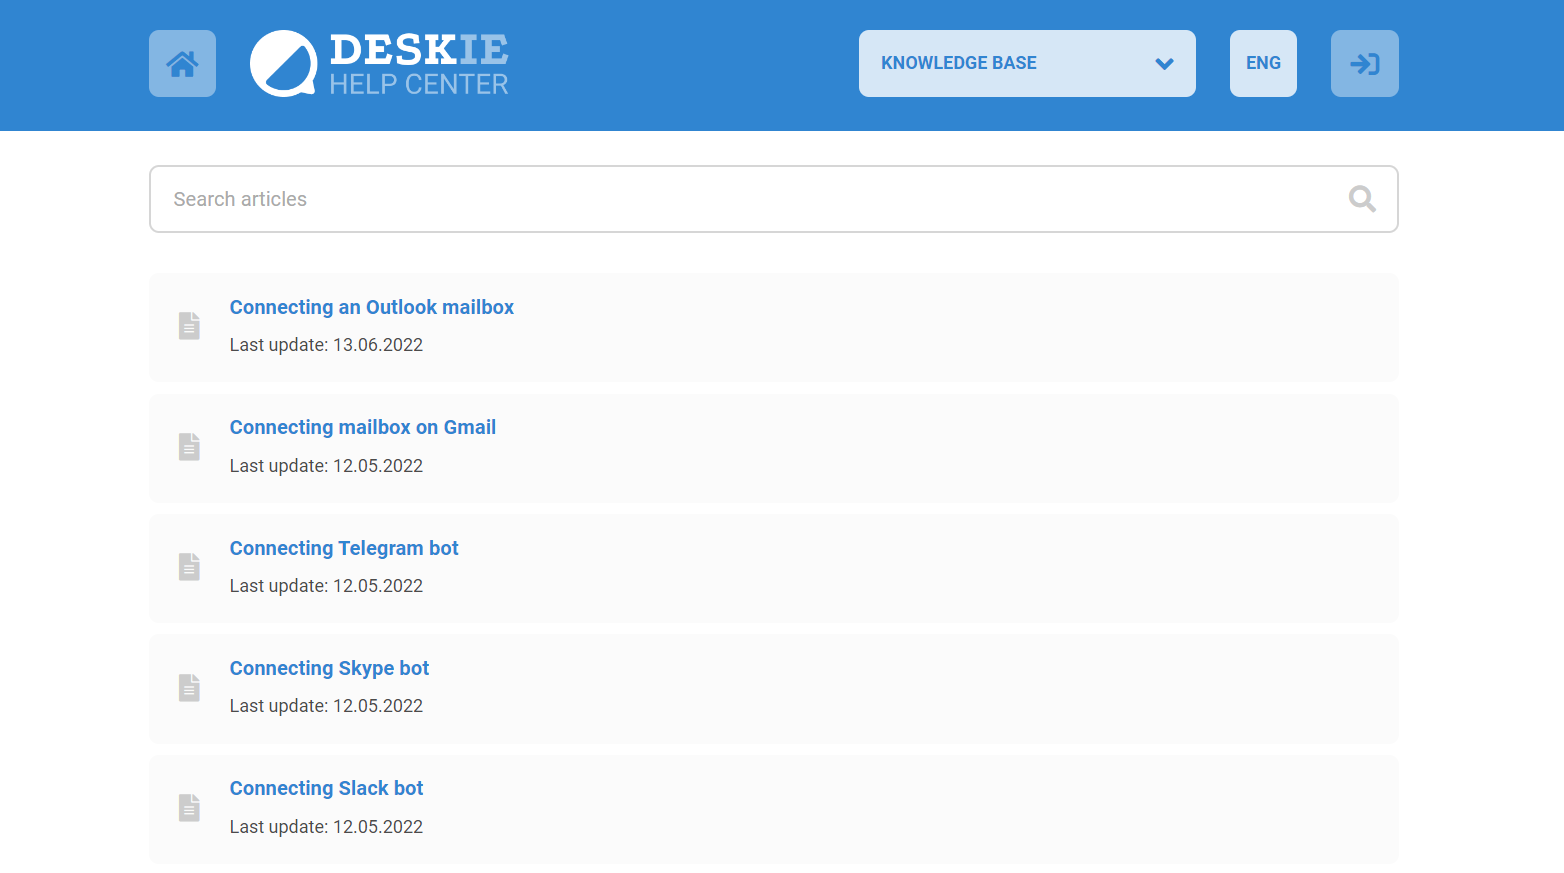
12. If you have only one section, the list of articles is fully displayed in the knowledge base, not just a single block of the section.
13. There is a search on the page of a particular article so that users do not have to go back for it.
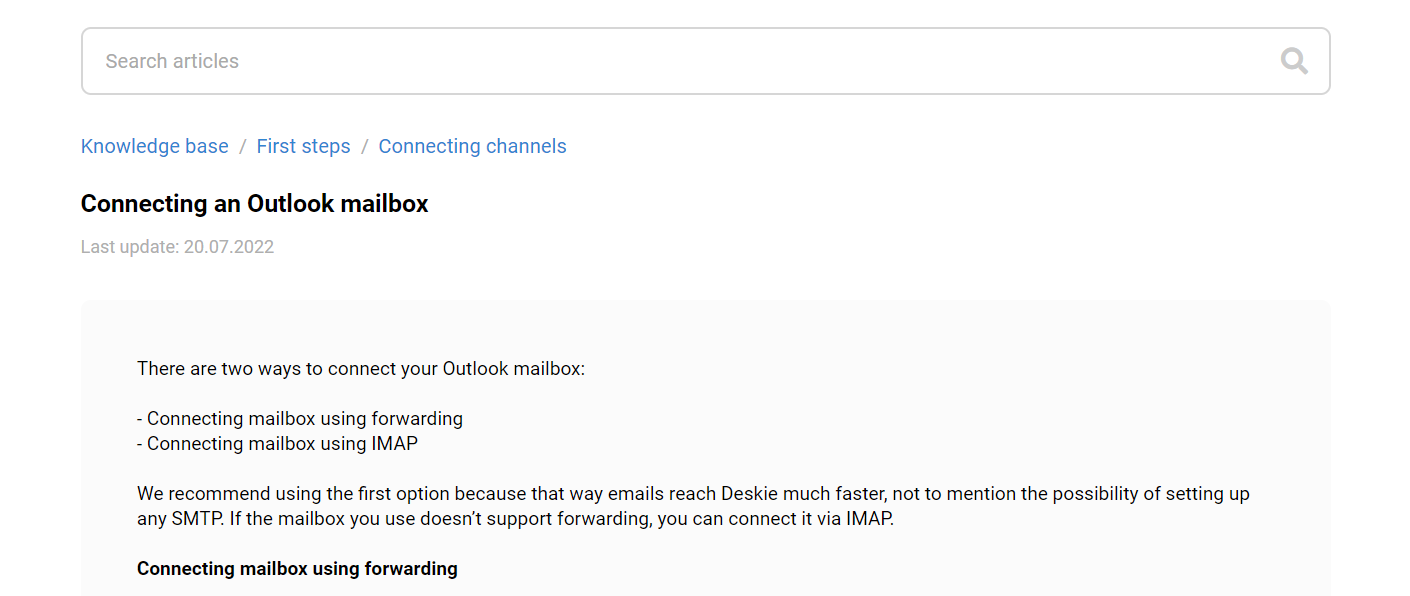
14. Under the title of the article, the date of the last changes is displayed, and not the date of publication. It is more important for your customers to know how relevant the information is.
15. In the Help Center, articles with restricted access are visible only to agents (you need to be logged into the agent's account). In the list, such articles are marked with a “lock” icon.
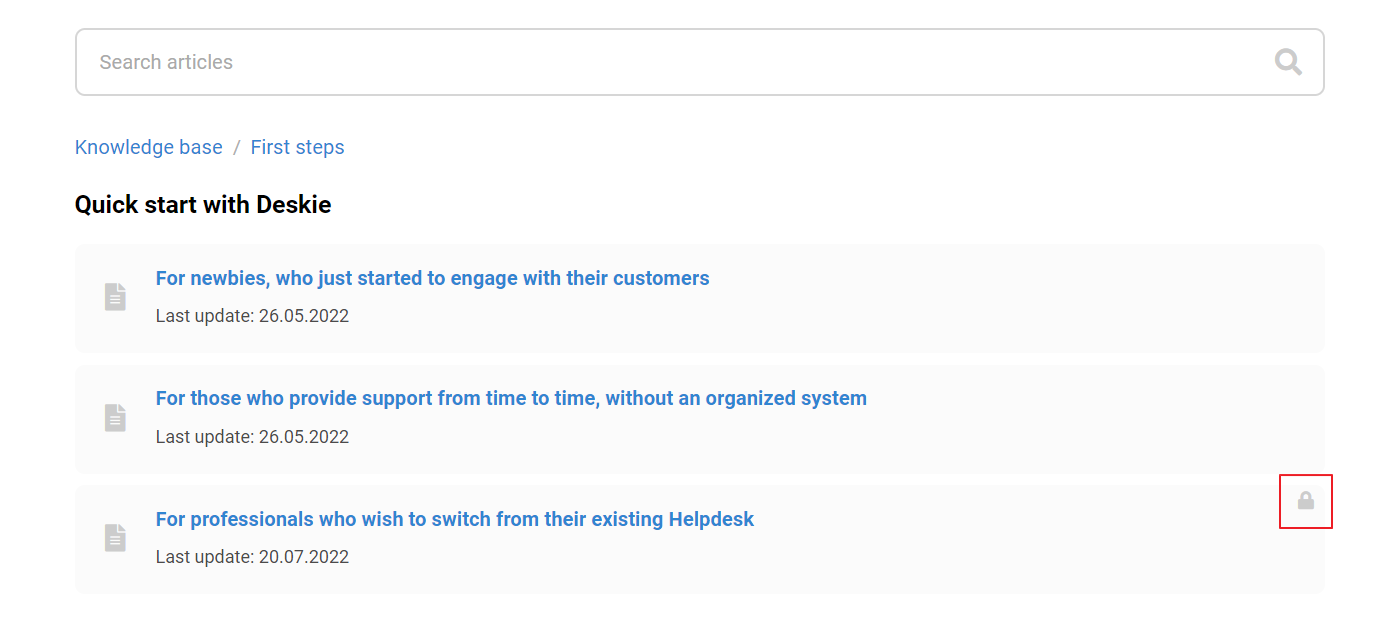
16. If all articles in a category have restricted access, then the lock is displayed only for the category.
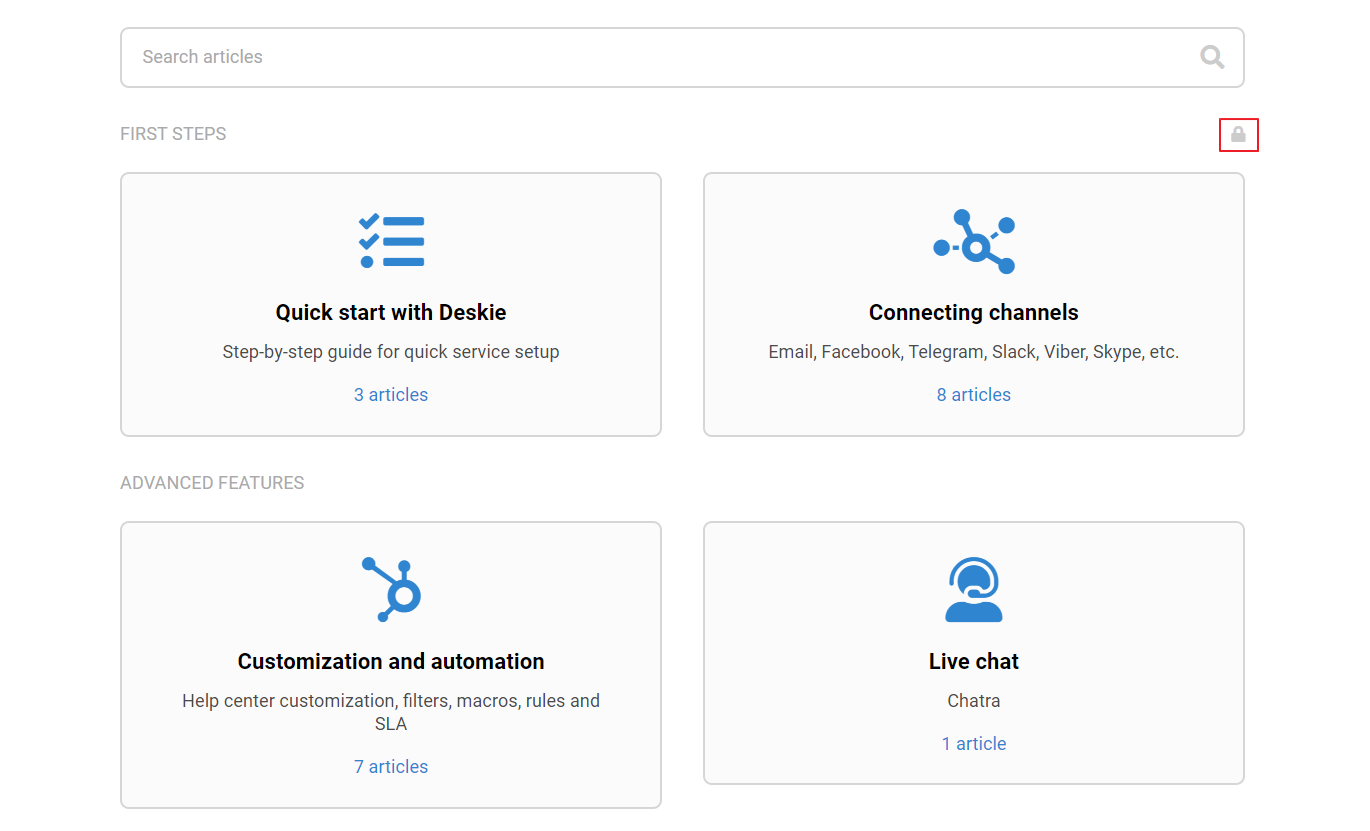
If there is at least one publicly available article, then the lock is displayed only for sections in which all articles have restricted access.

17. If the section has at least one publicly available article, then the lock is displayed for articles (when viewing the list of articles in the section) that have restricted access.
18. In the search results, articles with restricted access are also indicated with a padlock icon.
19. Articles with restricted access are not indexed by search engines and are not available via a direct link. You can customize the indexing of other knowledge base articles.
20. Customers can easily share their opinion on the usefulness of articles thanks to the rating block at the end of each text.
The received ratings are displayed in subsections with articles in the accounts of the administrator and agents opposite the title of the articles. The score is determined by the color of the number:
green - excellent;
orange - not bad;
red is weak.

