Available options:
This functionality is represented by a separate subsection "Data import" (administrator account, section "Settings").
1. Migrating from Zendesk and Freshdesk
To import data from other helpdesks (cases, notes, users, agents, and knowledge base), we use the API, so a minimum of actions is required from your side.
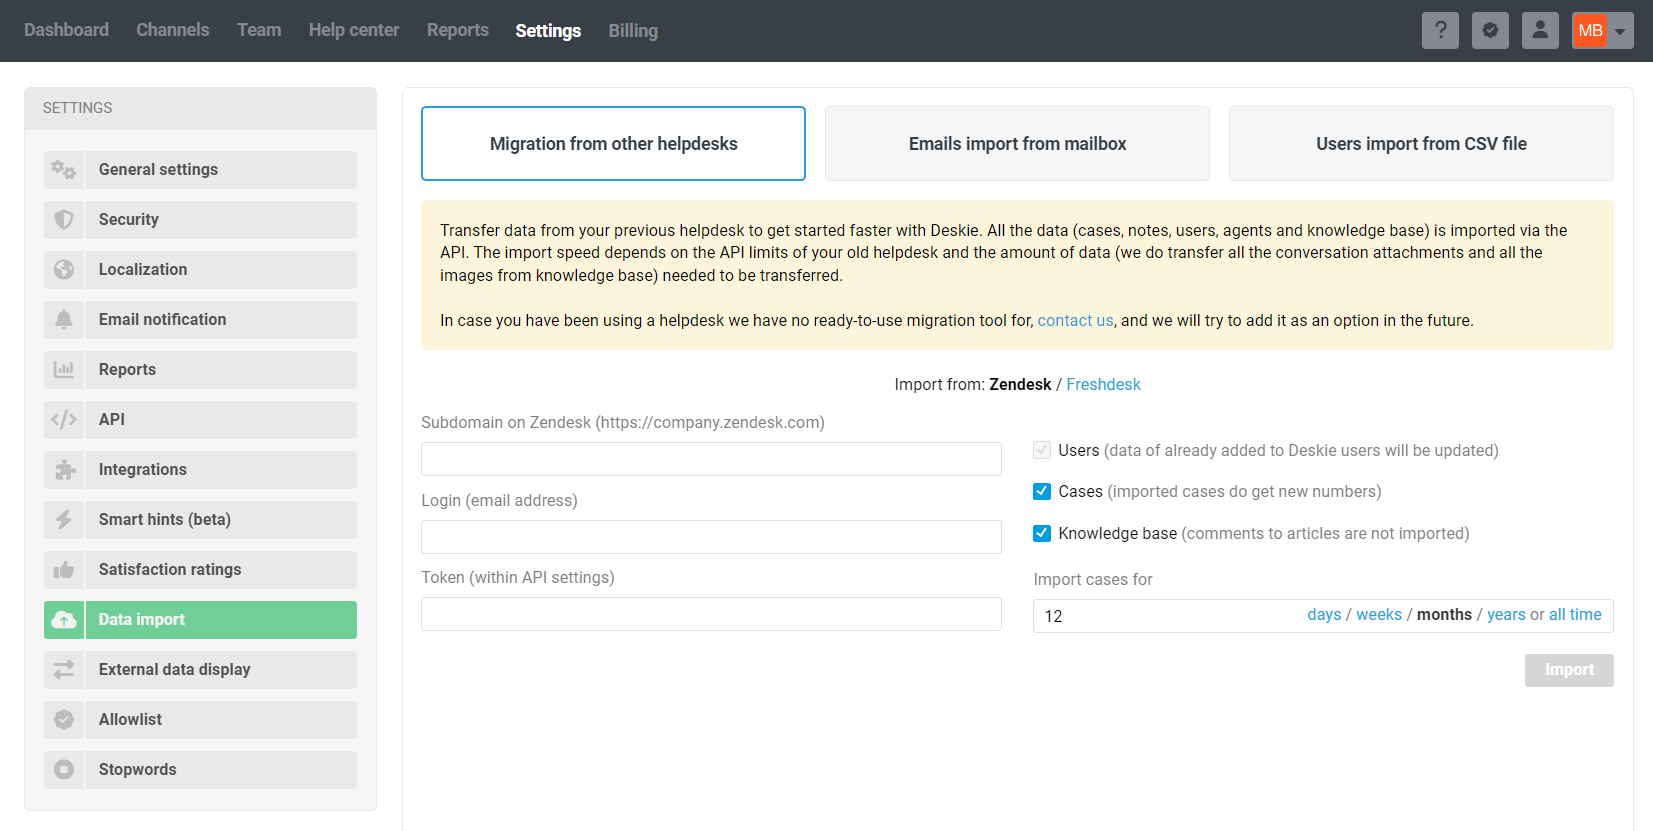
Fill in the three fields and select the data you want to import.
Getting Token in Zendesk
Go to your Zendesk account settings;
Select the "Zendesk API" item in the "Apps and integrations" block and enable the "Token Access" item;
Click on the "Add API Token" icon, copy the value from the "API Token" field and save the changes.
Getting Token in Freshdesk
In Freshdesk's interface, click on your profile icon in the upper right corner and select "Profile Settings";
The API key is located on the right sidebar.
As soon as you click the "Import" button, we will begin the process of data import and notify you once it's completed by email.
Important:
When importing cases, we ignore all settings for email notifications and rules in Deskie so that users do not receive anything for old cases;
You can select which cases for which period you want to transfer using the "Import cases for" option;
We are transferring all agents so that the imported cases have a real story. By default, imported agents are disabled and do not affect the paid period in any way. However, you can enable them at any time;
If on Zendesk / Freshdesk you used a standard email like [email protected], then in imported cases it is replaced with a standard email of our service;
If on Zendesk/Freshdesk you used custom fields for cases and users, they will not be migrated as we have different types of additional data fields;
If you used your own email ([email protected]) on Zendesk / Freshdesk, then it will be displayed in imported cases. At the same time, we will highlight the address in red so that you do not forget to connect it to Deskie.
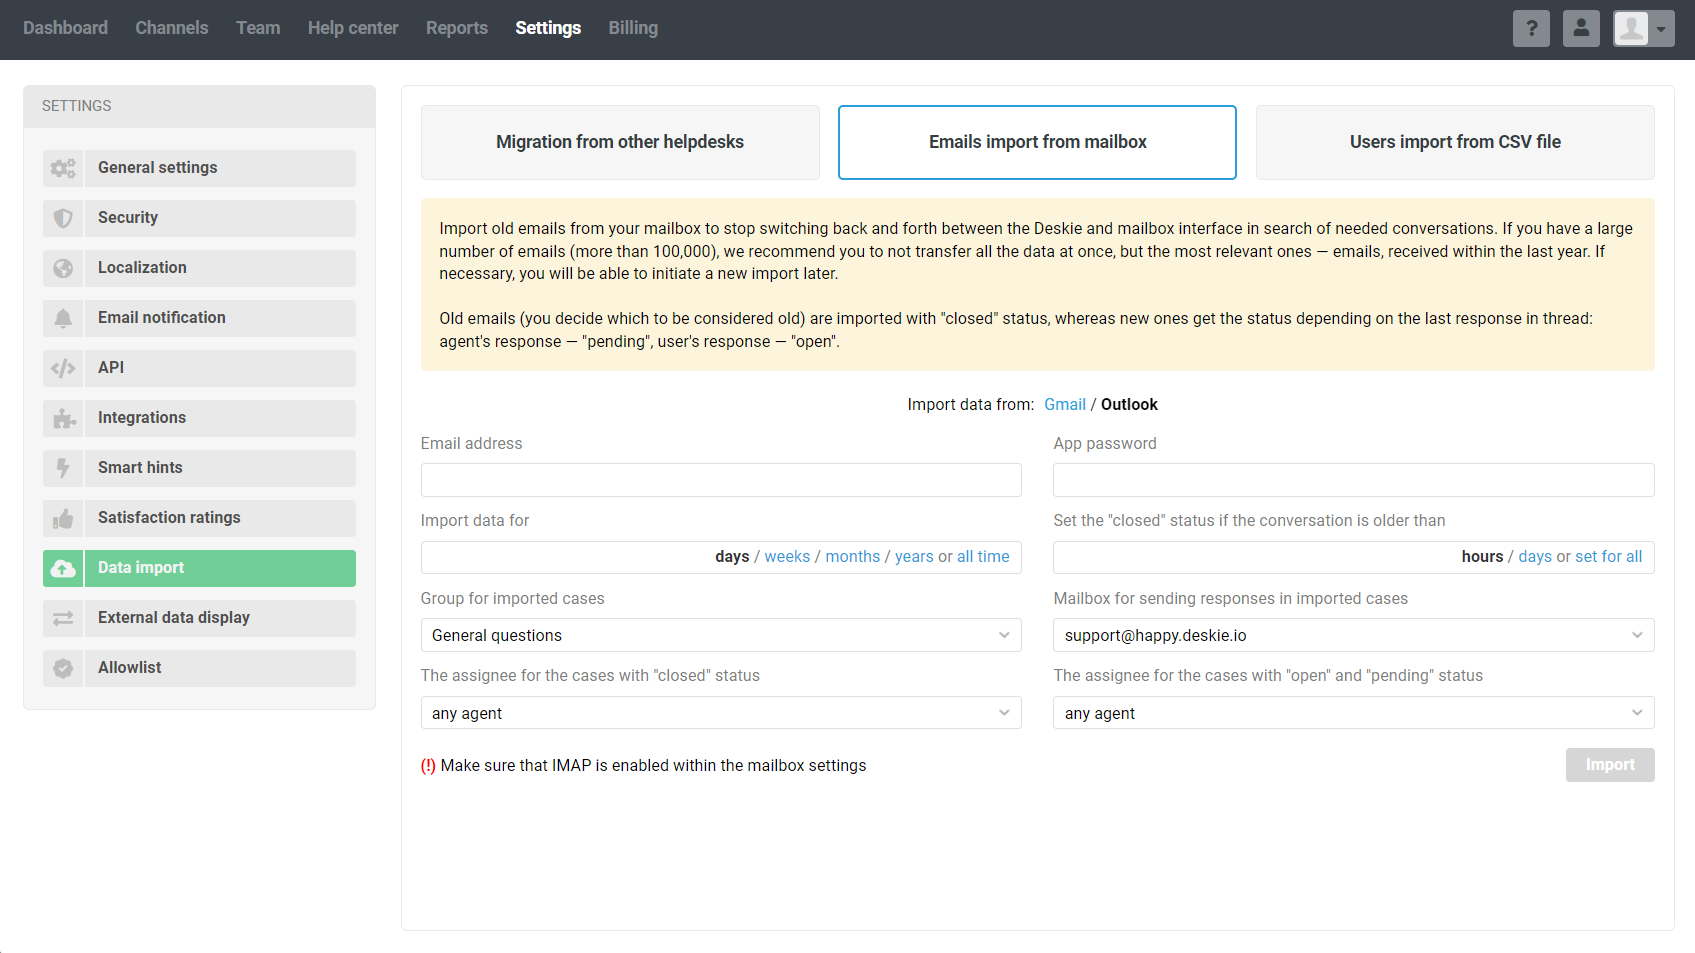
2. Importing emails from the mailbox
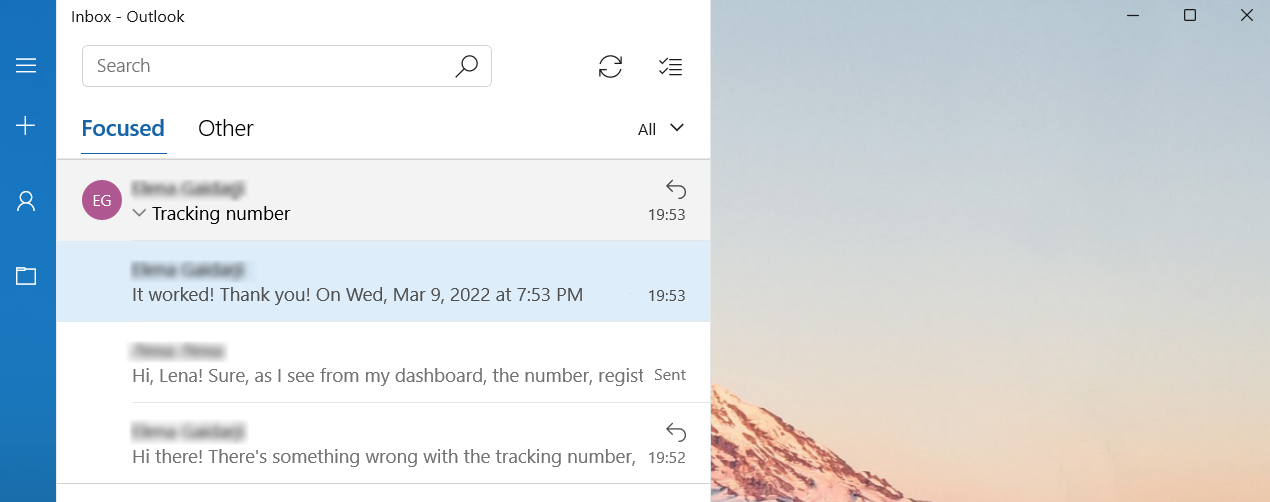
If you have used one of the popular email services (Gmail, Outlook), you can transfer past correspondence to Deskie to save the history of interaction with customers and switch to working in Deskie almost seamlessly, where a lot of opportunities are available for convenient collaboration and automation. Opportunities that email services do not have.
Before proceeding with import:
make sure that IMAP access is enabled in the mailbox settings.
create an app password in the web interface of the email service so as not to use the mailbox password.
Choose parameters wisely before starting the import, so that later it will be easier to navigate in the imported emails. Most of the parameters are obvious, but a couple of them are worth having a closer look at:
Import data for
In this field, you can specify the period for which emails should be transferred to Deskie. If there are a large number of emails in the mailbox (more than 100,000, each email in the chain is taken into account, including your answers), we recommend that do not transfer all data, but only relevant data — for example, for a year.
If you still need older emails, you can split the import into several stages. First, transfer emails for the last year, and then select the last two years in the settings at once — when you re-import, the data that has already been transferred will be ignored, and the older correspondence will be added to Deskie.
Set the "closed" status if the conversation is older than
The transfer of old emails is useful for agents to view the history of communication with the customer, but the cases that will be created during import should not distract agents from their current work.
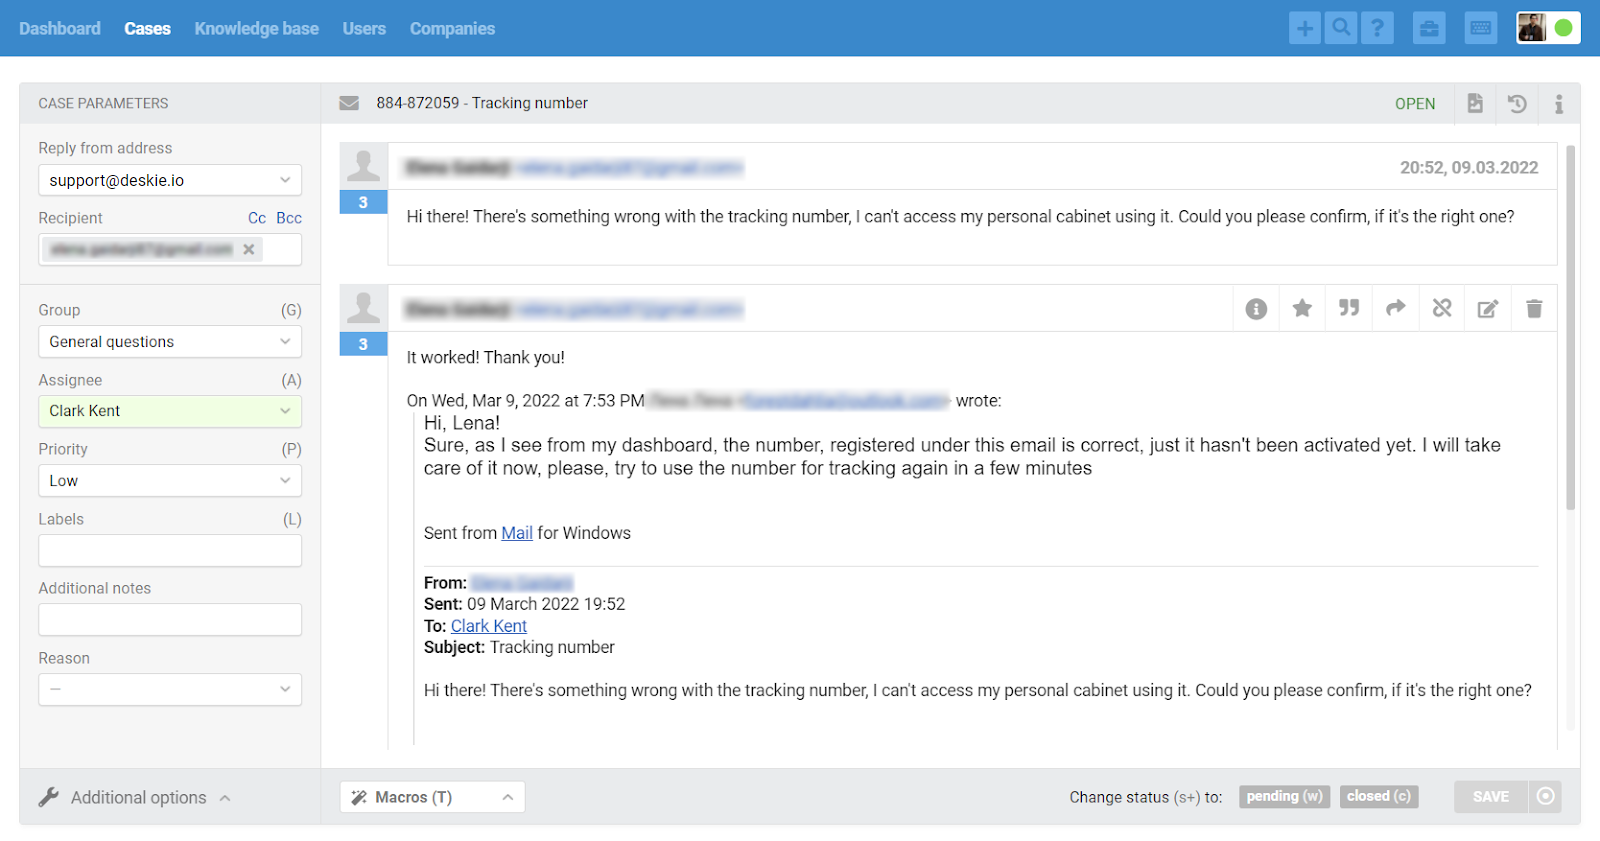
This setting allows you to set the "closed" status for all cases or only for those created by emails older than the specified value. In the second option, cases created based on emails that arrived in the mailbox before the specified value will receive the status "open" or "pending" depending on the last response in the case:
the last response is from the user — the status is "open";
the last response is from an agent — the status is “pending”.
In this setting, we consider the date of receipt of the last email in the chain.
Mailbox for sending replies
If you plan to correspond from the mailbox you are importing messages from, before you start importing, connect it to Deskie as a communication channel and select it in the "Mailbox for sending responses in imported cases" setting. After the import is complete, the box will be displayed in the case settings in the "Reply from address" field.
Important:
a. When creating cases during import, we do not run them through the automation rules already configured in Deskie to avoid triggering false actions;
b. Cases created by imported emails are not considered in reports in the administrator's account, because:
there is no way to track which of the agents sent the answers;
they can distort the statistics on cases that were processed in Deskie.
3. Loading users from CSV
Importing a contact list from a CSV file is useful not only when switching to Deskie from similar services, but also if you need to transfer customer data from a CRM system or your own admin panel. As a result, when communicating with customers, your agents will be able to see all the necessary data for each of them.
For this import option, you need to prepare a CSV file. In order for the service to correctly pick up all the data, match the fields from the file with the data fields on Deskie:
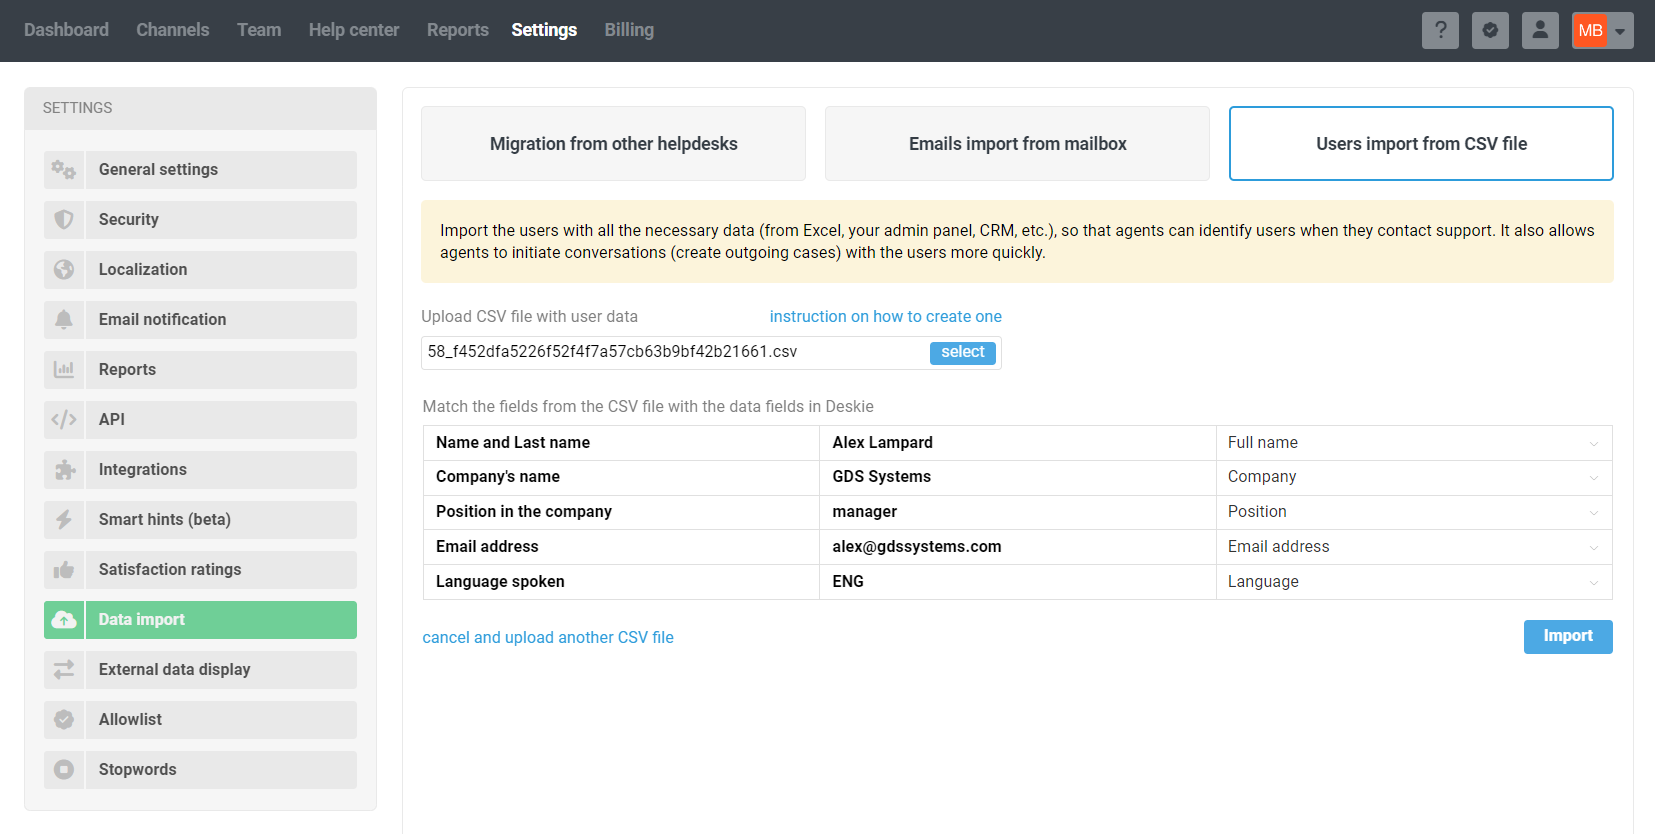
To complete the import, click the "Import" button and wait for a notification in your email
Important:
a. If there is an imported user in the database already, then their data will be updated.
b. Unless you are importing user data from social networks or messengers, the user must have an email or phone number, otherwise you will not be able to create a profile. Please note:
if several users have the same email/phone, we create only one user, and then only update the data;
if the user has both email and phone, we create two different accounts and merge them. As a result, when viewing the data, you see a combined user profile that contains both email and phone.
Therefore, when importing data from users, it is important to indicate their personal data, and, for example, not the general telephone number of the company. Otherwise, you'll end up with a large merged profile with multiple users' data.
c. If you import user data from social networks or messengers, the channel name and user ID should be specified in one column, with a vertical line (channel|id). The format is case-sensitive — there should be no capital letters in the channel name. If the data is specified correctly, the fields are matched automatically. An example file for importing users from social networks and messengers can be found here.
d. Both standard fields (full name, company, position, notes, all types of contact information) and custom fields are supported during import, but they must be created in the "Data Fields" section of the administrator's account beforehand. Read more
e. The file encoding must be UTF-8, the separator is a comma. Read more