When you register with Deskie, you automatically get a Help center with a widget, knowledge base, customer ideas section and customer personal accounts.
We've posted articles in the Help center to walk you through setting up the knowledge base and getting to know the basic features of Deskie. Remove these articles after you've read them and add your own that will be useful to your customers.
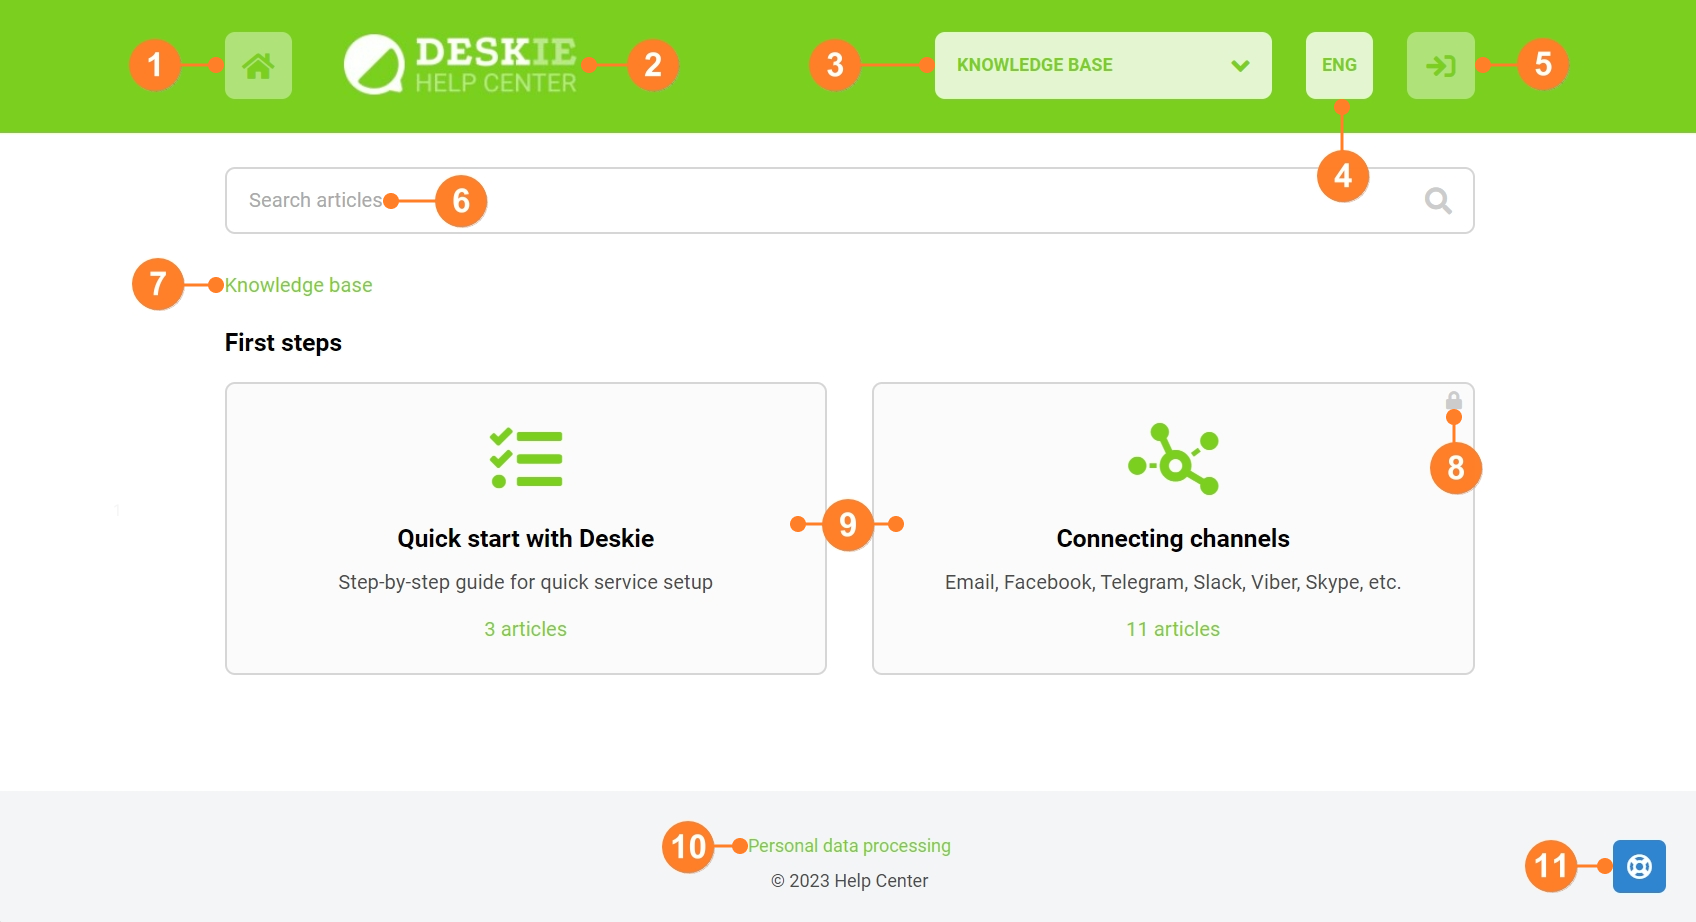
1. Icon to go to your main website.
You can specify which page you want the user to be redirected to in the admin account along the path: Admin account — Help center — Customization. Learn more
2. Your logo.
When clicked, the user is taken to the main page of the knowledge base. You can also upload any other logo in the admin account along the path: Admin account — Help center — Customization. Learn more
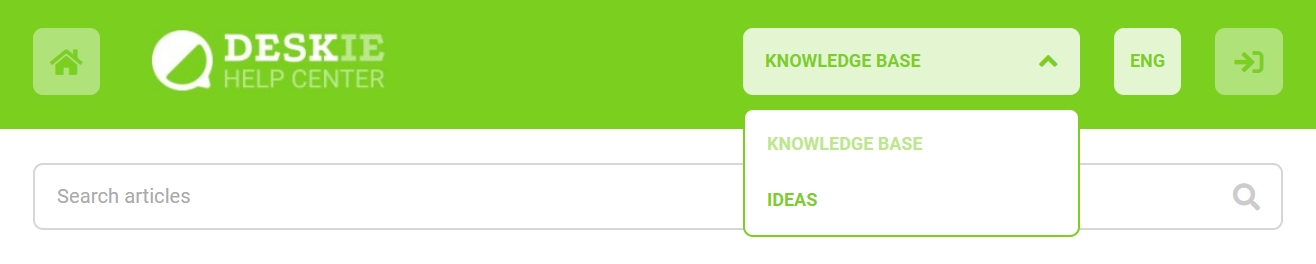
3. Help center menu.
In the drop-down menu, users can switch between sections of the Help center.
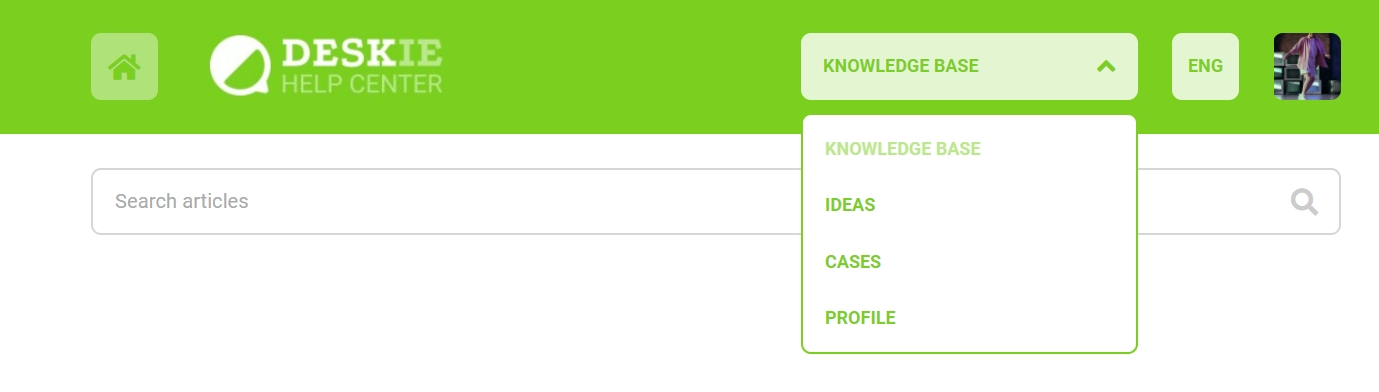
If the user logs into their account (5), additional sections "Cases" and "Profile" appear in the drop-down menu.
You can also add your own links to third-party resources in the drop-down menu, so your customers can easily find all the useful information. Learn more
4. User interface language.
In Deskie you can provide support in several languages. The language selection button is only displayed if more than one language is added to your account. English, Spanish and Turkish are available by default, but you can set up any languages that your customers speak. Learn more
5. Login button for the user account.
If the customer logs in to their account, the drop-down menu will have additional sections called "Cases", where they will see a list of their cases across all channels, and "Profile", where this customer's details are displayed. Read more about the design of the customer's personal account.
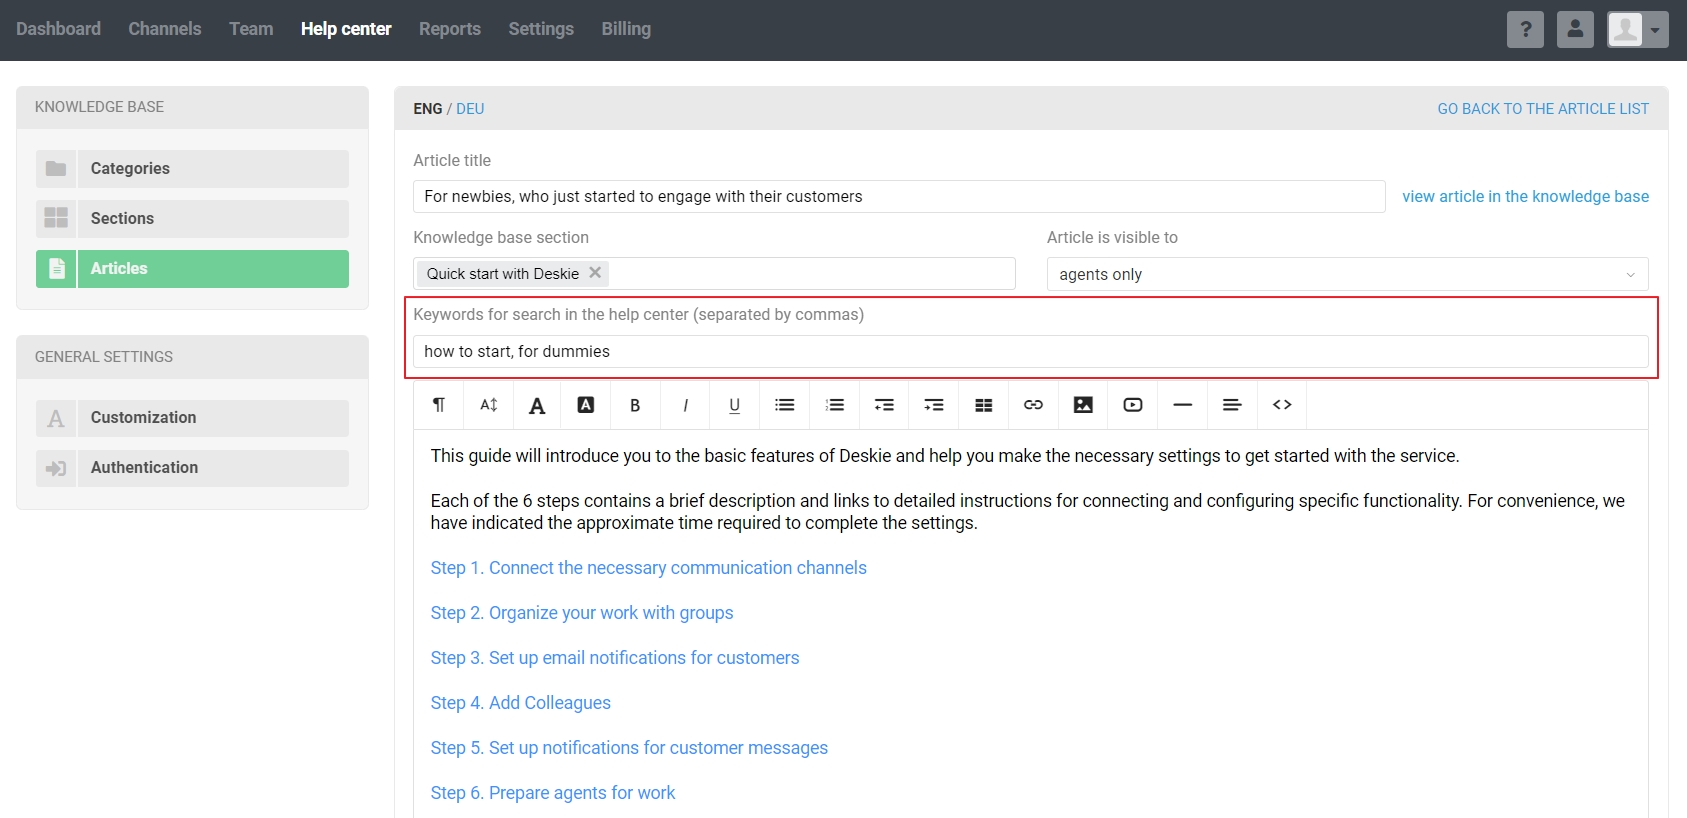
6. Search.
This is carried out by article titles and content, as well as by keywords that you can add in a special field when creating or editing articles.
7. Categories.
The first level of nesting of the knowledge base. The category name is clickable and leads to a separate page. You will be able to copy the URL from your browser address bar or via the right-click menu to send the customer a link to a specific category only, rather than to the entire knowledge base.
8. Sections.
The second level of nesting of the knowledge base. When adding a section, you need to specify its name, select the category in which it will be added, and briefly describe what articles will be in it. Read more about the knowledge base structure.

To make it easier for customers to navigate the knowledge base, icons can be added to the sections from a suggested list.
9. The "lock" icon.
Indicates that only agentd authorised in their Deskie accounts have access to this section. You can hide an article from other customers via the administrator or agent account in the articles section of the knowledge base. To completely hide a section or category, you must hide all articles in that section/category. Learn more

10. Reference to user data processing agreement.
As you collect and process personal data (name, email address, telephone number, website behaviour data, cookies, geo-positioning information, IP address, etc.) when providing support and communicating with customers in accordance with the GDPR, your customers must understand that you are dealing with their data.
You can add a link to your data processing agreement along the path: Admin account — Help center — Customization — Personal data collection. It will then be added to the footer of your support center. Learn more
11. Widget.
Allows your customers to choose a convenient channel for communication. By default, only the feedback form connected to your Deskie account is added to the widget. But once you connect your own communication channels — corporate email, messengers, social networks — you can add them to the widget as well. Learn more
If you do not intend to use the Help Center, you can disable it.