Any case that comes to the support agents should belong to one of the groups. That is why when connecting channels, you must specify the default group. This is how you set the group into which all new cases from a particular channel will fall.
To set up groups, go to the "Channels" section and select the "Groups" subsection in the "Case management" block.
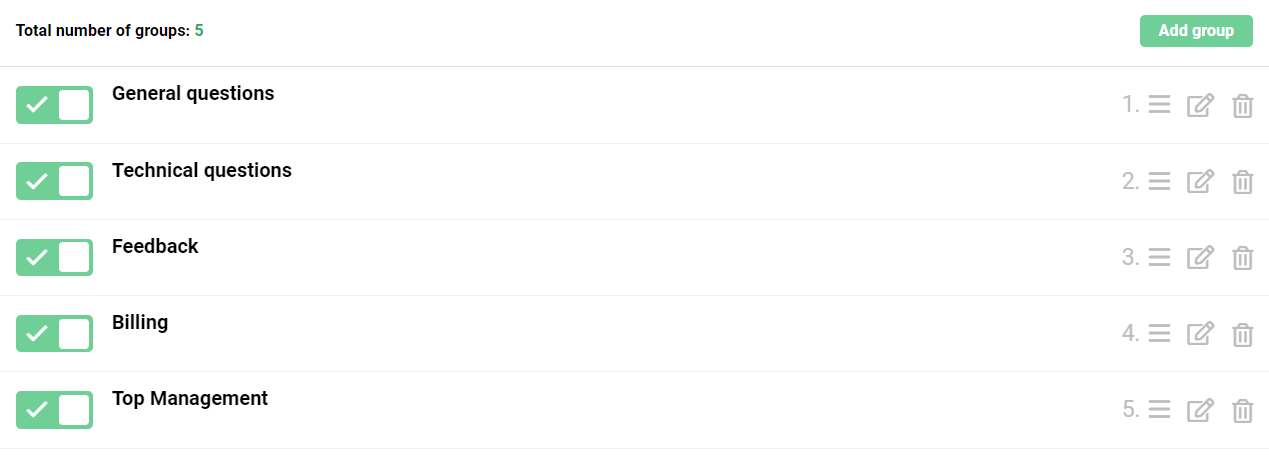
Groups can be named both by the type of cases ("General questions" or "Billing") and by company departments ("Top management"). Choose the option that suits you best, or use both.
Some customers use groups for other purposes as well. For instance, in a situation where you need to support multiple products or services. In this case, two groups are created — "Service 1" and "Service 2". All incoming cases are distributed between them, and agents are given the required access level.
In every new account, we create 5 groups by default:

Don't try to create the groups that you might need all at once. You can easily add new ones or change current ones in the future.
Groups are intended not only for case distribution between agents. They will also be helpful:
a) when creating rules to automate routine processes
For example, you can set up sending notifications to the manager's Telegram account when the Top Management group receives new cases.
b) to create filters in the cases' list
A separate filter will help agents keep track of new cases in a particular group.
c) when tracking team performance reports
You can use group statistics to analyze the work of departments or cases of different types.
d) when setting the service level agreement (SLA)
Set desired standards of customer service by a group. For example, create a separate group for VIP clients and set a minimum response and closing time so that agents process such cases faster.
e) when setting up agent access level
To prevent agents from being distracted by the general flow of cases, set up group access for each of them.
